


")


 Tokens Playing This P2E Game")
Hardware wallets are always considered the safest option to keep your crypto assets. There are various hardware wallets like Ledger, Trezor, Keepkey, etc. available in the market today that crypto users use to store their digital assets. In this article, we will explain how you can store your asset (DOT) into a hardware wallet and then stake your asset from the device.
Staking Polkadot (DOT) can be more complicated when compared to staking other tokens. For a better understanding, we have divided the topic into three parts:
- Firstly – How you can store your asset (DOT) into a hardware wallet.
- Secondly – How to install the Polkadot.js wallet, import your Ledger account into your wallet, and set up your Stash and Controller account.
- Thirdly – How to select a validator, and what are the points that need to be followed before selecting them.
This usage guide is particularly based upon Ledger Nano X. However, a similar process can be used if you wish to stake using Ledger Nano S.
Ledger Nano X is one of the most popular cryptocurrency hardware wallets that allow users to store a wide range of digital tokens offline. Similar to a USB device, the Ledger Nano X needs to be connected to a computer to be utilized. Additionally, the Ledger Live application will need to be installed for users to access the hardware wallet.
As a prerequisite, we assume that the user has a Ledger Nano X device with the supporting Ledger Live application installed and completely configured moving forward.
Table of Contents
Usage Guide
Plug in your Ledger Nano X into your computer.
Login to both your Ledger hardware wallet and the Ledger Live application.
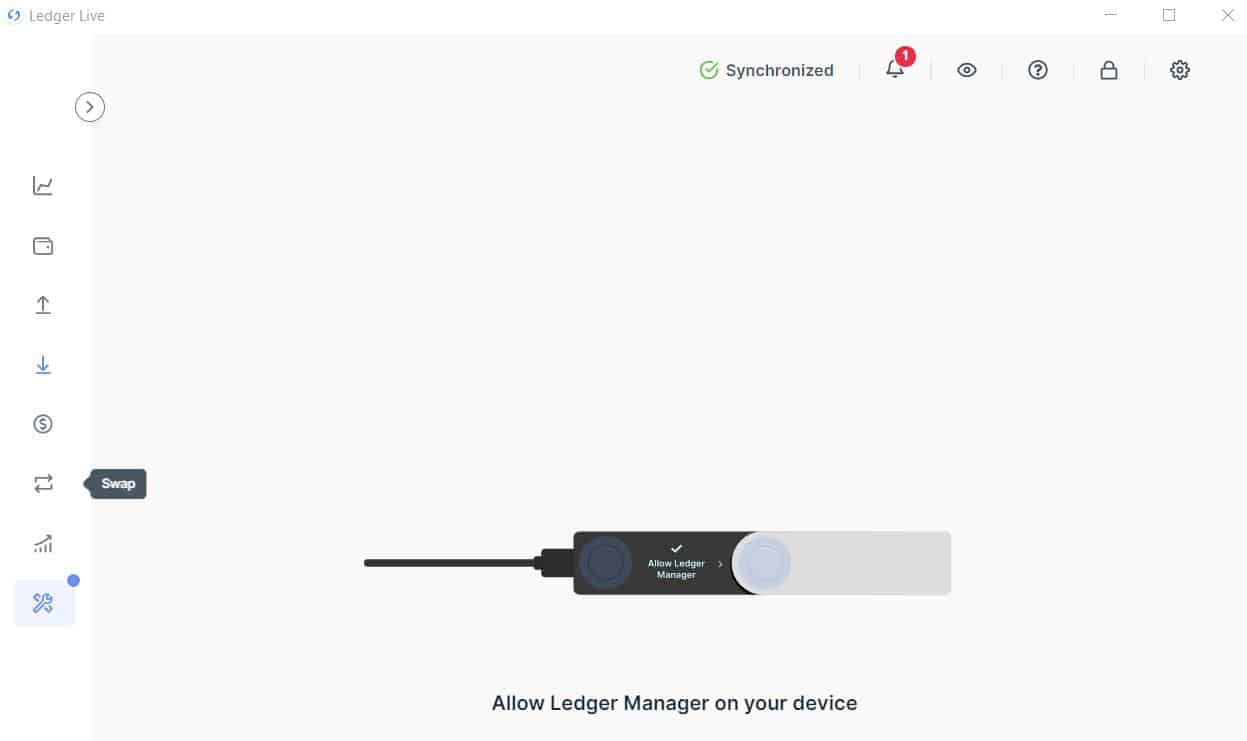
Once you have successfully logged in to both the device and application, you should see the screen shown below on your Ledger Live application.
We will now go to the App catalog section and check the list of available token applications that we can install.
As you can see from the next screenshot below, we already have Bitcoin and Ethereum applications installed on our device.

Notably, we want to mention here that we had bought and configured this Ledger when DOT was not currently in existence.
The next thing you can notice here is that the application is asking for a firmware update. With the update, the device will be enabled for the validation of deposit contracts for Ethereum 2.0 via third-party services. You can read the official Ledger blog post for more details regarding this firmware update.
Before proceeding with the update, check whether you have noted down the recovery phrase correctly. We recommend that the user follow this step carefully to ensure asset recovery is possible following firmware updates.
Read the instructions carefully. You can read the guide here.
If you have checked and confirmed that you hold the correct recovery phrase, you can proceed with the update.
To update, click on Update Firmware.
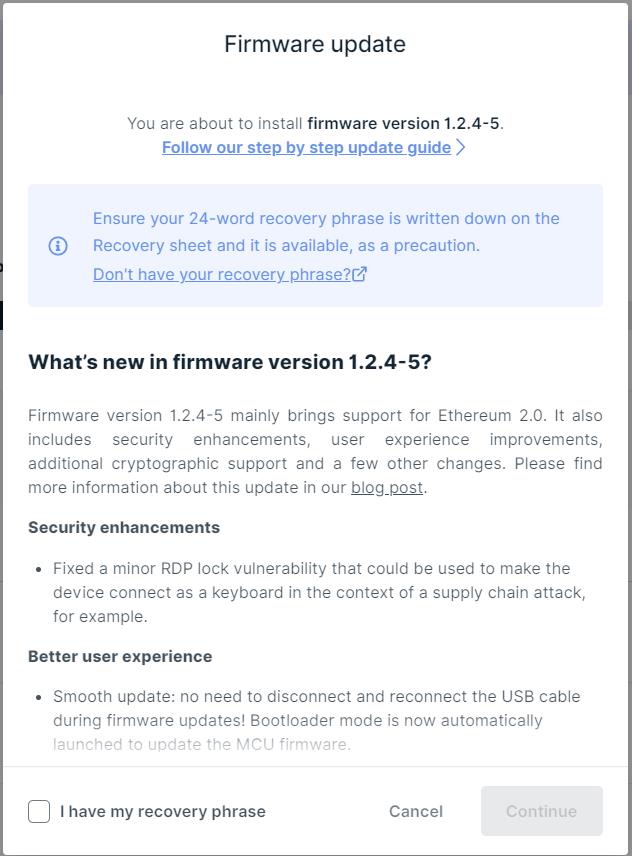
Select the checkbox I have my recovery phrase and click on Continue.
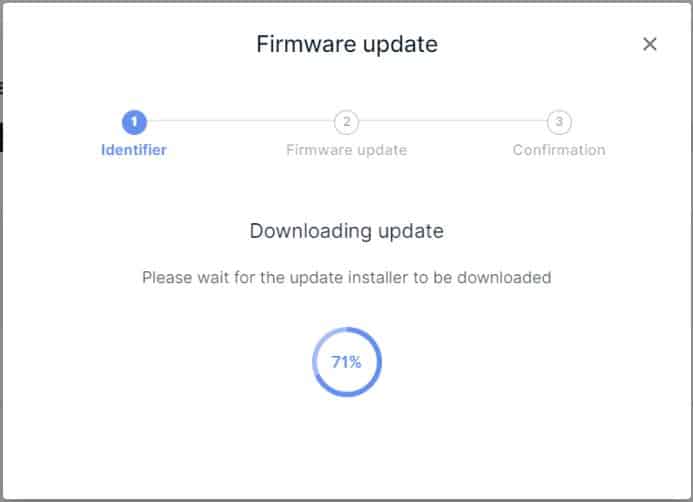
The update process will begin.
The application will show you an identifier that you need to check and match with your Ledger hardware wallet and approve by providing your PIN.
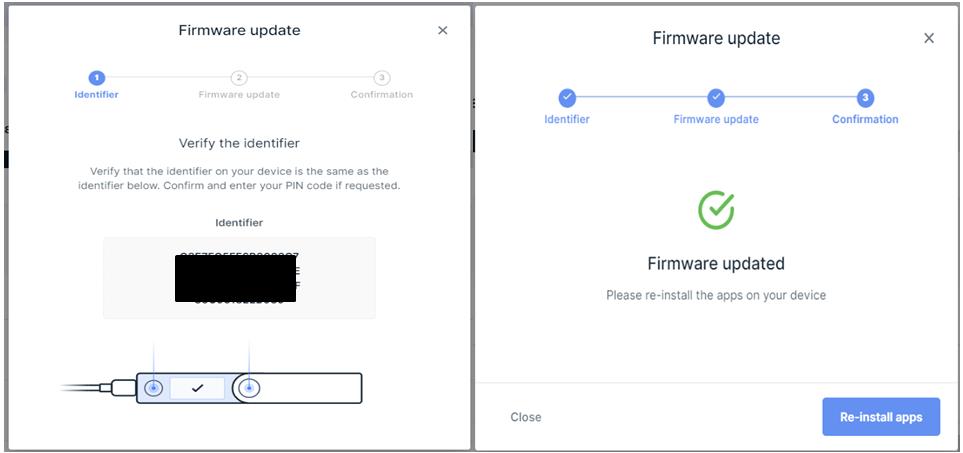
The firmware update is complete.
You can now see the list of all token applications currently supported by the Ledger in the app catalog section.
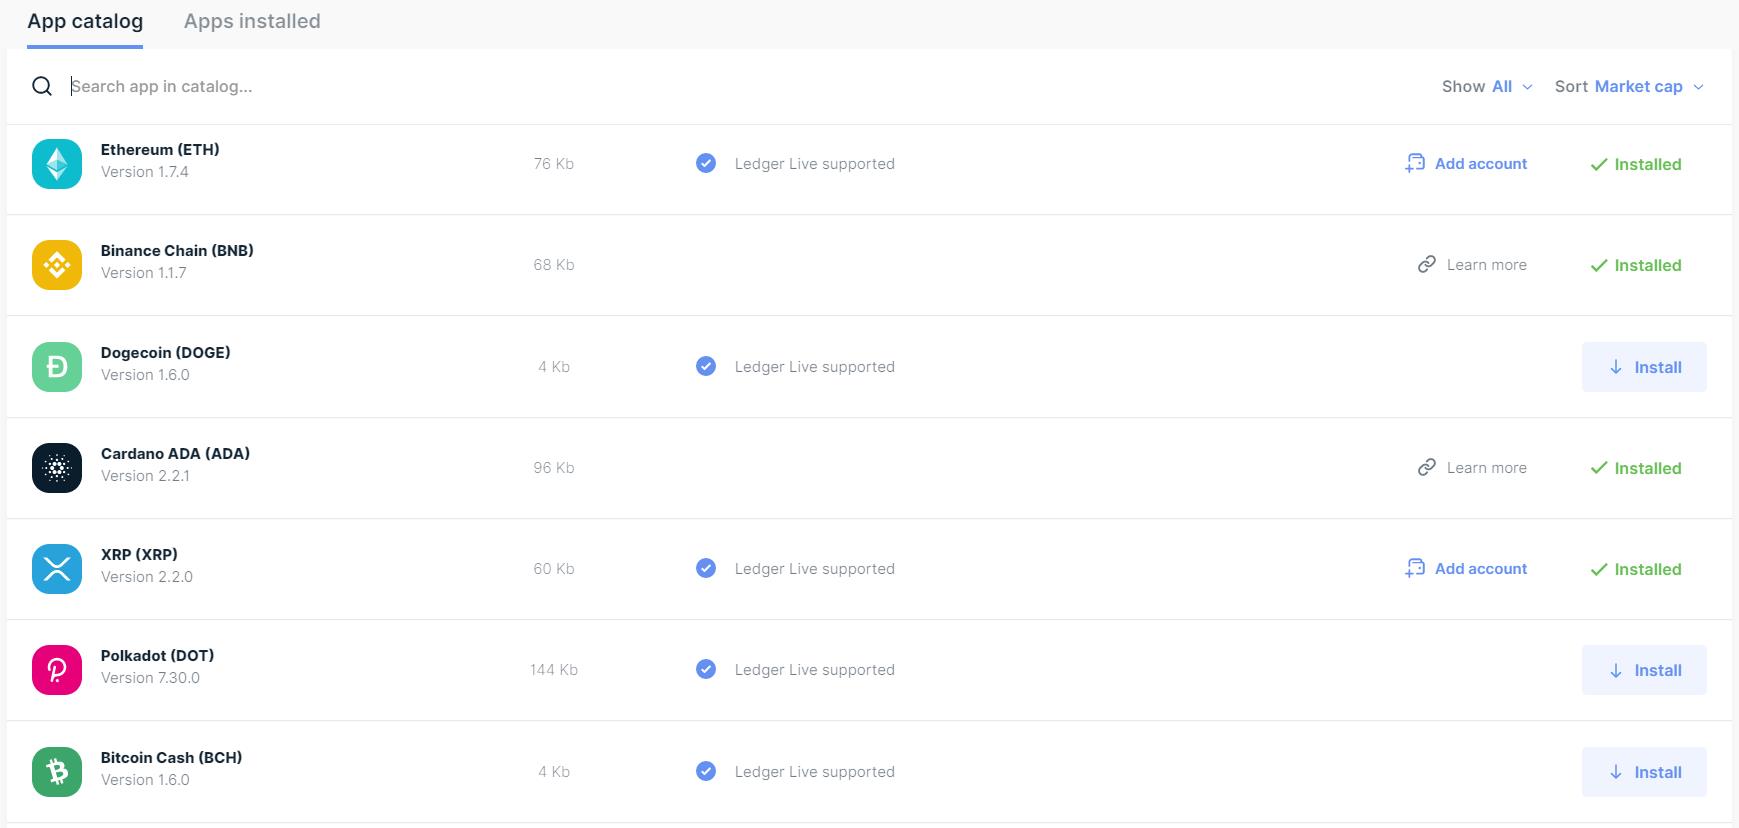
Install Polkadot Application
To install the Polkadot application, first search for Polkadot in the app catalog, and click on install.

The DOT application will then be installed on your device and then you can use it.
Add Account
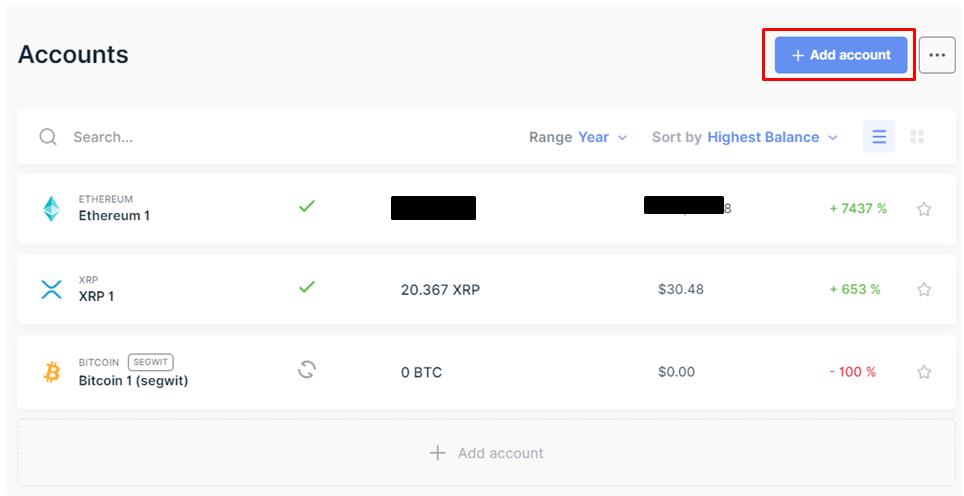
Once the user has installed the desired token application, he/she is required to add an account.
Click on Add account.
The wizard starts and will ask you to choose the asset type.
Select your desired asset from the dropdown (Polkadot).
You are now required to open the Polkadot app on your hardware device and then approve the process by providing the PIN.
Next, you need to add a new account by clicking on the Add account button.
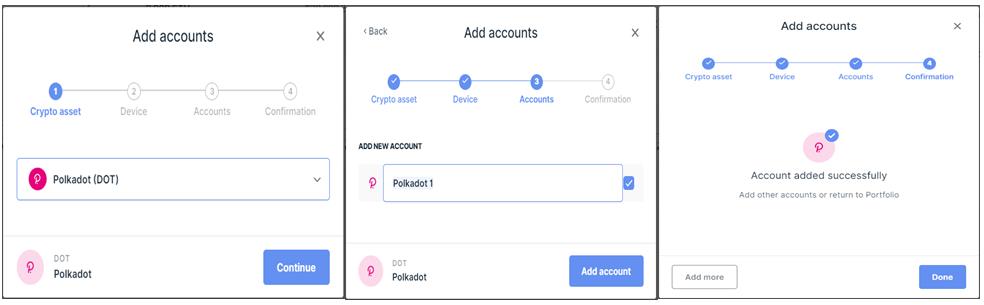
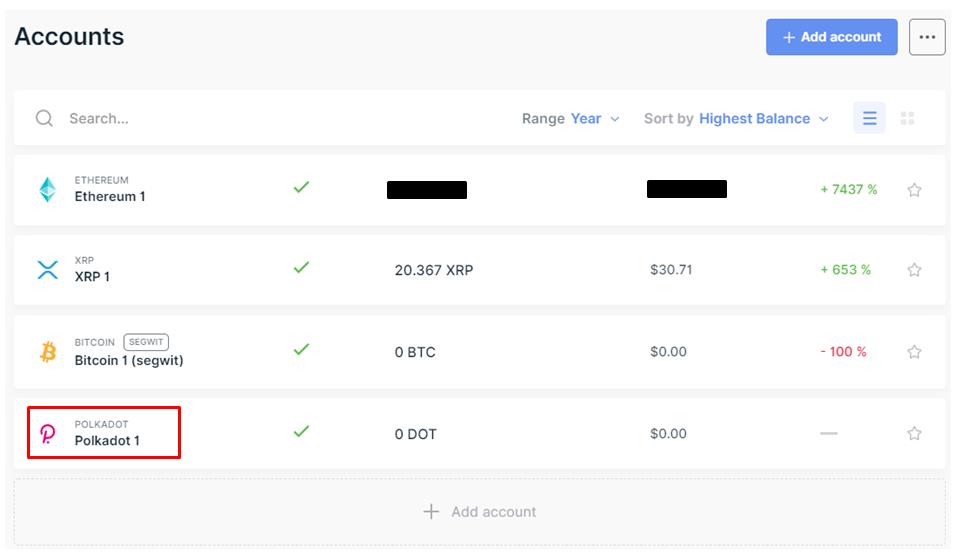
Your Polkadot account is now created on the Ledger device. You can now see the account in the Accounts section.
Receiving Address
To transfer the DOT token into the Ledger, you are required to obtain the receiving address.
Click on the Polkadot account in the accounts section.
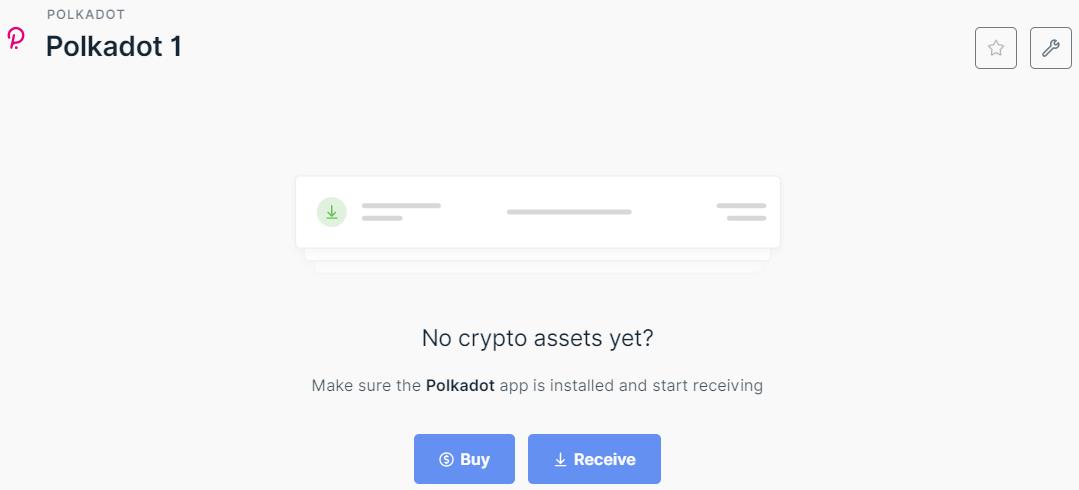
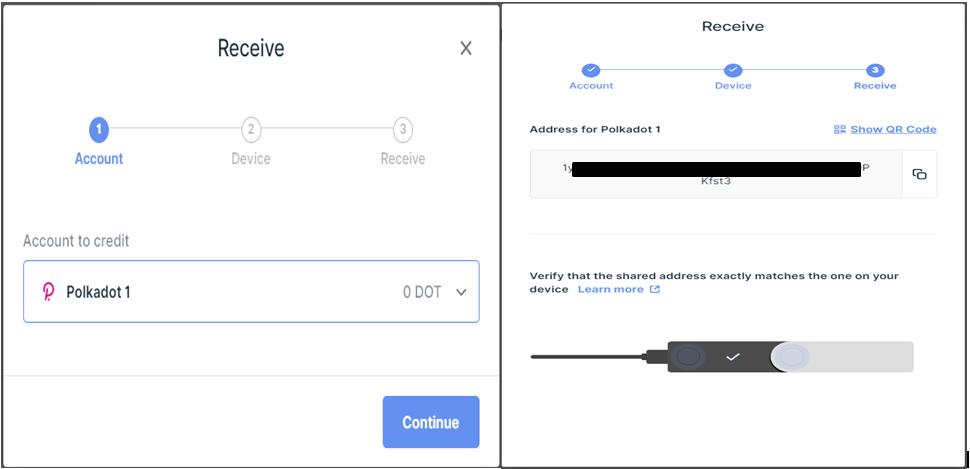
To get the receiving address, click on Receive.
Next, select the Polkadot account (in case you have more than one) and confirm the process from your hardware device. The application will show you the desired receiving address.
Transfer DOT
As shown in the screenshot below, we have some DOT in our exchange account that we want to transfer to our hardware wallet.
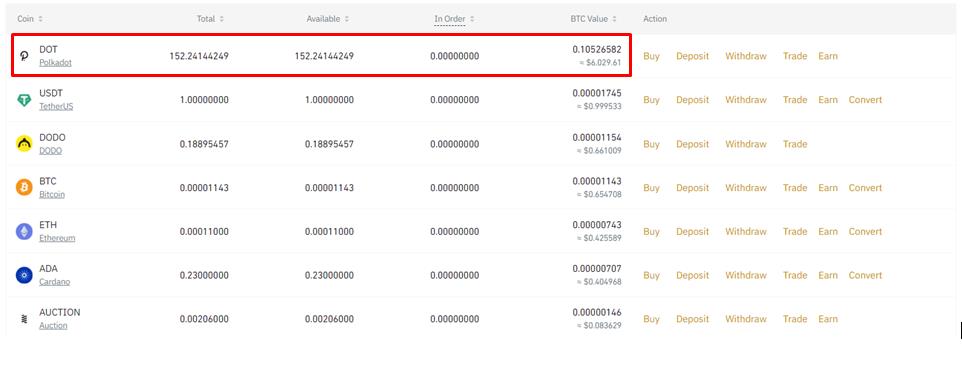
To withdraw DOT, click on the withdraw button appearing in line with the token.
Enter the amount of DOT you wish to transfer and confirm the process.
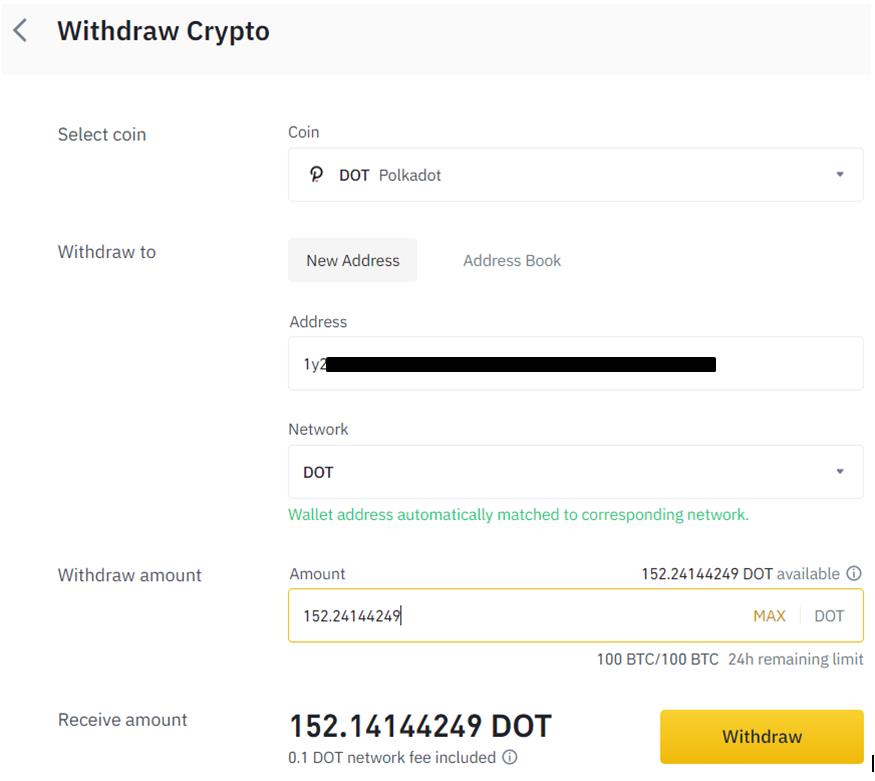
Once the transaction is successful, you will see the token balance appear in your hardware wallet.
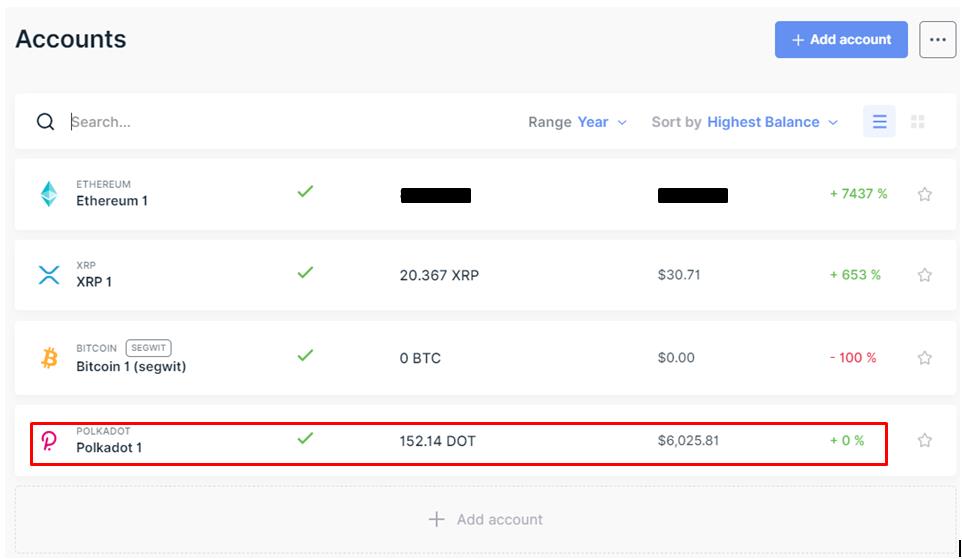
Ultimately, by following these steps, you can easily transfer your Polkadot (DOT) or any other tokens into your Ledger device.
In the next article in this series, we will explain how to stake these tokens from the device.
Resources: Polkadot Wiki
Read More: CryptoPunks: NFTs That Made History


Great guide