


")


 Tokens Playing This P2E Game")

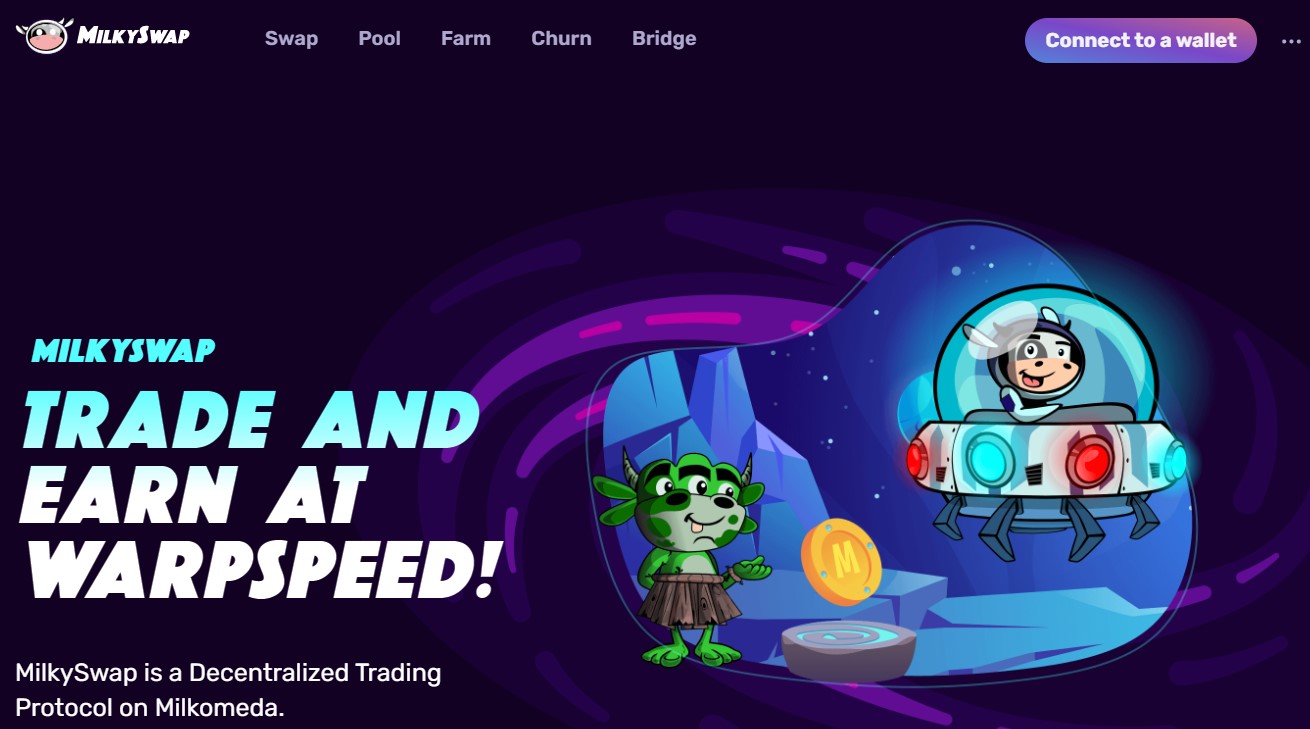
MilkySwap is a decentralized Trading Protocol based on Milkomeda, a sidechain of the Cardano ecosystem. Users can use the platform to swap, pool, and farm supporting assets and earn rewards.
The platform has a native token, named, $MILKY. The project code is audited by Peckshield and Certik. In this article, we will explain how you can use the MilkySwap platform.
You can read our previous guides on How to transfer ADA coins from the Cardano network to the Milkomeda C1 network using the Flint wallet.
Table of Contents
Access The MilkySwap Platform
First, you need to visit the Milkyswap website.
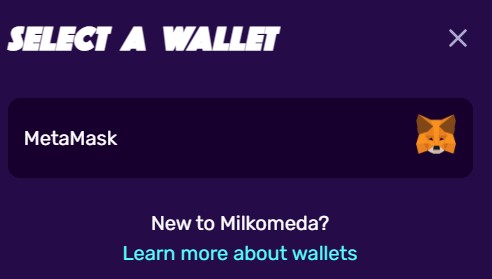
Connect Wallet
Then, you need to connect only with the Metamask wallet.
Once you connect your wallet, the platform will reflect the Milky, MilkADA balance, and network details at the top of the page.
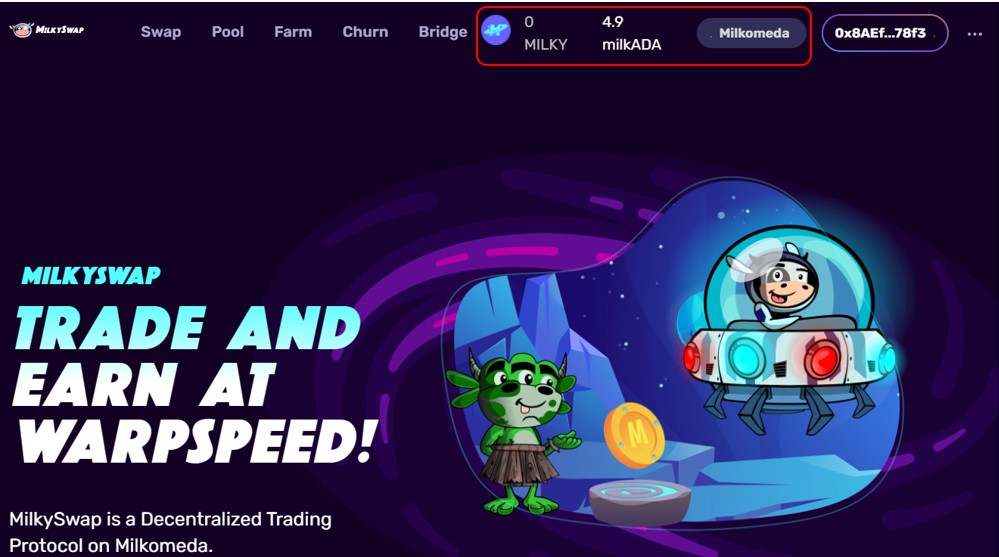
Now let’s see the features offered by the platform in detail.
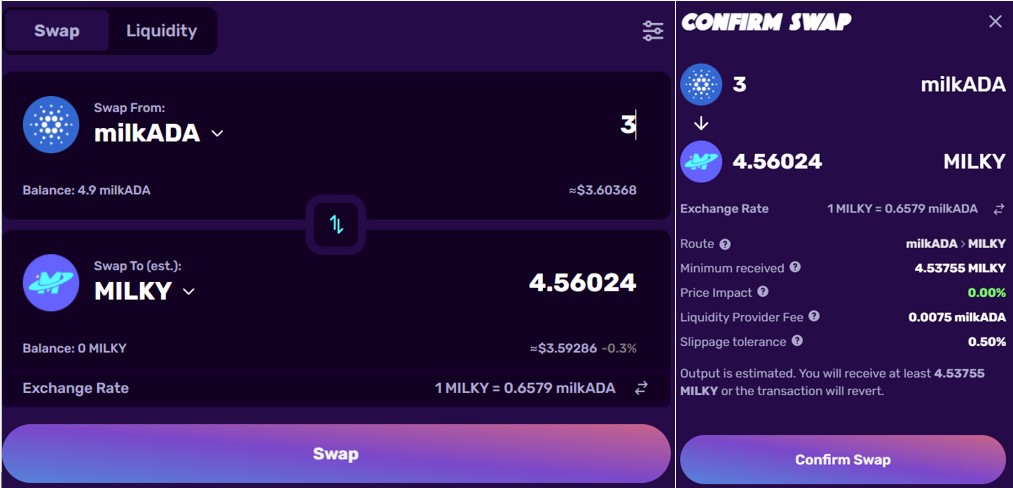
Swap in MilkySwap
Using the “Swap” feature, users can convert one supporting asset into another. To perform a swap activity, users need to pay a 0.3% trading fee to the liquidity providers who have deposited their tokens into the liquidity pool.
Follow the below steps to perform a token swap:
1: Select the token pair that you wish to exchange.
2: Fill in the amount of source token and the application will show the amount of resultant token that you will receive.
3: Approve and confirm the Swap activity.
4: Confirm the Metamask transaction and wait for its completion.
Add Milky Token In Metamask
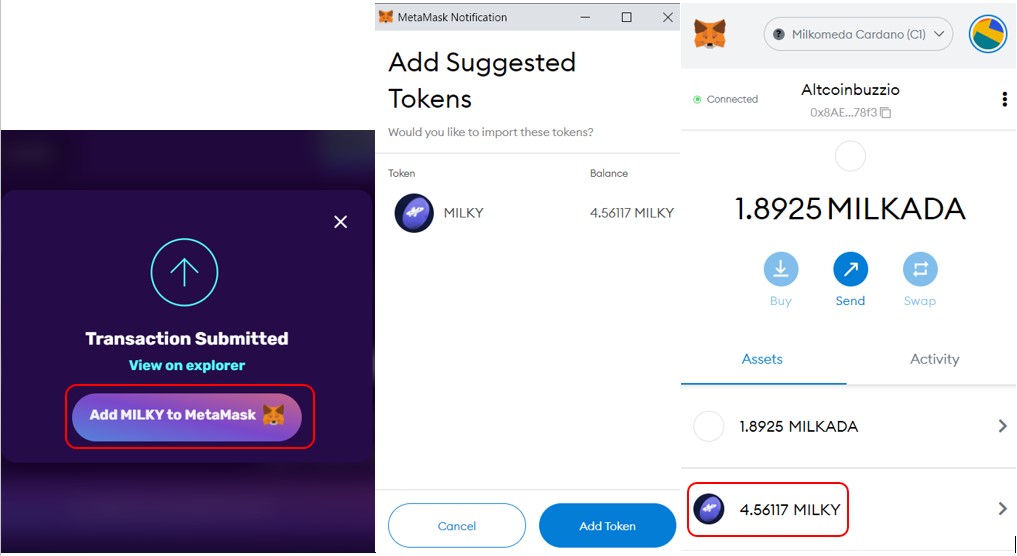
Once the transaction is done, you will get a pop-up to “Add the MILKY token” to your Metamask wallet. Click on it, and follow the steps shown in the below screenshot to add the token.
Once added, you can check the MILKY token balance.
Add Liquidity in MilkySwap
The platform liquidity is maintained by liquidity providers who deposit their tokens into the various pools. And in return, they receive a trading fee of 0.25% that is done against their participating pool as a reward.
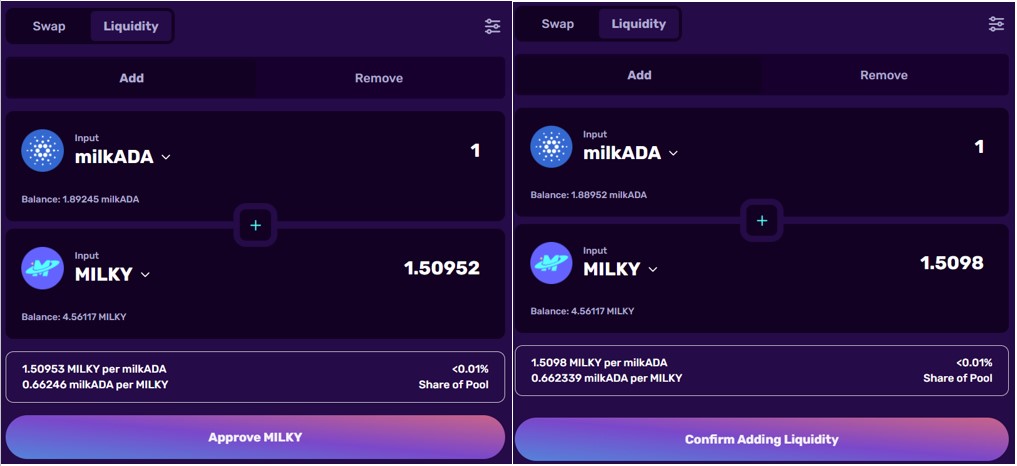
Therefore, to provide liquidity, users need to choose and deposit two tokens in equal amounts. Below are the steps that users to follow to add liquidity:
1: Select the two tokens that you wish to deposit into the pool
2: Fill in the amount of the first token and the application will automatically reflect the amount of the second token.
3: Approve and confirm the Add Liquidity process.
4: Confirm the generated Metamask transaction
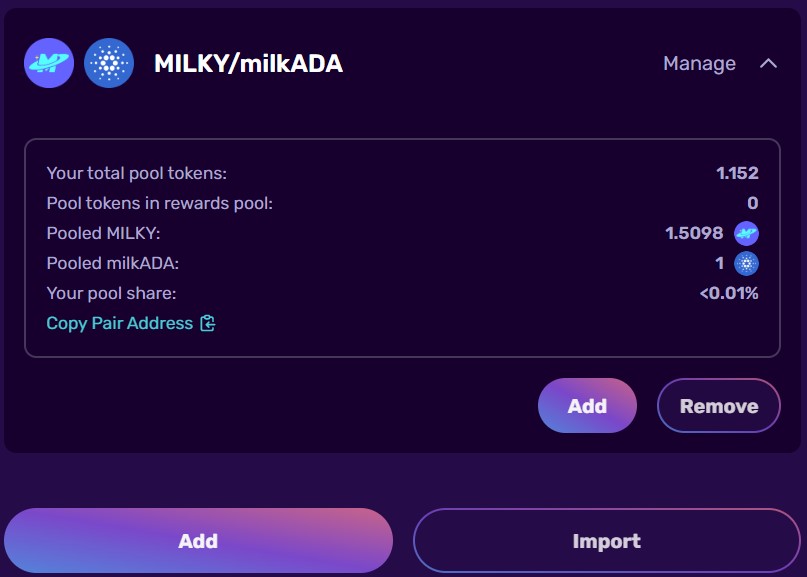
5: Once confirmed you can check your liquidity details
Remove Liquidity from MilkySwap
Users can remove their liquidity from a participating pool at any time.
Below are the steps to follow for removing liquidity from a pool:
1: Select the pool (in case of more than one) from where you wish to remove your liquidity
2: Expand it, and click on the Remove button (see screenshot above)
3: Fill in the percentage of pool tokens that you wish to remove
4: Approve and confirm the withdrawal process.
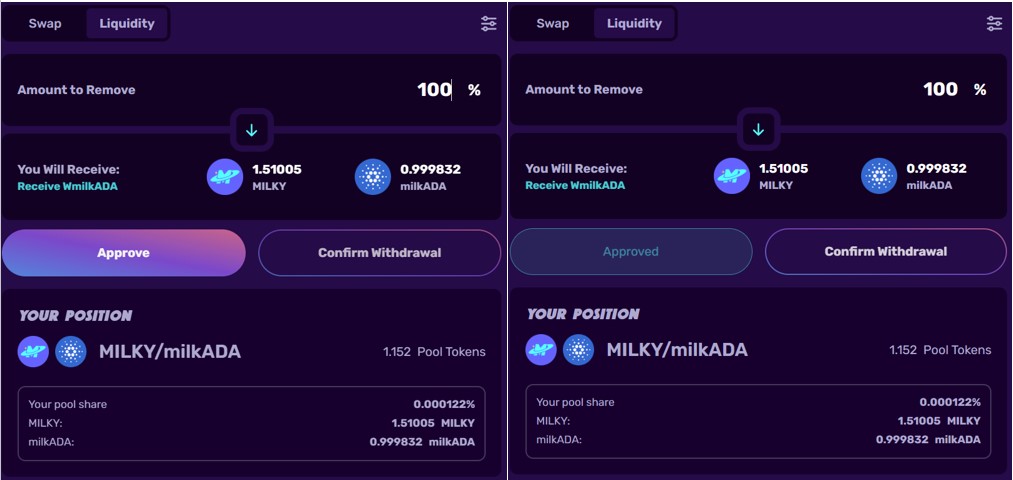
Step 5: Confirm the Metamask transaction and wait for its completion
Step 6: Once the transaction is done, the pool balance will become zero, and the constituent tokens will move to your wallet’s main balance
Farm on MilkySwap
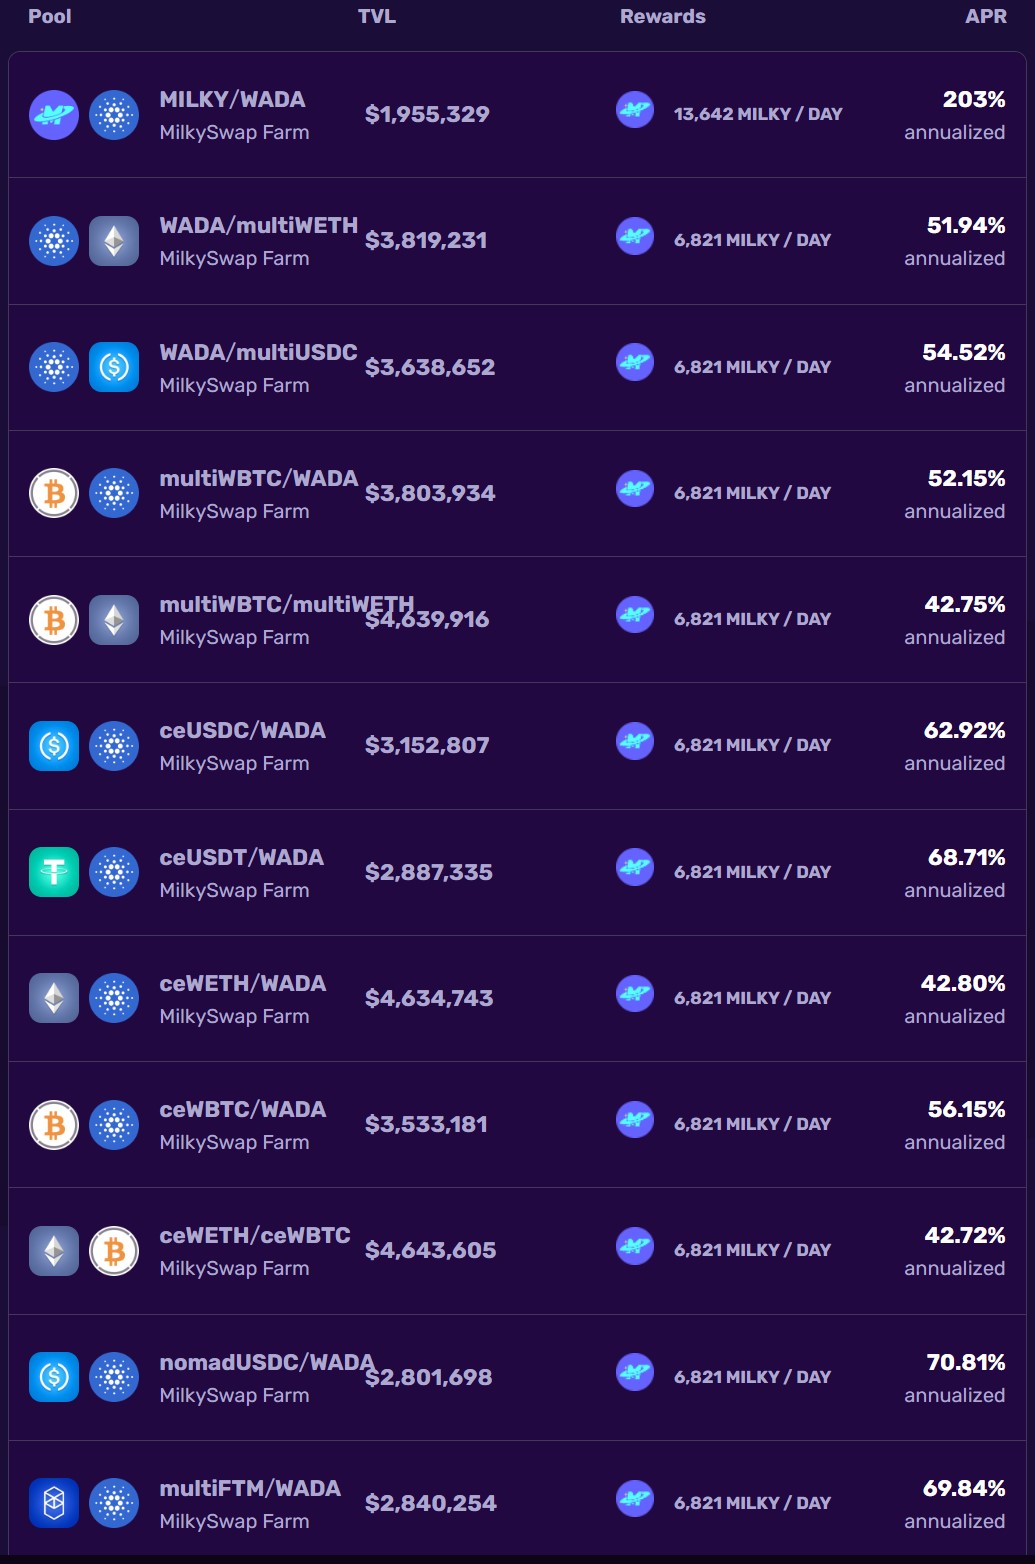
MilkySwap allows users to participate in the Farm pool supported by the platform. Users can deposit their liquidity pool token into the farm pool and earn rewards. You can check the various pools supported by the platform from the Farm tab.
Deposit Into Farm Pool on MilkySwap
Also, MilkySwap allows the users to generate liquidity pool tokens from this section. If you have not created an LP token earlier then go to the Liquidity tab (see the below screenshot). Therefore, follow the steps explained in the “Add Liquidity” section to deposit your tokens into the liquidity pool.
Follow the below steps to deposit your LP tokens into the pool.
1: Users who already hold LP tokens can go to the “Staking” tab
2: Enter the percentage of LP tokens that you wish to deposit into the farm pool
3: Approve and confirm the process (see the below screenshot)
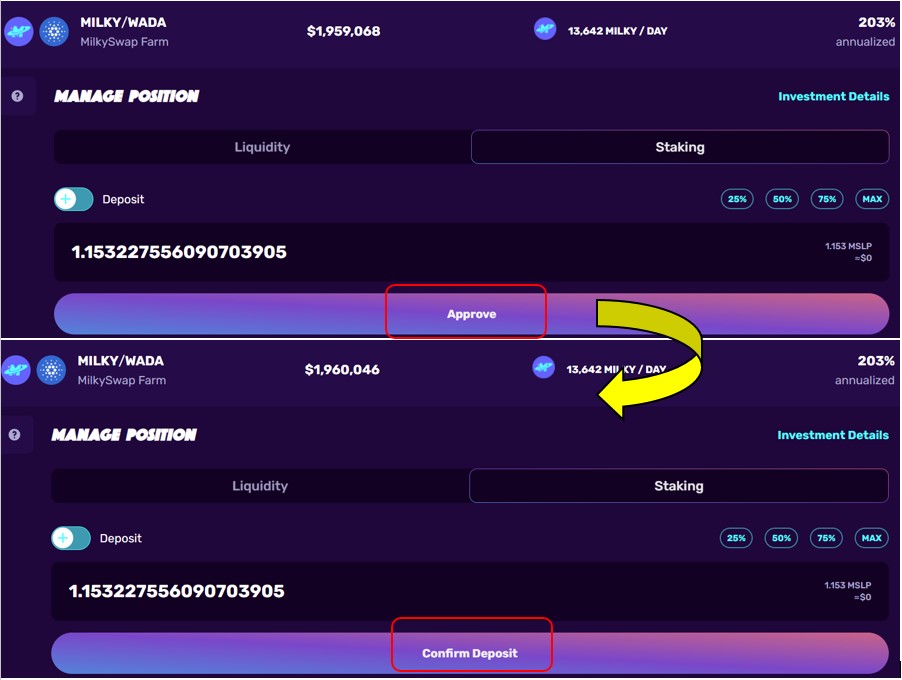
4: Confirm the Metamask transaction triggered in your wallet. Once the transaction is successful, you can check your Farm Pool details (see the below screenshot)
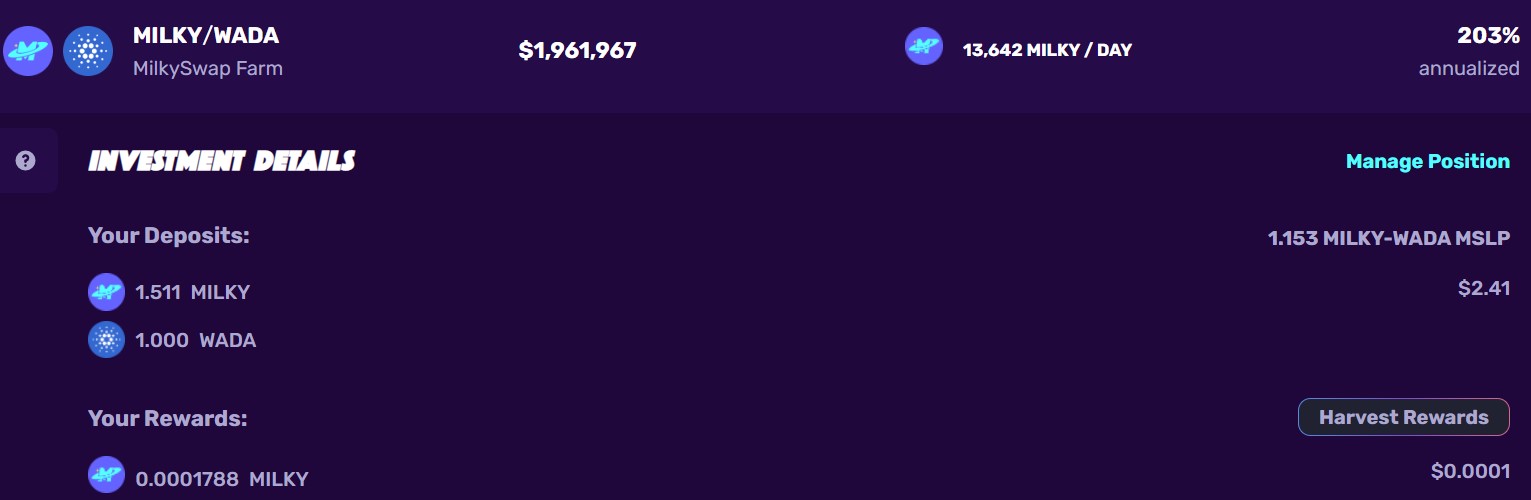
5: Check your earned rewards from the Reward section. You can harvest the rewards anytime or they are harvested automatically once the user chooses to withdraw tokens from the farm pool
Unstake From Farm Pool on MilkySwap
On the other hand, Users can unstake their deposit pool tokens from the farm pool at any time. Therefore, follow the below steps to unstake your LP tokens from the Farm pool:
1: Select the Farm pool (in case of more than one) and expand the details
2: Click on Manage Position (see screenshot above), and click on the deposit toggle button to enable the Withdraw mode
3: Fill in the percentage of Farm pool token you wish to withdraw
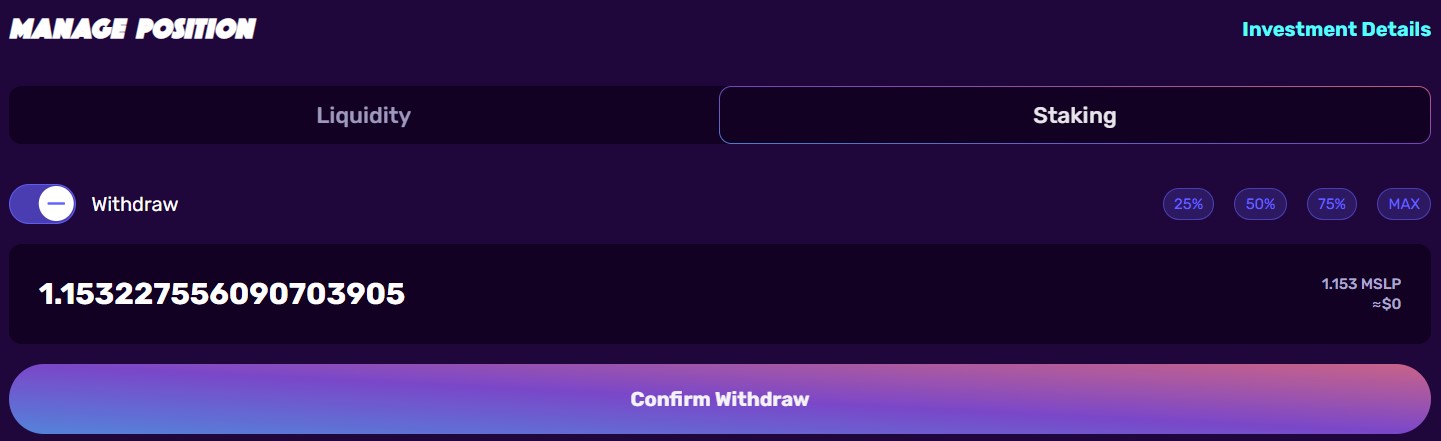
4: Confirm the process and the Metamask transaction
Churn on MilkySwap
The Churn feature will allow the users to lock their MILKY token for a certain period (between 1 week and 4 years). And, in return, they will receive the $CREAMY token. Also, MilkySwap has adopted this locking feature from the CurveDAO’s system that locks the Milky token in a veCRV ERC20 smart contract for a specific time.
Moreover, this feature has not been launched yet. We will update the guide when it will be available.
Finally, for more cryptocurrency news, check out the Altcoin Buzz YouTube channel.
Above all, find the most undervalued gems, up-to-date research, and NFT buys with Altcoin Buzz Access. Join now starting from $99 per month


churning is active now
Voting is active now