


")


 Tokens Playing This P2E Game")
")
Multichain is a Web 3.0 routing protocol that facilitates cross-chain interactions between various blockchain networks. Born as Anyswap, on 20th July 2020, the protocol is open-sourced and serves as an interoperable layer to support almost all blockchains (either integrated already or will be integrated in the future). Users can now freely transfer assets from any layer-1 network like Ethereum to layer 2 networks like Polygon, Arbitrum, or parachains (Moonbeam), etc.
In this article, we will explain how you can use the MultiChain bridge to transfer your assets from the Ethereum network to the Polygon network.
You can also read our previous guide on Multichain to transfer assets from the BSC Network to the CELO network.
Table of Contents
Key Details About MultiChain Bridge
Below are some of the mind-blowing figures of the Multichain bridge:
- Support 13 popular wallets including Metamask, Coinbase Wallet, etc
- Currently supports 61 chains. Network support is rapidly growing
- 2656+ Supported tokens
- Support a bridge for NFTs (both ERC721 and ERC1155)
- Total TVL Locked $2.61 billion
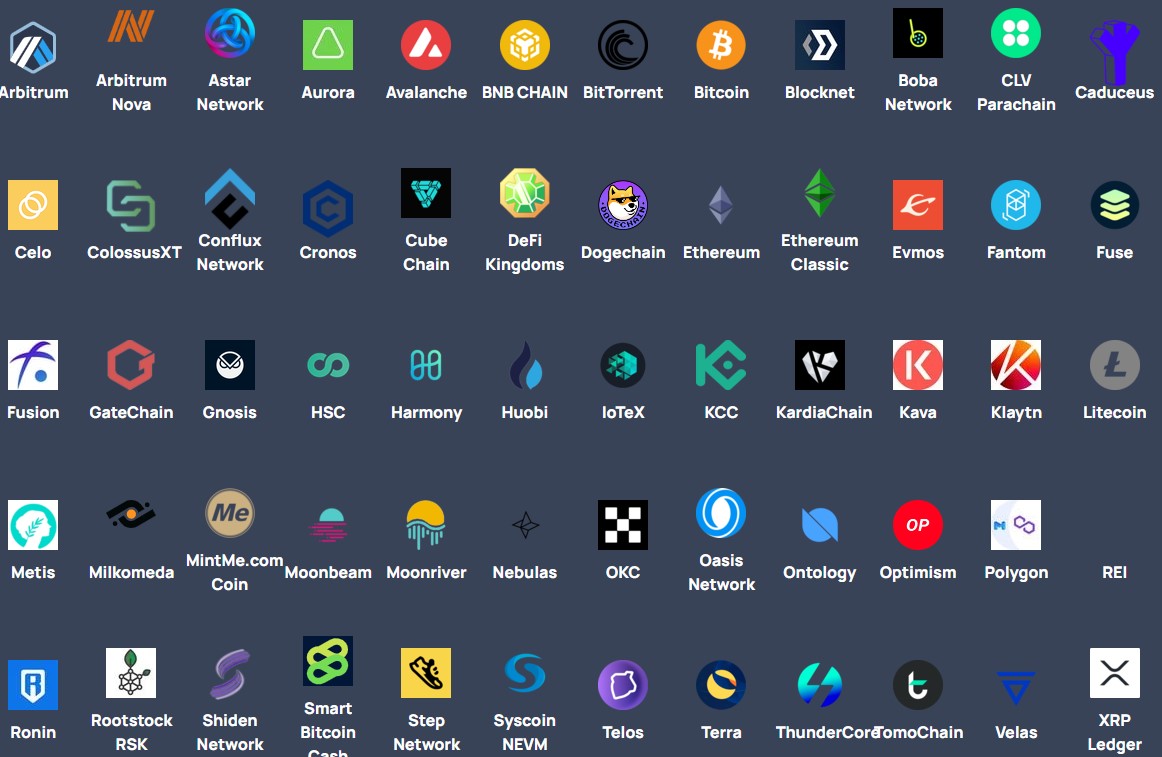
Supported Chains
The Multichain bridge supports a huge number of chains including layer 2 networks like Polygon, Arbitrum, Optimism, etc. Check the full list of supported chains in the below screenshot. Users can use the Multichain bridge to transfer assets between any two supported chains.
Access The MultiChain Bridge
To use the Multichain bridge, visit the link
You can see the below screen. Users need to enter a few mandatory details in the below fields to initiate a bridge transfer:
- Source Network
- Destination Network
- Token and the amount you wish to transfer
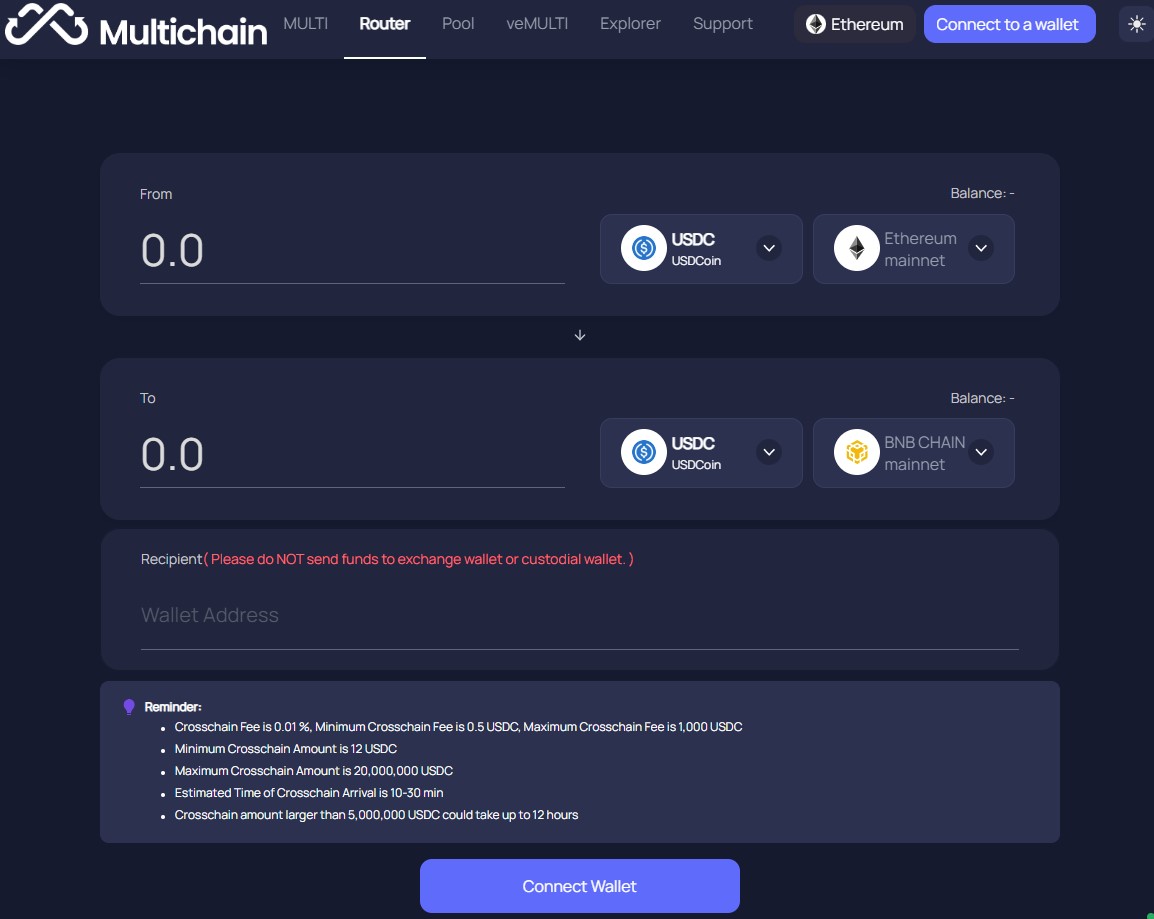
But before proceeding, users need to first connect their wallet to work with the bridge.
Connect Wallet
Click on the Connect To A Wallet button to connect your wallet. Multichain allows you to connect to the platform by using any of the below wallet types:
- Metamask
- WalletConnect
- Coinbase Wallet
- TokenPocket
- Trust Wallet
- Gnosis Safe
- BitKeep
- Binance
- MetaX
- Coin98
- Clover
- Xdefi
- Huobi
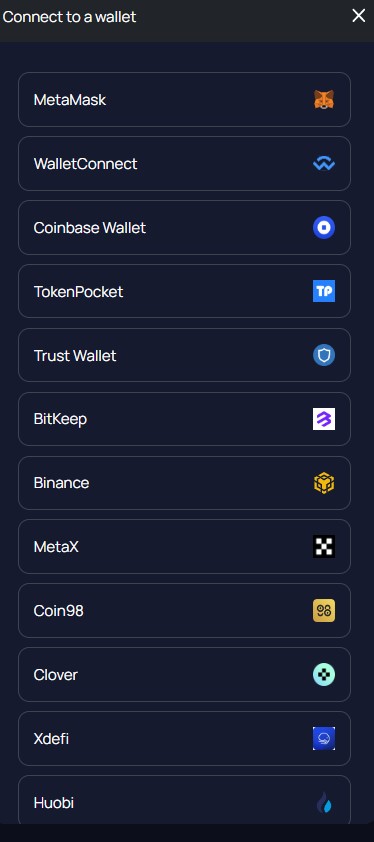
We will use our Metamask wallet to connect to the bridge.
How To Transfer From Ethereum To Polygon
As we have mentioned earlier, users need to fill in certain fields as input parameters to initiate a transfer. So, here also, to transfer from Ethereum to Polygon, we will fill in the following values in the required fields.
Also, set the network in your Metamask wallet (in this case) as Ethereum as the transfer is generated from the Ethereum network.
- Select Ethereum as Source Network
- Select Polygon as the Destination network
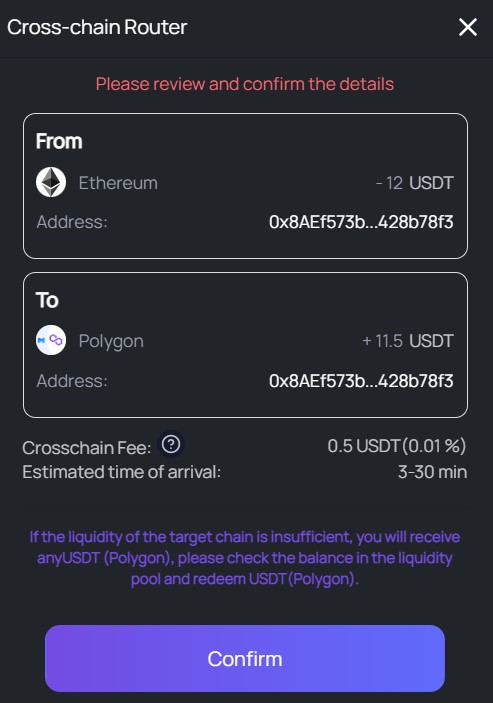
We have some USDT in our connected wallet that we will use to transfer using the Multichain bridge. Enter the amount of token that you wish to transfer. Now, check the token and the amount that you will receive in the destination network.
The bridge imposes certain criteria on asset transfer and it is displayed on the screen. For example,
- The Minimum Amount to transfer is 12 USDT
- Users can transfer a maximum of 20,000,000 USDT
- Processing time is approx. 10-30 min
- Amount > 5,000,000 USDT could take up to 12 hours to process
- Cross-chain Fee is 0.01 %, Cross-chain fee ranges between 0.5 USDT (min) to 1,000 USDT (max)
Change Recipient Address
If you do not wish to send the asset to the same address (but with a different network) of your connected wallet, then you can do by clicking on the +Send To button. You can now erase the default address and enter the desired recipient address. However, note that the address should not be an exchange address or custodial wallet address.

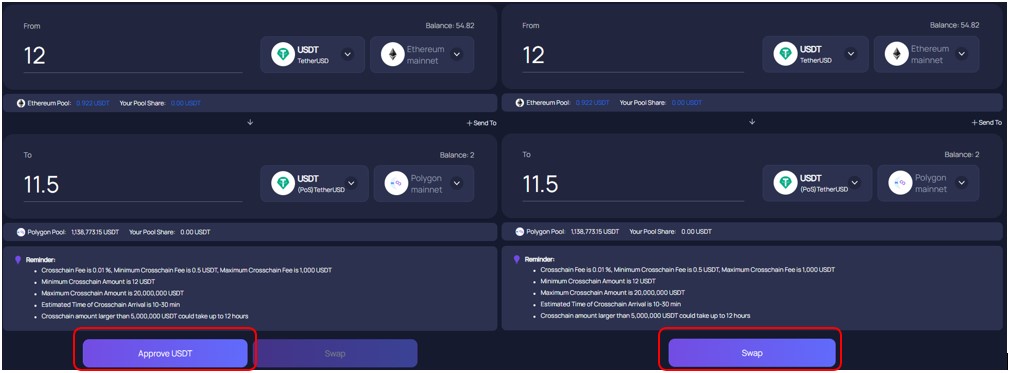
If you are using the asset and network pair for the first time, then you have to Approve the process first. Once approved, you can see the Swap button. Finally, review and confirm the process.
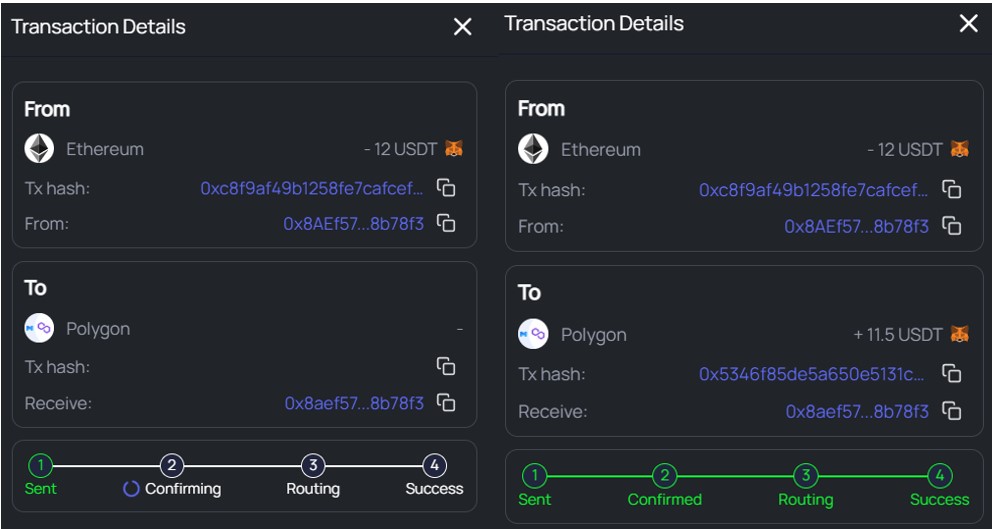
Users will receive a transaction in their Metamask wallet. Confirm the transaction and the process will be submitted to the network. You can check the status of the process on the screen.
Important: It might be possible that the liquidity of the source token is insufficient in the destination network. In that case, you will receive other pegged assets.
Add Polygon Network In Metamask
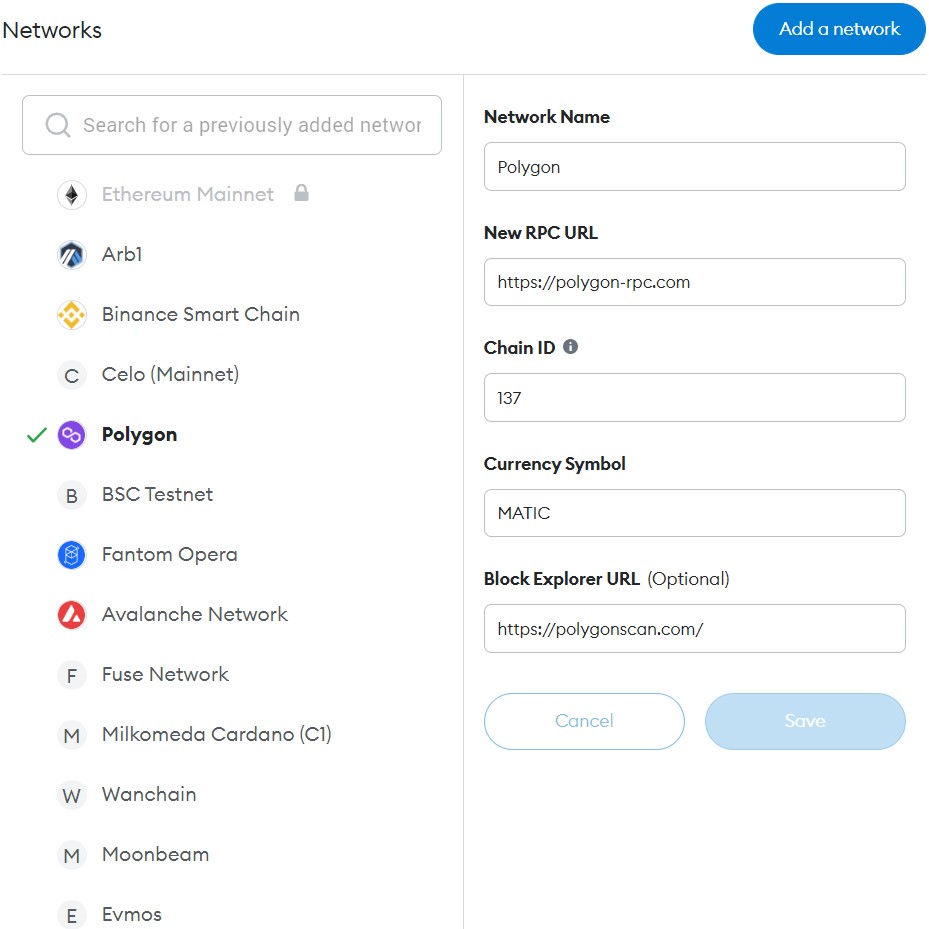
Users need to add the network and token details in their Metamask wallet to see the resultant token. To add the Polygon network in your Metamask, go to Settings -> Add Network, and fill in the below details:
- Network Name- Polygon
- New RPC URL- https://polygon-rpc.com
- Chain ID– 137
- Currency Symbol– MATIC
- Block Explorer URL (Optional) – https://polygonscan.com/
Resultant USDT In Metamask
If you’re not able to see the resultant token (in the destination network) in your Metamask wallet, then you have to add the token contract address by going to the Import Token fields. Once added, you can see the resultant token balance in your wallet.

⬆️Also, for more cryptocurrency news, check out the Altcoin Buzz YouTube channel.
⬆️ALTCOIN BUZZ – BINANCE – GET UPTO $800* ON SIGN UP
Sign up using the links below on Binance Exchange and get the following benefits
- $100 Sign-Up bonus*
- 20% Trading fee discount for life*
- FREE $200 worth of Altcoin Buzz Access PRO Membership*
- Plus $500 Unlockables*
Sign-Up Links –
For more details visit*
*Terms & Conditions Apply
Disclosure: Altcoin Buzz may receive a commission, at no extra cost to you, if you click through our links and make a purchase from one of our partners.


