Ankr is an innovative project that aims to provide decentralized infrastructure services for Web 3.0. It allows the developers or enterprises to deploy a node across multiple chains at a cheaper fee. You can use the API and RPCs to build dApps, stake assets on Ankr, or can become a validator. The platform has eliminated the complexity required to set up, run and maintain a node. Now, if a project does not want to set up its node, it can simply pay and use the resources provided by the Ankr protocol.
So, in this article, we will explain how you can deploy a validator node on Ankr.
Table of Contents
Different Types Of Nodes In Ankr
A node is a computer that contains the data in the form of blocks in a particular network. These nodes are responsible for verifying the transaction data as per the network consensus.
Nodes are mainly categorized into two parts:
- Full Node
- Validator Node
Full nodes contain a copy of the entire blockchain data. They are constantly updated and are in sync with the network. Setting up a full node is suited well for developers and projects that need access to the network.
Validator nodes are responsible for validating the network transactions. To become a validator, interested users need to stake network tokens and they receive a commission for verifying transactions.
Sign Up With Ankr
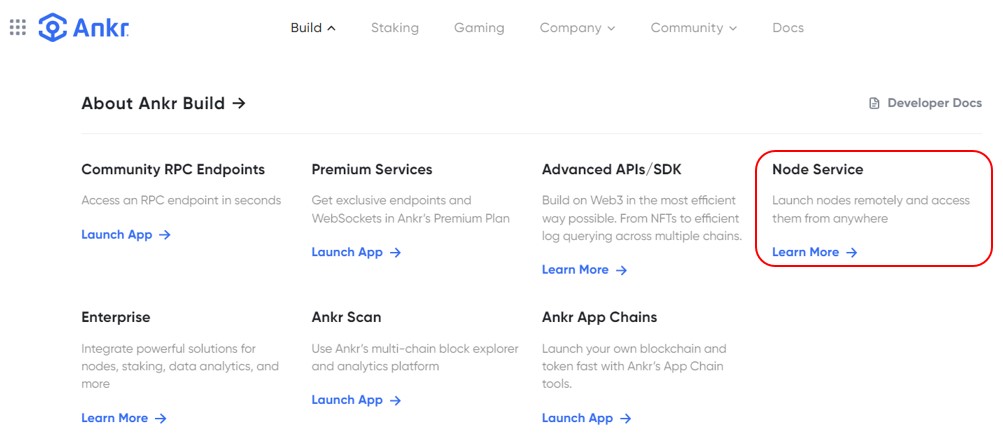
To create a node, users need to sign up for the Ankr portal. Navigate to the path Build-> Node Service on the Ankr landing page.
Click on Node Service, and it will redirect you to the page.
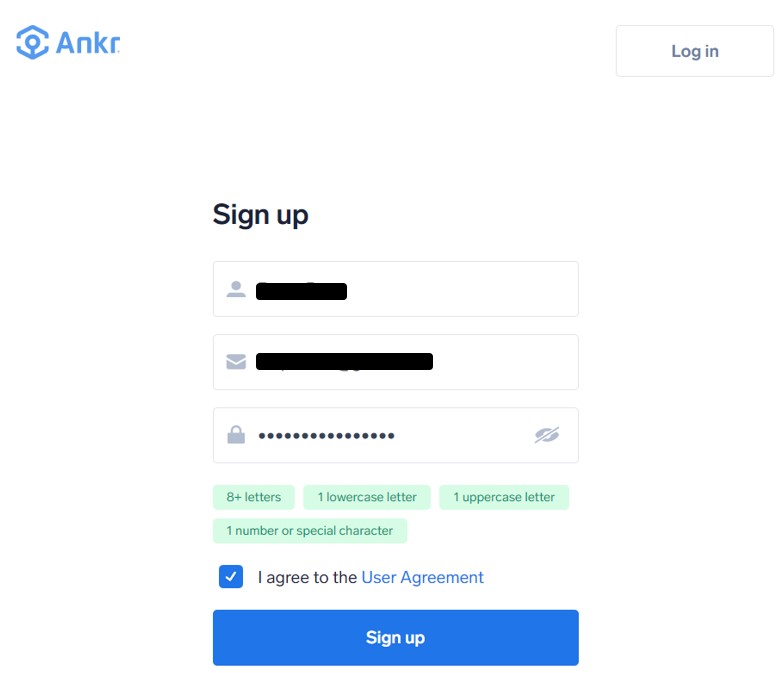
Click on Launch now, and you will be led to the signup page.
To sign up, users need to provide their name, and email address and set an account password.
A verification email will be sent to your registered email address. Verify your email and you will be directed to the platform landing page.
Service Offering By Ankr
On the main landing page, you will find three different services currently offered by the Ankr platform:
-
Generate API Key
Crypto projects can use the infrastructure service provided by Ankr. The Ankr Developer APIs are a collection of RPC methods that helps in querying blockchain data easily and faster across multiple chains. Users can use Ankr’s fast and efficient advanced API for NFT, Query, & token. Currently, it supports the following six EVM compatible chains:
- Ethereum
- Fantom
- Binance Smart Chain
- Polygon
- Avalanche
- Arbitrum
The platform is planning to offer support to more EVM and non-EVM chains in near future.
-
Earn with Staking
We have already covered this topic in our previous article. Read this link to know how you can stake your assets in Ankr liquid staking.
-
Deploy a Node
Interested users can easily deploy a blockchain node on Ankr without even acquiring any technical knowledge. We will explain with detailed steps how you can deploy an Acala validator node on Ankr just by paying a small monthly fee.
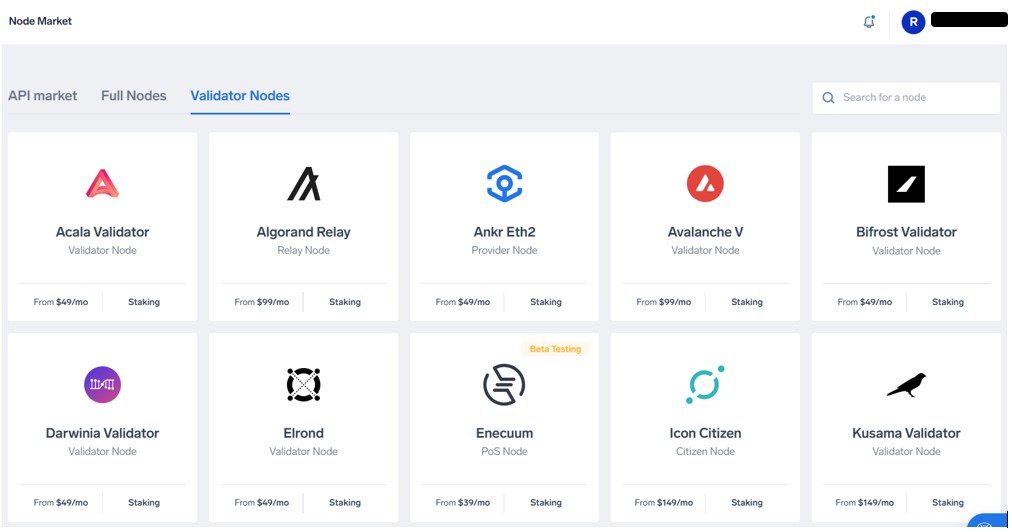
Click on the Deploy a node button (see the above screenshot), and you can see the list of Full and validator nodes of different networks. You need to first select the type of node (full node, validator node) you wish to deploy.
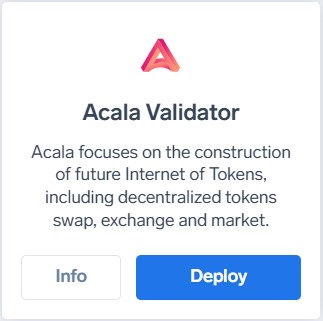
Hover over the network whose validator node you want to create, and you can see the Deploy Button.
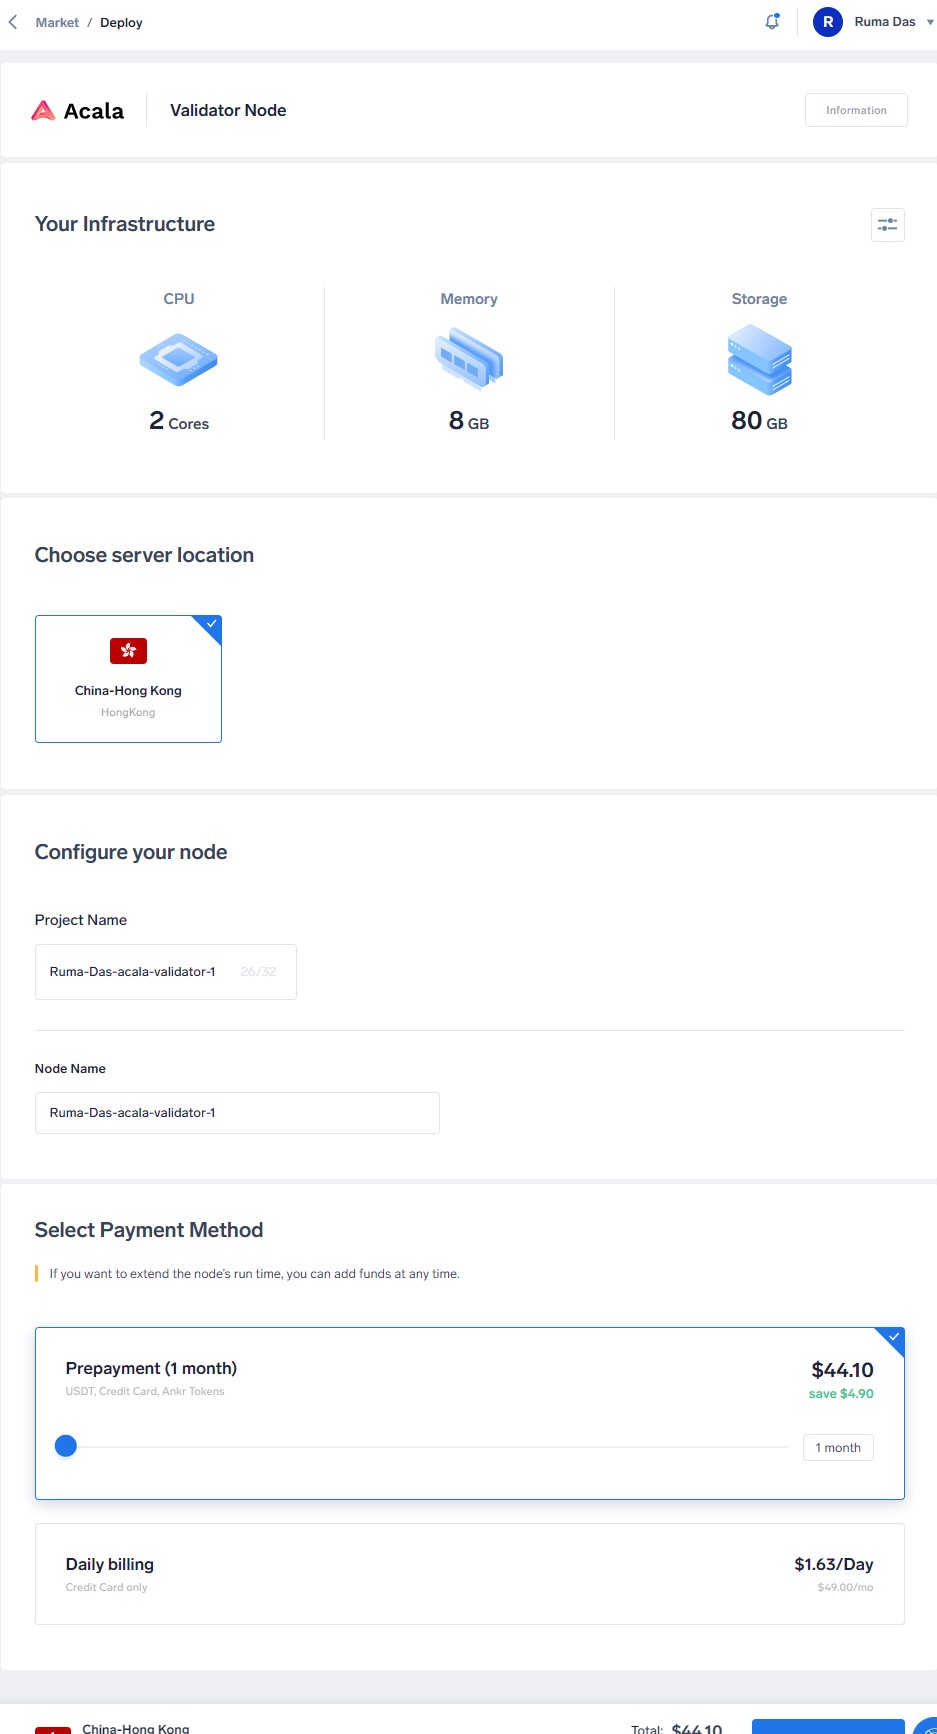
Click on it. You can see the below screen showing the various configuration requirements.
We will explain the importance of each section mentioned in this screenshot.
Your Infrastructure
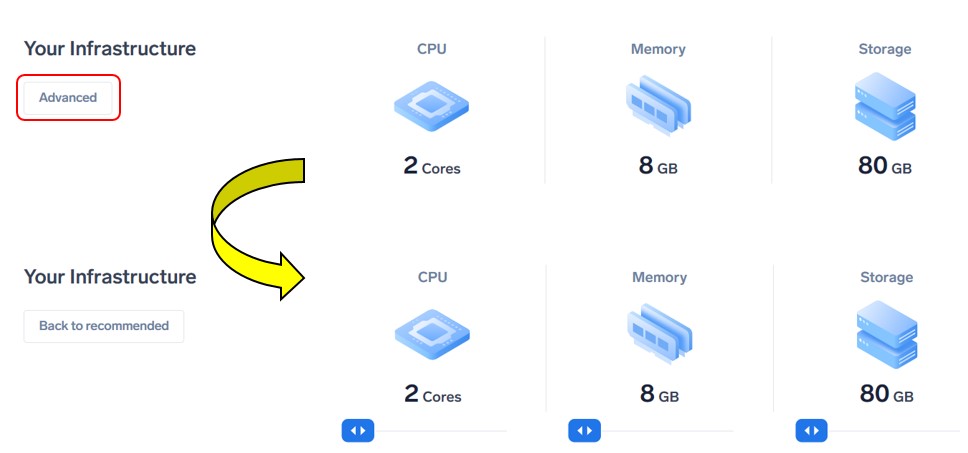
This section shows the system requirement (CPU, RAM, and Storage) needed for this process. The default setting shows the optimum values of different system parameters. However, if you wish, you can go to the Advanced tab, and update (increase) these parameters.
Your Server Location
Here, you can see the list of all recommended clusters where the desired resources are available currently. You can select your preferred server location in case the application shows more than the result.
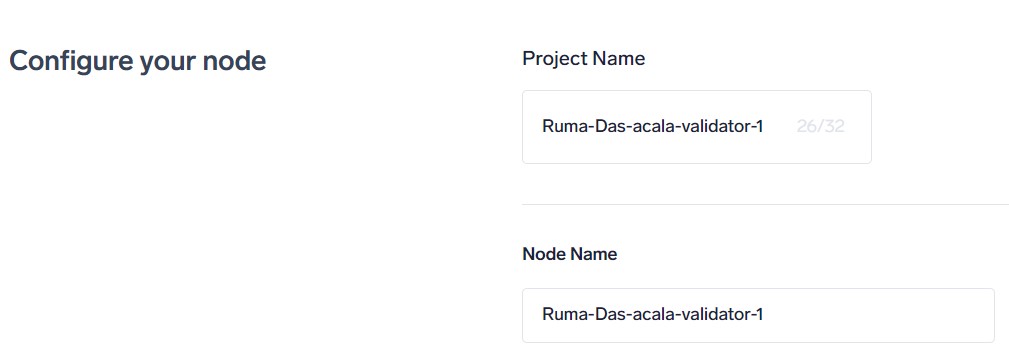
Configure Your Node
Here you can give your project and Node a name (up to 32 characters long), or can keep the default name. You can also change these details later.
Select Payment Method
You can choose the payment method (daily, monthly, or more than one month) here.
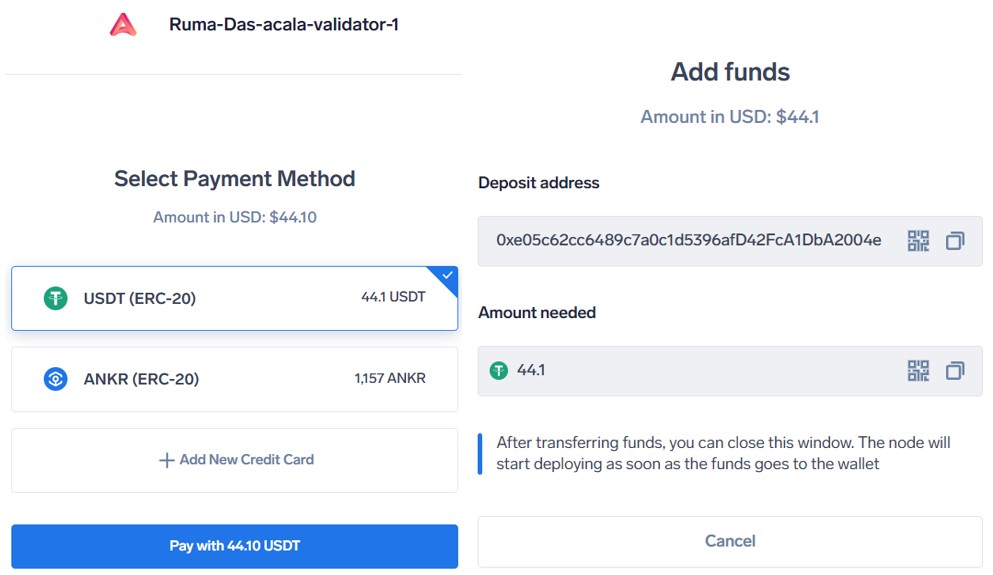
Once you set all the above parameters, click on Proceed To Payment. The application will take you to the payment page where you can select your preferred payment mode out of the following methods:
- USDT (ERC-20)
- ANKR (ERC-20)
- Credit Card
We have selected USDT (ERC-20), so the application shows us an address where we need to transfer the desired amount of USDT.
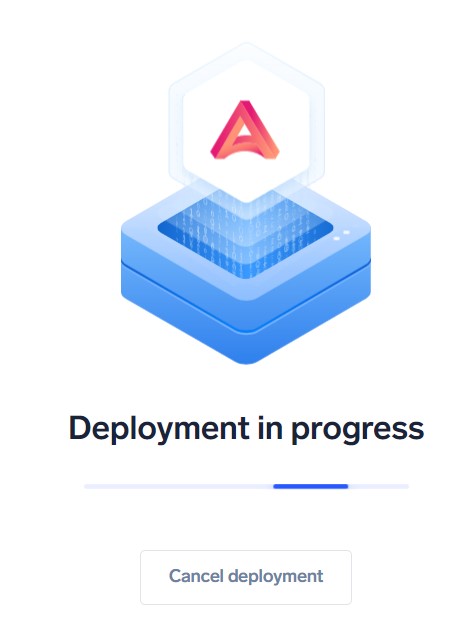
Once you send the required USDT to the mentioned address, you will be able to see the below message on your screen.
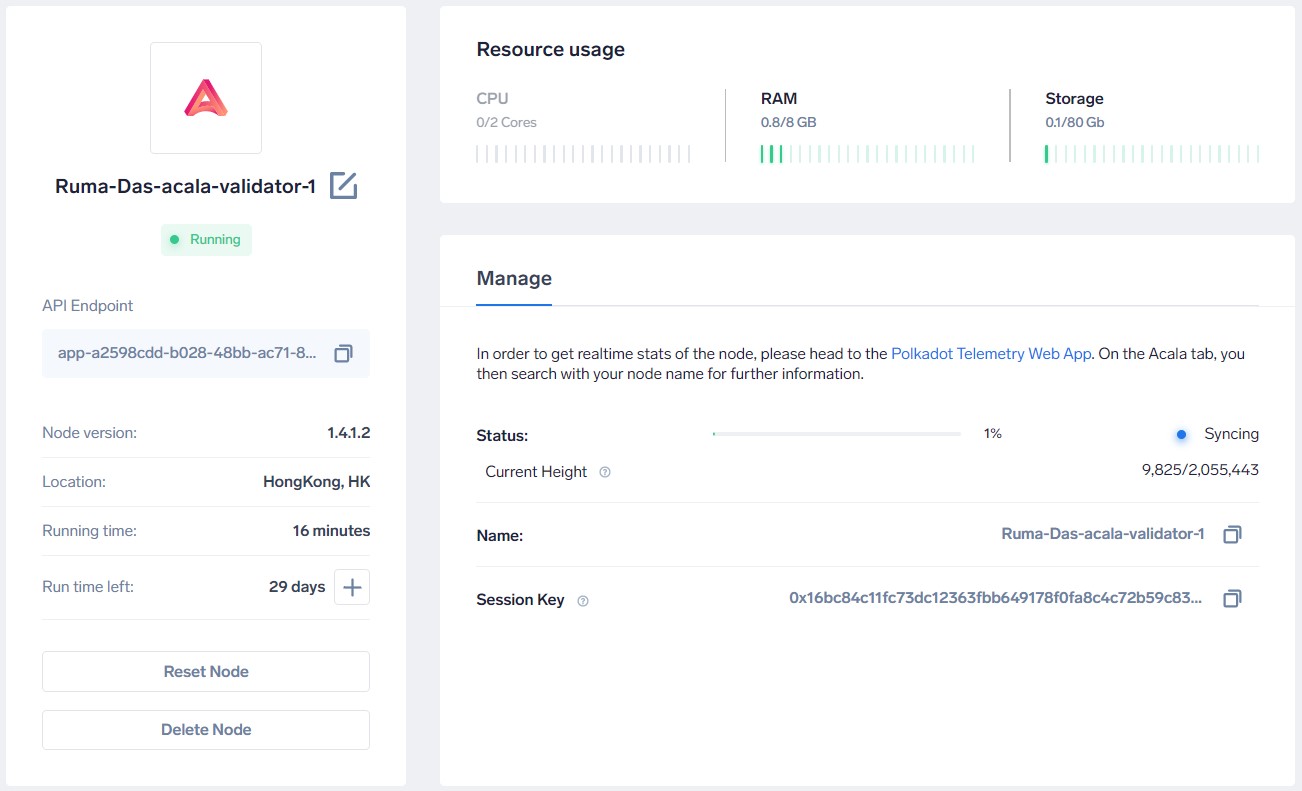
Wait for the process to complete. When the process is complete, you can check your node details.
The node is up and running. You can check the syncing status of the node, and the time left for the node to run. You can always come to the dashboard and extend the node runtime by paying a monthly service fee.
Users can follow similar steps to set up other network nodes.
Finally, for more cryptocurrency news, check out the Altcoin Buzz YouTube channel.
Above all, find the most undervalued gems, up-to-date research and NFT buys with Altcoin Buzz Access. Join us for $99 per month now.


