The WAX cloud wallet is a simple yet powerful wallet that allows users to interact with the WAX blockchain. Users can create a WAX account by giving their email address and transferring a few WAXP tokens to the address. The wallet can be used to store, send/receive/manage assets/ NFT, and interact with dApps.
So, in this article, we will explain how you can set up a WAX cloud wallet.
Table of Contents
WAX Cloud Wallet Signup/ Login
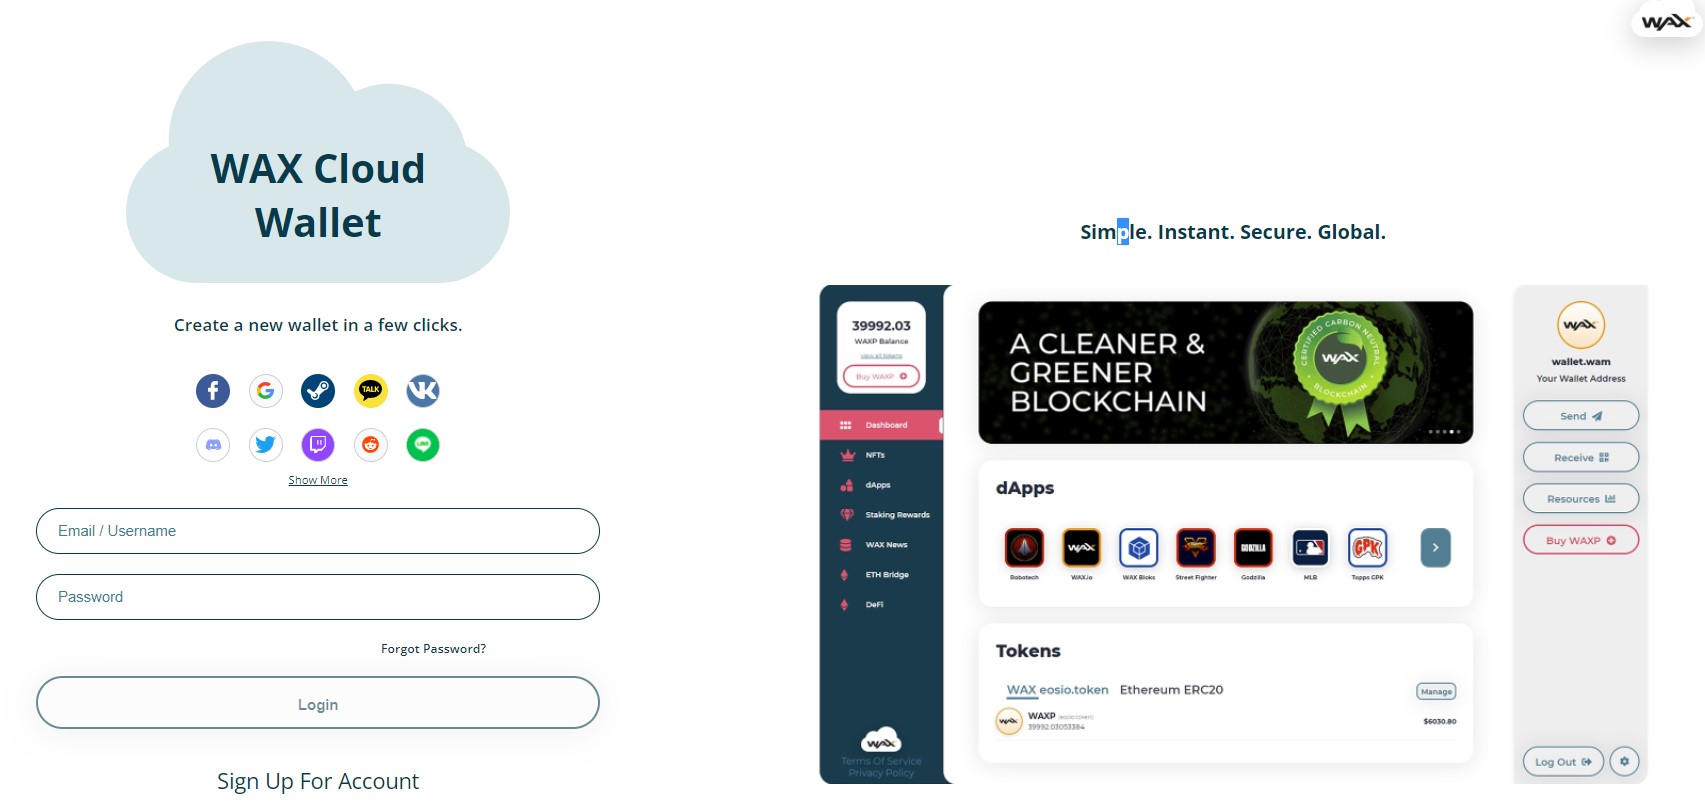
To create a Wax cloud wallet, visit the link
Existing users can log in by giving their credentials.
Create Account
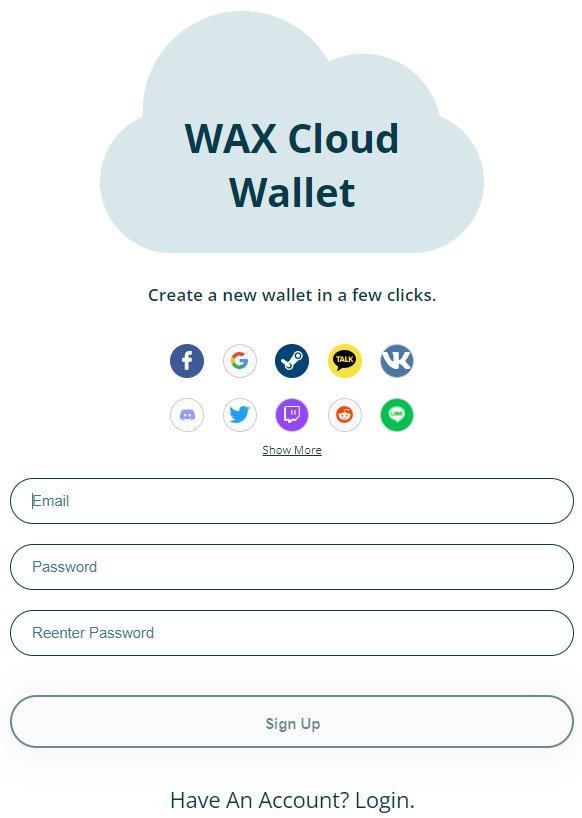
New users can create an account by clicking on the Sign up For Account link.
To signup, users need to provide their email and password. A verification email will be sent to your email address. Verify your email.
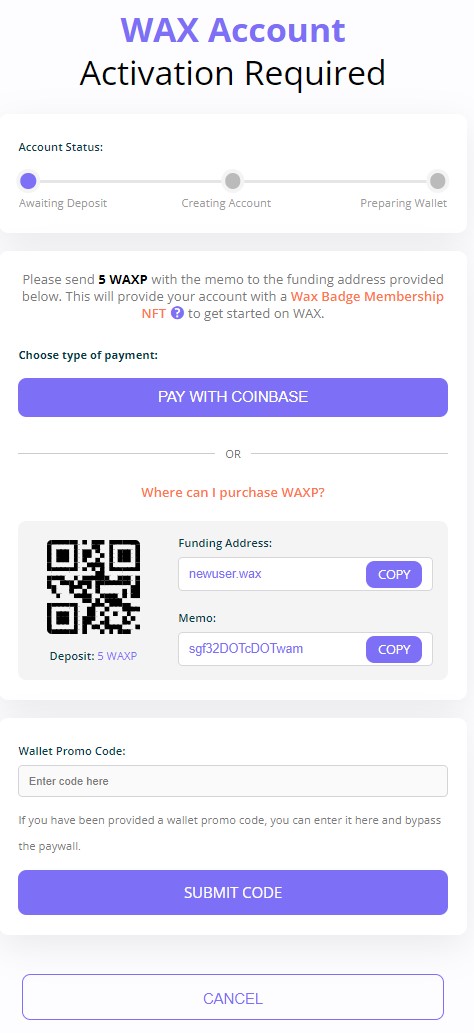
Once you have verified your email, the next thing you have to do is to activate your account.
Activate Account
To activate your account, you have to send some WASP tokens to the account mentioned on your screen.
Users can buy the WAXP token from any supporting platform.
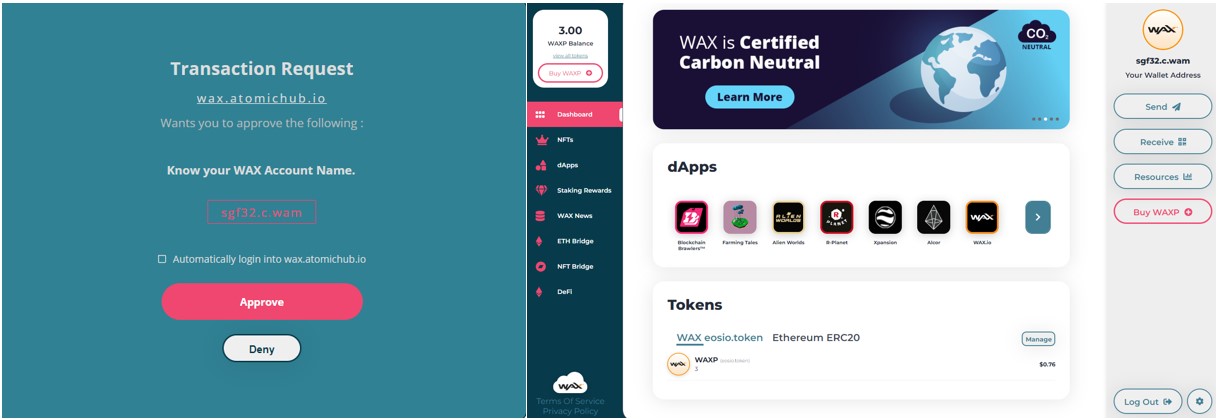
Once you have sent the desired WAXP token to the given address, the application will show your WAX address on the screen. Approve it, and you can see the wallet’s landing page.
Tokens
The tokens tab lists the various tokens that a user is holding. You can see WAX, and ERC20 standard tokens in different tabs.
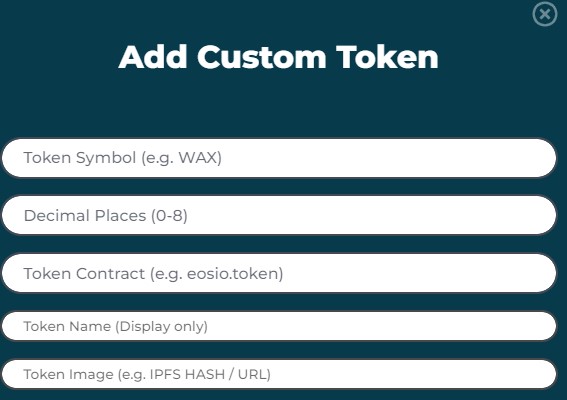
Add Custom Token
Users can add any custom token to their wallets. To add a token, you need to provide the below details:
- Token Symbol
- Decimal Places
- Token Contract
- Name of the Token
- Token Image (IPFS Hash/URL)
Send
Using the send option, users can transfer assets from their WAX account to other users.
To send, first, select the token that you wish to transfer. Now fill the amount (either in USD or WAXP amount), Wax account address, and memo (if any).
Confirm the process.
Receive
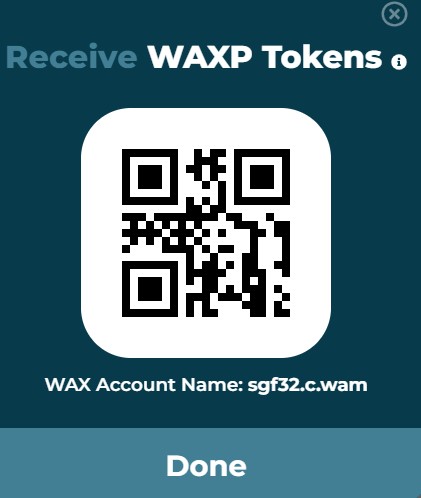
Using the receive tab, users can get their account address or the QR code that they can share with other users to receive tokens in their account.
To get your receiving address, click on the Receive button and it will display your receiving details.
Resources
To perform network operations, users need resources like CPU, NET, and RAM. And to get those resources, they need to stake their WAXP Tokens.
To stake, go to the Resources tab. Now select CPU, RAM, or NET from the dropdown, and fill the amount of WAXP token that you wish to stake.
Confirm the process. Once the transaction is done, you can check your staked WAXP amount.
Note that the platform imposes an unstaking period of 72 hours. Users can unstake their WAXP token after that period.
Buy WAXP
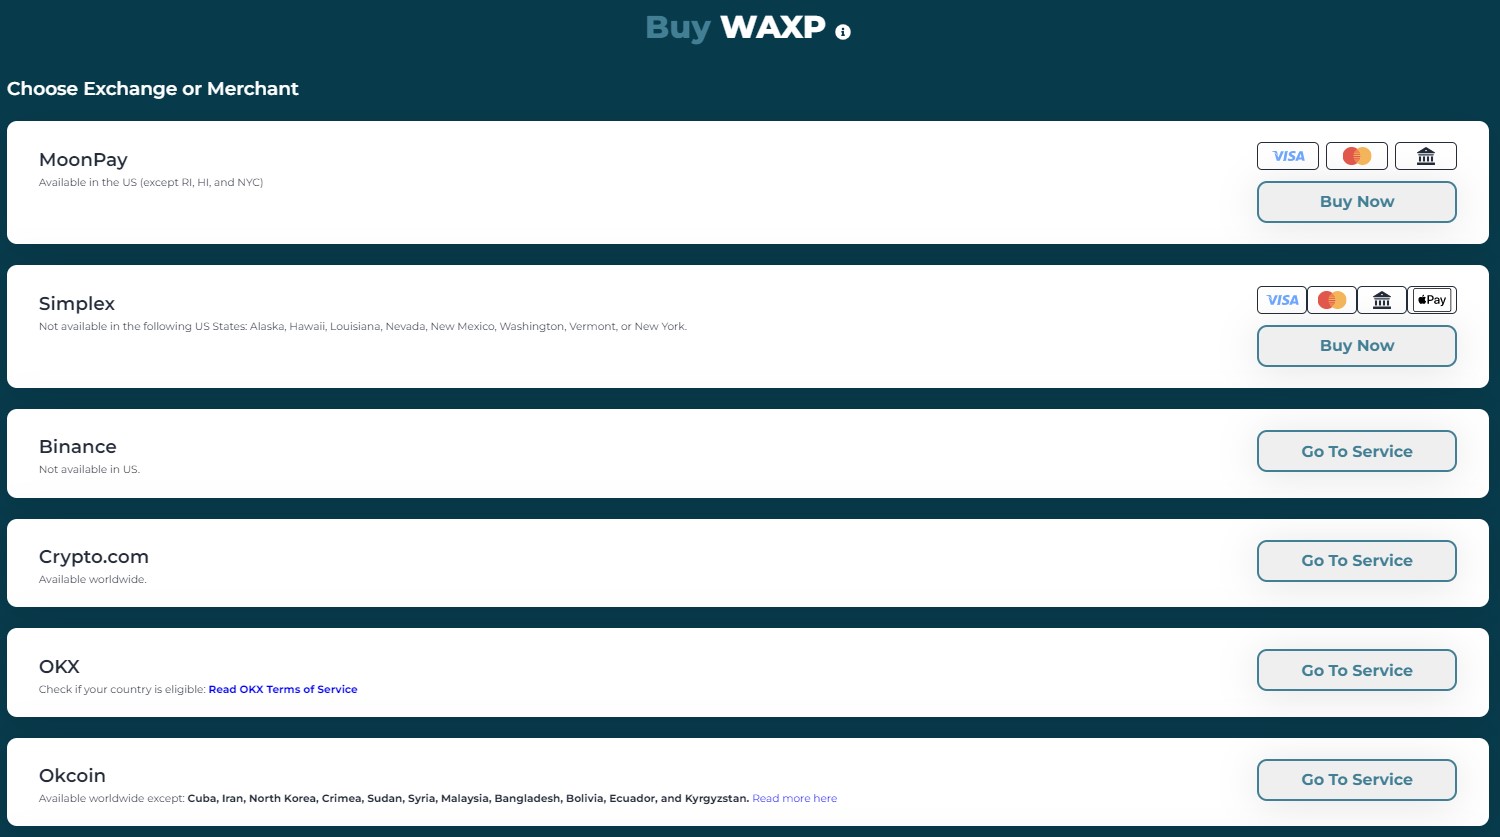
Users can buy the WAXP token from the wallet interface. To buy, just click on the Buy WAXP button, and it will show you the list of various platform that allows you to buy WAXP token. You can select any platform, and it will lead you to their landing page where you can log in (or signup if you are a new user) and buy.
You can also check the various modes (visa, master card, bank account) using which users can buy the token by using third-party service providers like Simplex, or Moonpay.
Note that you must need to undergo a KYC process if you are using the platform service for the first time.
NFT
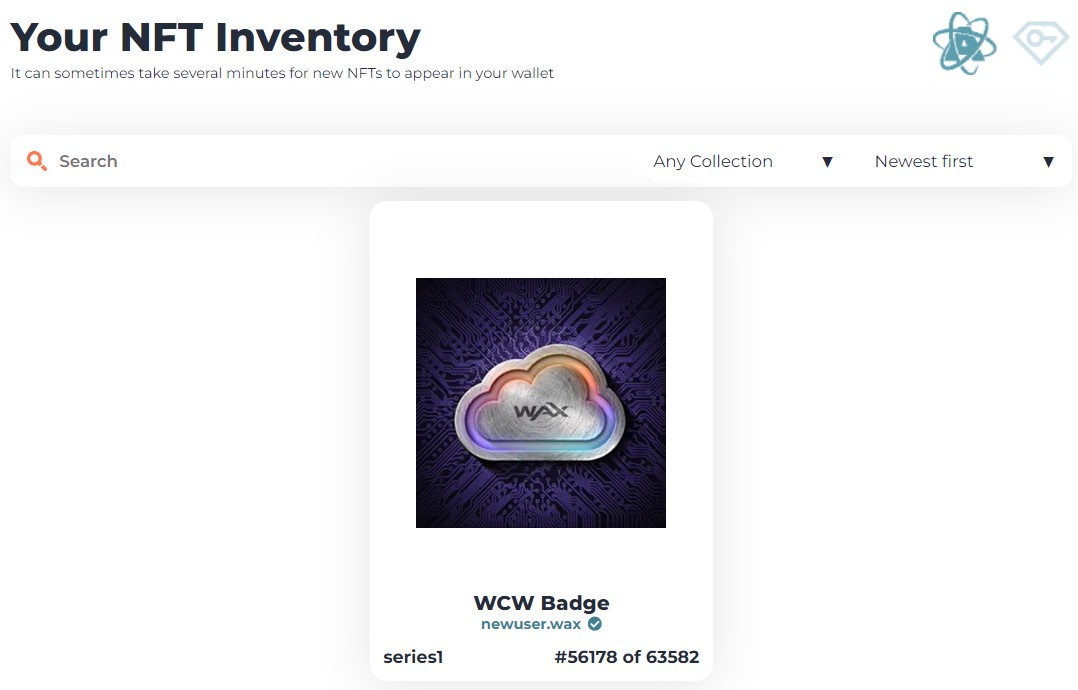
The NFT tab list the NFT’s that a user is holding. Once a user creates a WAX cloud account, the network automatically dropped a welcome NFT (non-tradable, non-transferable) to their wallet.
dApps
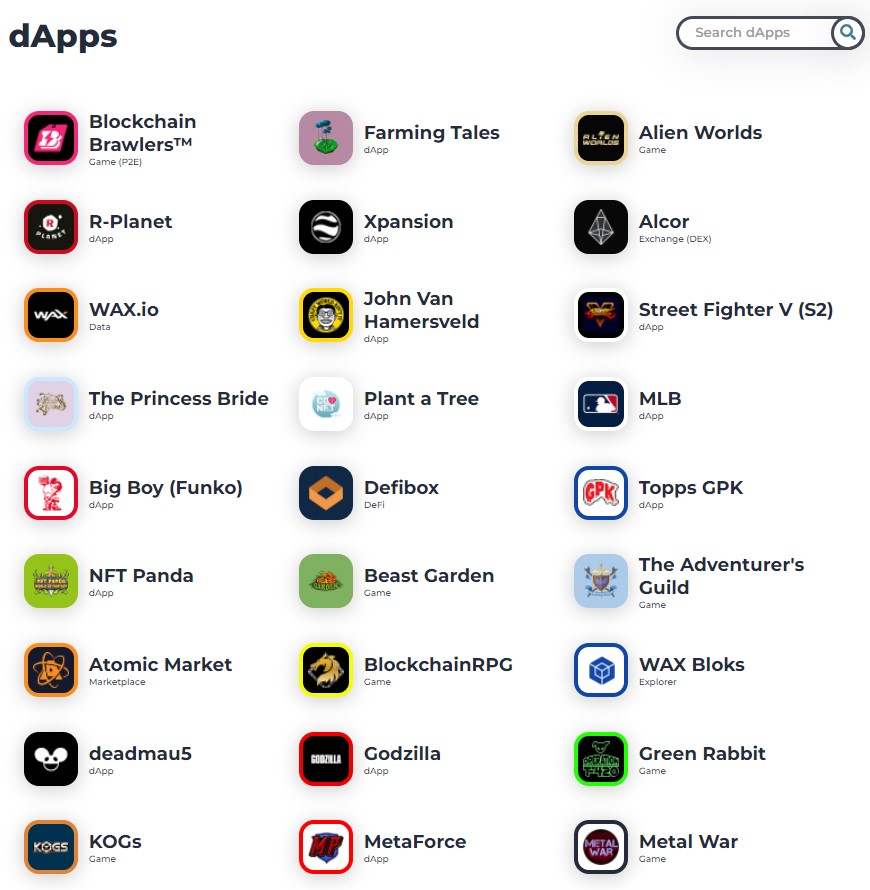
The dApps tab shows the various decentralized applications that users can access using their wallets.
Staking Rewards
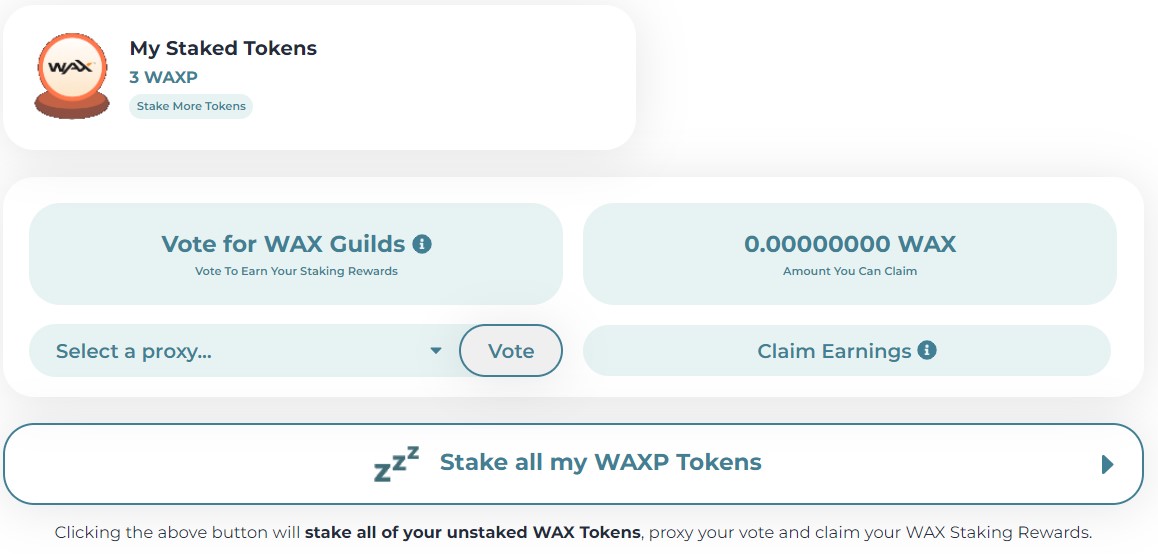
Here in this section, you can see how many rewards you have earned on your staked WAXP token.
You can check the Resources section to know how you can stake your WAXP token.
As you can see from the below screenshot, we have staked 3 WAXP tokens. You can check periodically how much WAX token you have earned, and harvest it by clicking on the Claim Earnings button.
If you have any spare WAXP tokens that you wish to stake, then you can simply click on the Stake all my WAXP Tokens button and deposit them for staking.
ETH Bridge
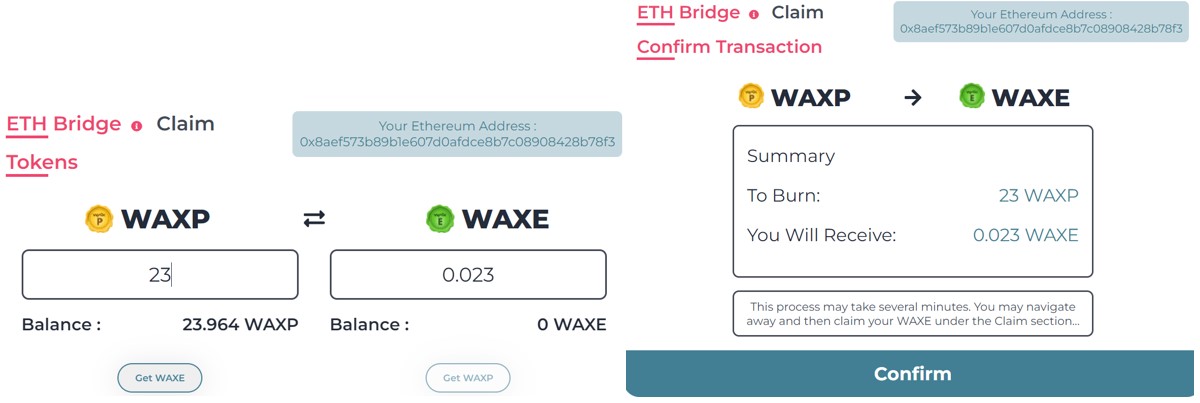
The ETH Bridge allows the users to convert their WAXP tokens into WAXE (ERC20 token). The ratio of WAXP: WAXE is 1000:1.
Go to the ETH Bridge section. Now enter the amount of WAXP token that you wish to convert, and confirm the process.
The process will take some time (maybe a few hrs). Once it is done, you will get a pop-up message in the Claim section to claim your WAXE token.
You can then deposit the WAXE token into the liquidity pool supported by the protocol (we will explain this feature in the Defi section).
NFT Bridge
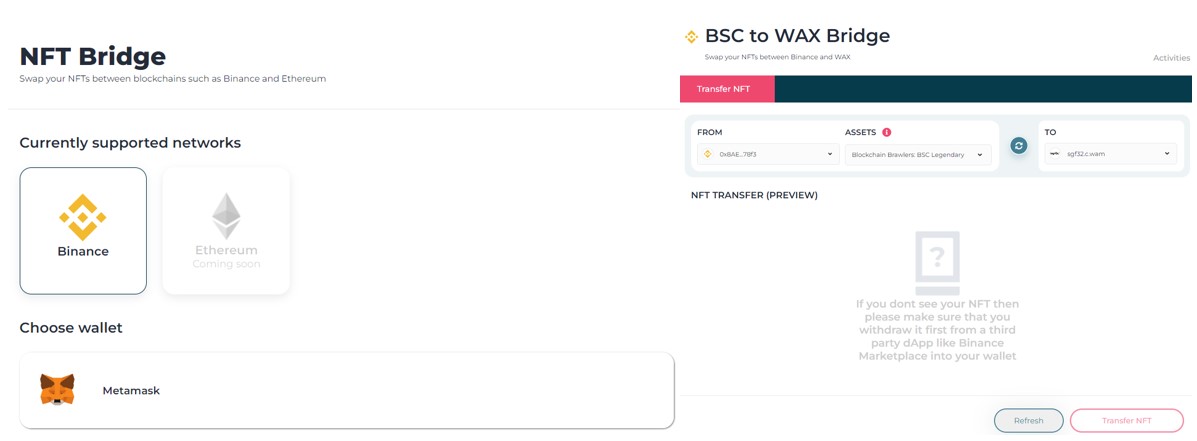
The NFT Bridge allows you to swap your NFTs between Binance and WAX. The Ethereum support will be available in near future.
To use the NFT Bridge, you need to connect your Metamask wallet with the network set as the Binance Smart Chain.
You can see your connected BSC wallet address in the Source, and the WAX address in the destination field. You can select the asset that you wish to transfer from the ASSETS field. In case the NFT is not appearing then you have to withdraw it to your wallet before initiating the transfer process.
Note: You can check the Metamask mobile application to see the NFT in your wallet. The NFT section is not present in the Metamask desktop application.
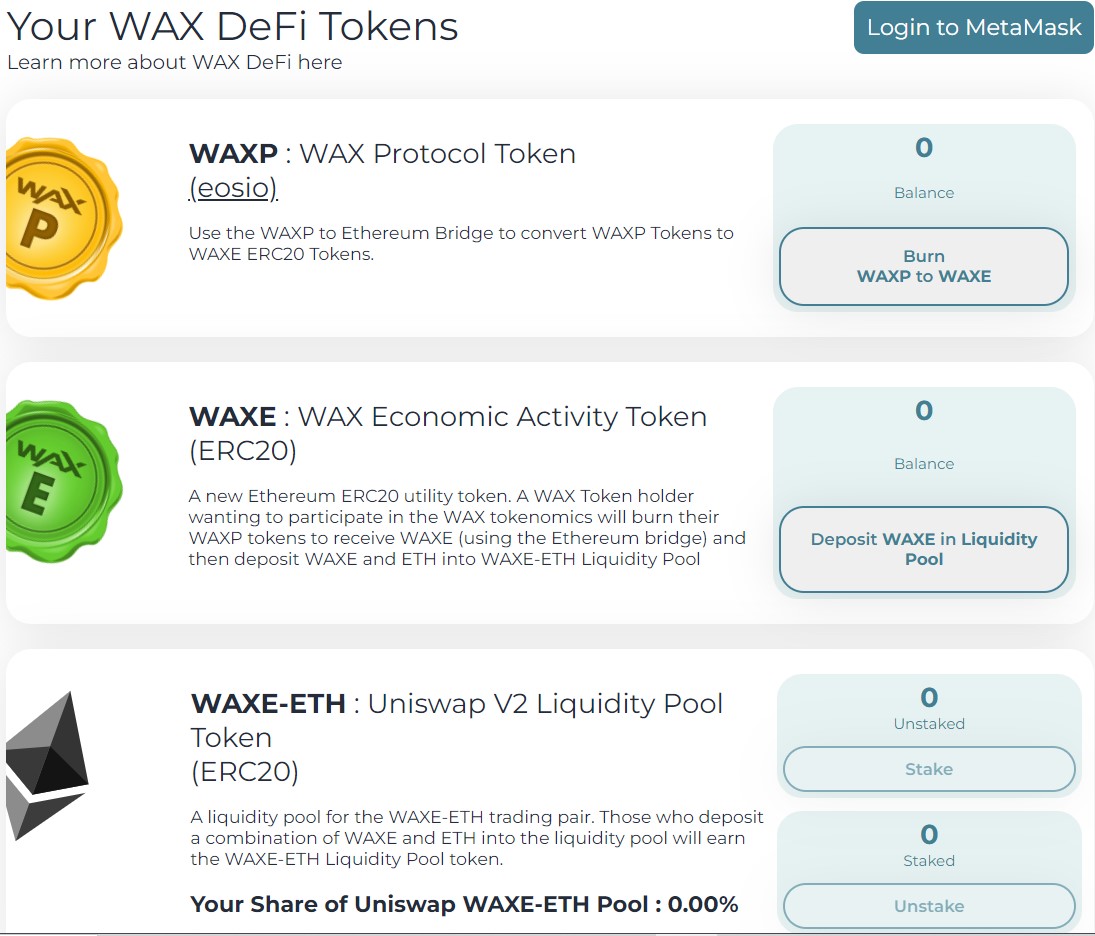
Defi
From the Defi section, users can perform/check the following activities:
- Defi Token
WAXP- It is the Wax protocol token. Users can use the ETH bridge to convert their WAXP token into WAXE.
WAXE- Wax Economic Activity Token, an ERC-20 token. Users can deposit their WAXE token into the liquidity pool
WAXE-ETH – Users will earn a WAXE-ETH (ERC-20) liquidity pool token when they deposit WAXE and ETH tokens into the Uniswap V2
WAXG- An ERC20 standard, WAX Governance Token. WAXG will be rewarded to those users who have staked their WAXE-ETH into the WAX economic activity pool
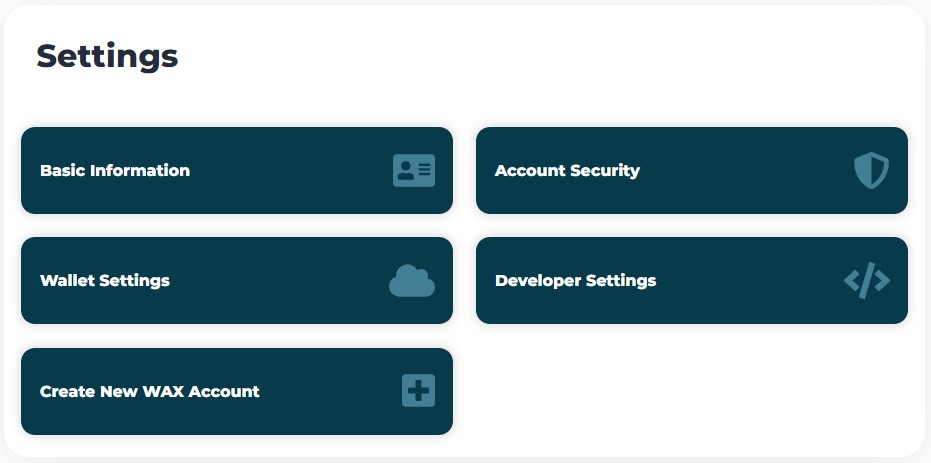
Settings
- Basic Information- See/ edit your registered email, and password here. Set your full name, and display your name
- Wallet Security- see the list of authorized dApps
- Account Security- Enable 2FA here
- Create a New WAX Account- From this section users can create a new WAX account. You can check the estimated cost (in WAXP) needed for this activity.
Moreover, find the most undervalued gems, up-to-date research, and NFT buys with Altcoin Buzz Access.
Above all, for more cryptocurrency news, check out the Altcoin Buzz YouTube channel.


