


")


 Tokens Playing This P2E Game")

The Terra Station wallet is the official wallet of the Terra blockchain. The wallet application allows the users to interact with the Terra network, manage supporting tokens/coins, and access dApps. The application is available in three different forms: Chrome extension, desktop, and mobile application.
So, in this article, we will explain how you can install the Terra Station wallet for the Google Chrome browser extension.
Table of Contents
Get the Platform Tokens
Terra network users are required to hold LUNA and UST (Terra USD) tokens in their wallets to post any transactions. We will get the tokens from any supported exchange and transfer them to our wallets.
-
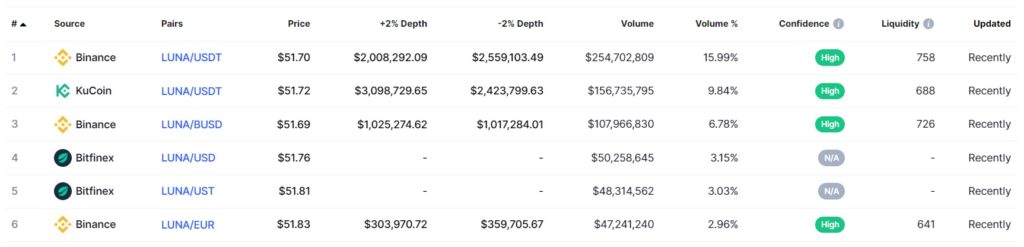
LUNA Token
LUNA is the native protocol token that is used for staking, governance, and mining. Users can get the LUNA token from any of the below platforms. Check the full list of supporting platforms here.
-
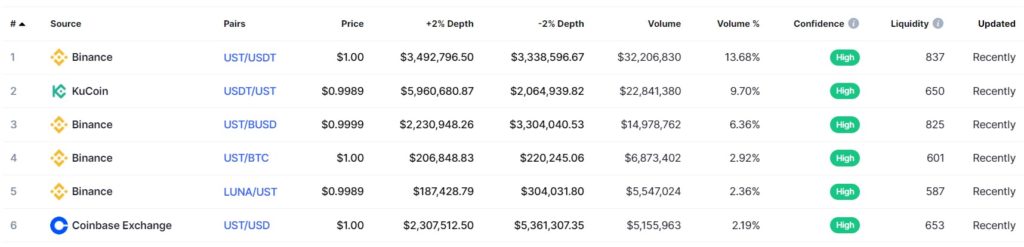
UST Token
The other token of the network is Terra stable coin or Terra USD. You can easily purchase it from the below platforms.
Terra Station Installation
To download the Terra Station application, visit this page. You will find options to download the application for desktop, mobile, and Chrome browser extension.
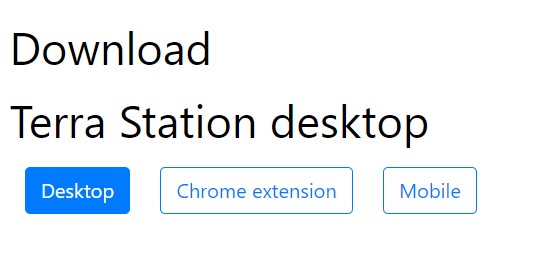
We will install the application for the Google chrome extension browser. Click on Chrome Extension button, and it will re-direct you to this page.
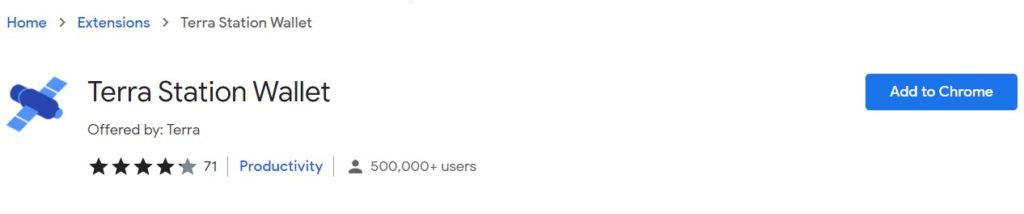
Here, you will find the Add to Chrome button. Click on this button and provide your approval to add the application in your browser.
Once the application is installed, you can see the below highlighted icon in your extension.
![]()
Setting up the Wallet
To set up your wallet application, click on the application icon appearing on the browser. You will find the below options to wallet setup:
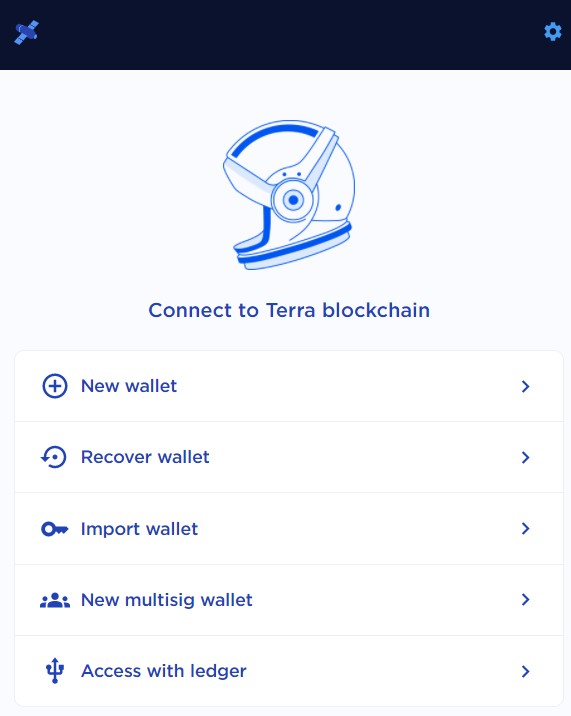
-
New Wallet
Using the New Wallet option, users can set up a new wallet inside the wallet application. You can set up multiple wallets in the application.
To create a new wallet, you need to provide the wallet name and password. The application will display the mnemonic key and will ask you to verify some of the key phrase. Once verified, a new wallet is created for you.
You can see the wallet landing page with the two native tokens (LUNA and UST).
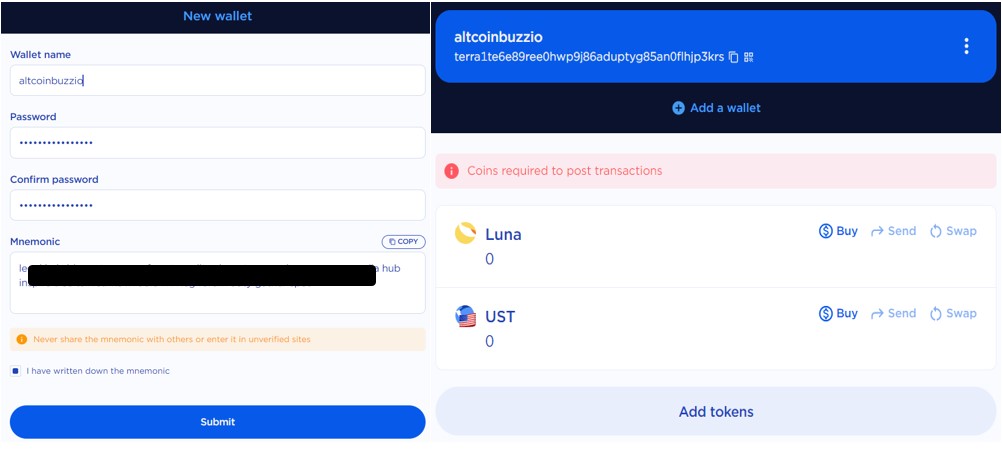
Important: Always store your mnemonic key safely. You can use it later to recover your wallet and funds or set up your wallet in some other device.
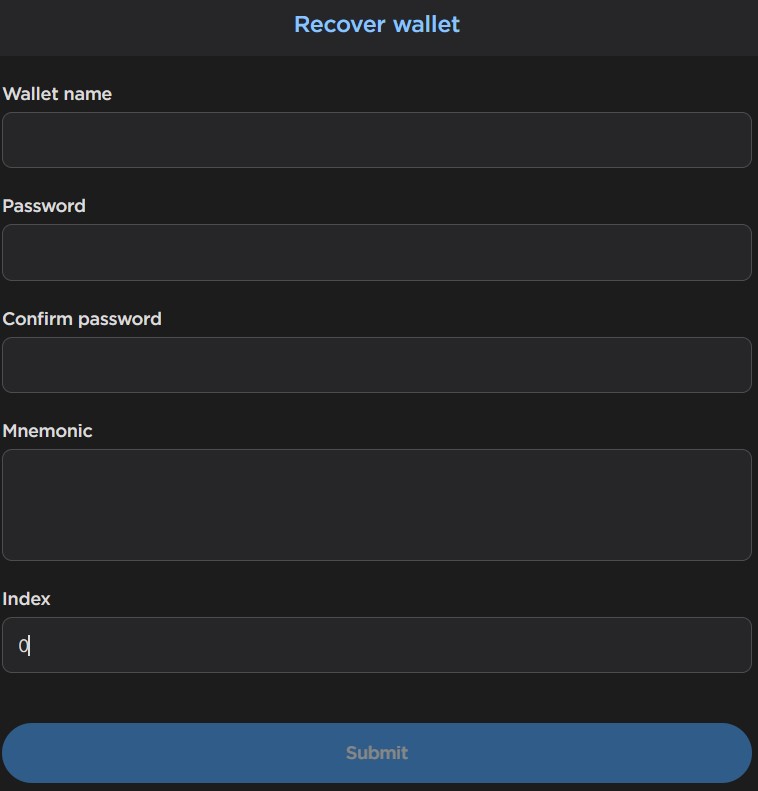
Recover Wallet
Users can recover their existing wallet by providing the below mandatory details:
- Wallet name
- Password
- Mnemonic key
-
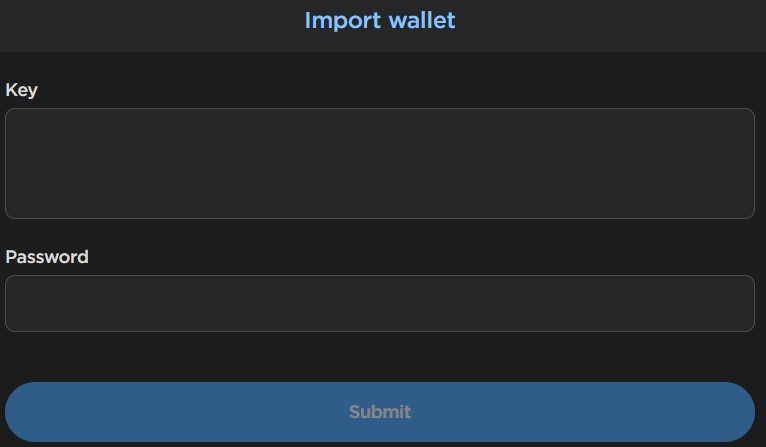
Import Wallet
The Import Wallet option allows the users to import an existing account in some other device.
To set up an existing account, select this option and enter the mnemonic key and wallet’s password.
-
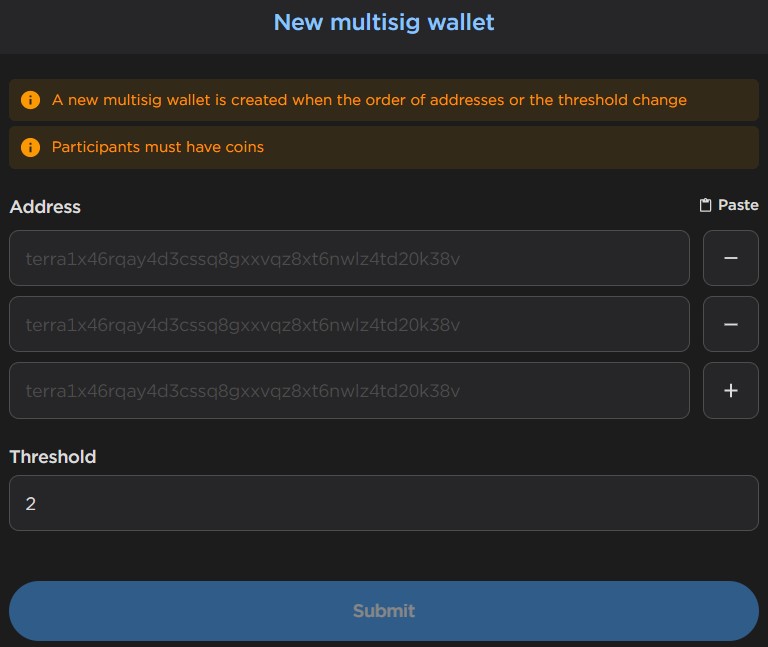
New Multisig Wallet
The Terra Station wallet application allows you to create a multisig wallet. As the name implies, it is a wallet that requires multiple signatures to sign a transaction. And multiple signatures mean more than one party is involved.
To create a new multisig wallet, you need to provide the following details:
- Wallet address of all the involved parties
- Threshold (minimum number of signatures required to sign a transaction)
Obviously, if a transaction via multisig wallets failed to satisfy the threshold criteria, then it will not run.
-
Access With Ledger
The Terra Station wallet allows the users to connect with Ledger. First, plug in your Ledger device with your computer and then log in to access it. You can now transfer your LUNA tokens from the wallet application.
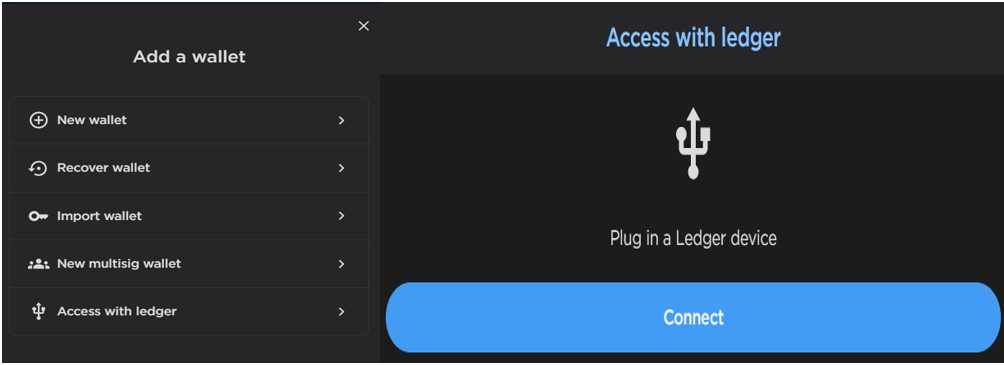
Note that users are required to install the Terra app in their Ledger device before working with the supporting tokens.
Transfer Tokens to the Terra Station Wallet
We have some LUNA and UST in our Binance account that we will transfer to our Terra Station wallet.
To transfer your tokens, just click on the Withdraw button against the LUNA token and enter the public address (we will explain this in the wallet address section) of your Terra Station wallet. Repeat the same process to transfer UST tokens.
Send
The Send option enables the users to transfer assets from your Terra account to some other account.
To send, you need to enter the recipient address, the amount you wish to transfer, and memo (if any). Users can select the token (LUNA, UST) that they wish to spend for paying the network fee.
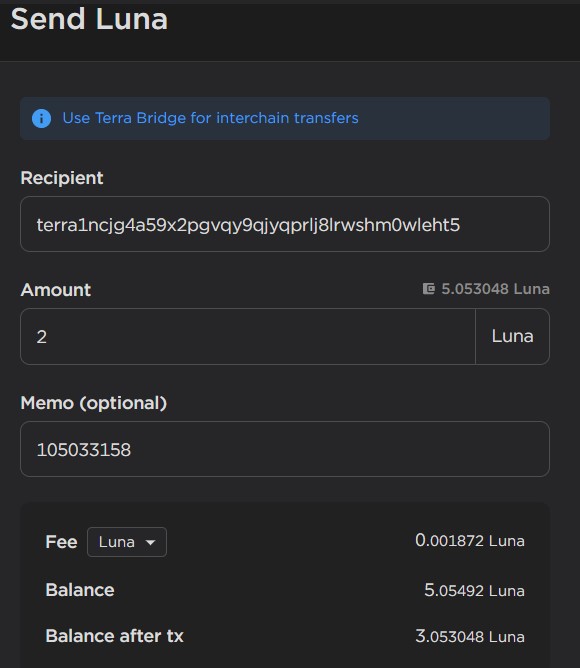
Check other details and confirm the process by providing your wallet’s password.
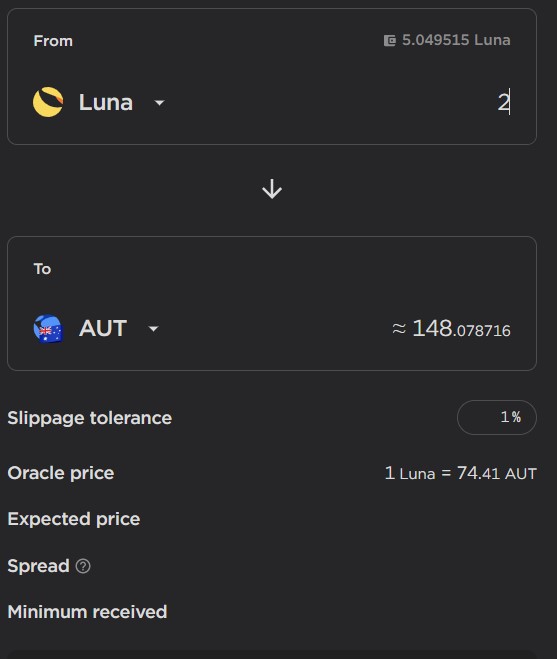
Swap
The Swap option let you exchange one token into another.
To swap, just click on the swap button against the token you wish to exchange (from your asset list). A page will appear where you can search for the token that you want to get in return. Now enter the amount of the source token. The application will show you the amount of the resultant token that you will get. Finally, confirm the process by giving your wallet’s password.
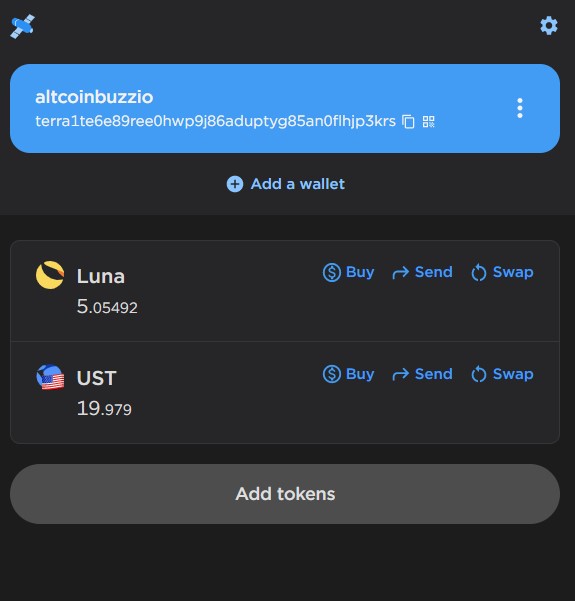
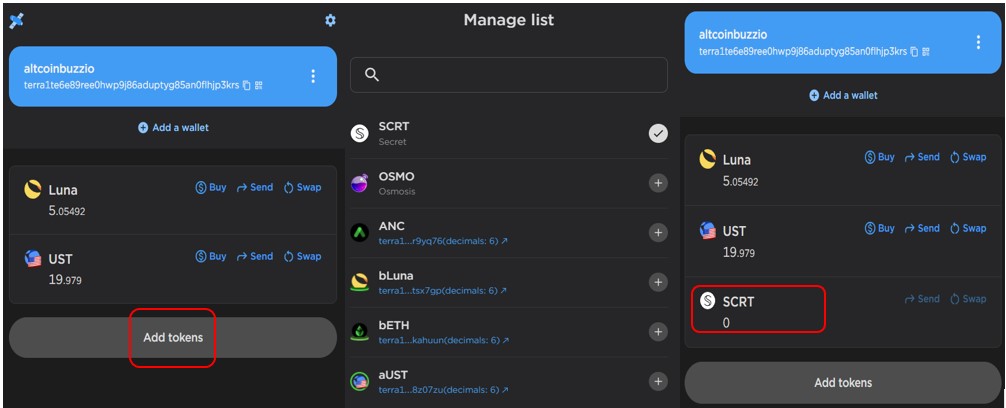
Add Tokens
By default, you can see only two tokens in your wallet’s landing page when you create a wallet. You can add token/coins by using the Add tokens button.
Click on it, and the application will show you the list of all supported tokens. Click on the plus (+) sign against the token, and it will get added to your asset list.
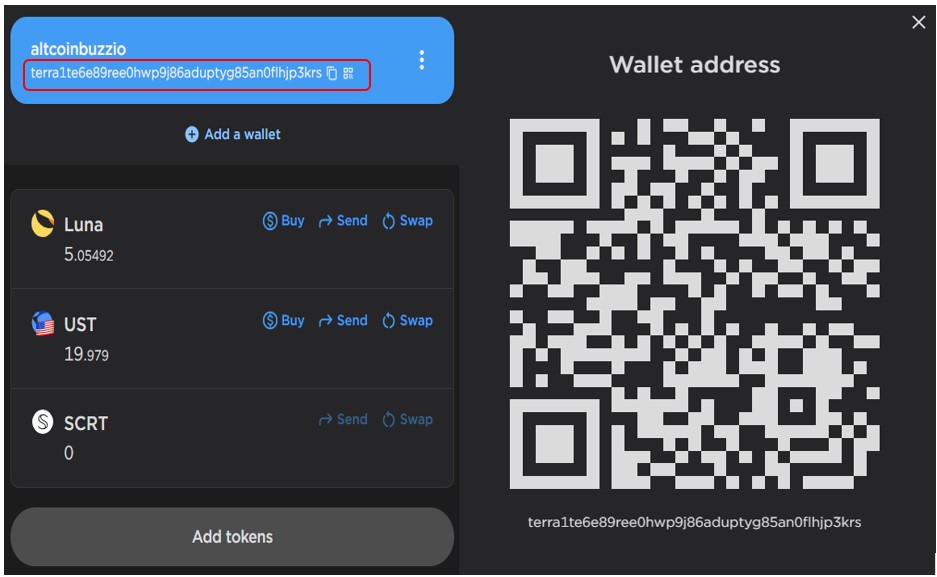
Wallet Address
To receive tokens in your wallet, you need the receiving/public address. You can easily see your wallet address (highlighted below) on the landing page. You can copy the address and share with other users to receive tokens.
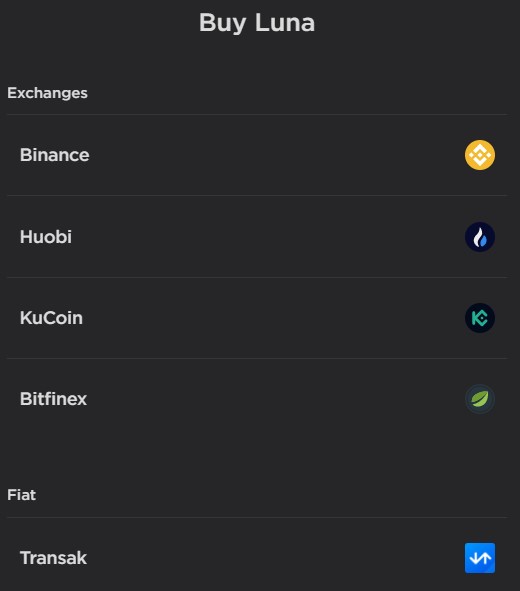
Buy
The Buy option allows you to buy the LUNA or UST tokens from supported platforms.
To buy, click on the Buy button appearing beside the token you wish to buy. The application will show you the exchanges or third-party service provider that can help you to get the token. Click on the desired exchange, and it will redirect you to their official page for login where you can buy the token.
Manage Wallet
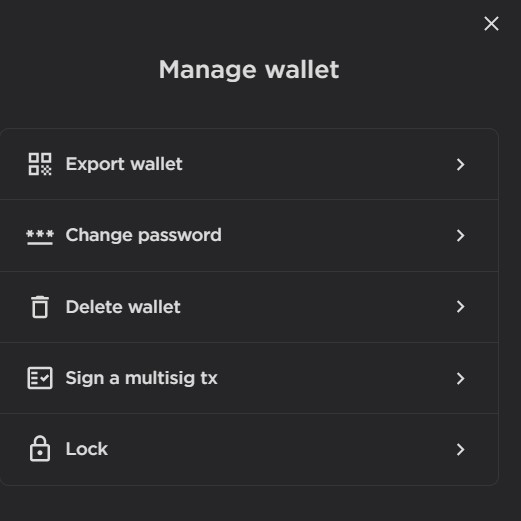
Export Wallet – You can see the QR code and private key by providing your password. You can further copy and save these details
Change Password – Change your wallet password here.
Delete Wallet – Remove your existing wallet through this option.
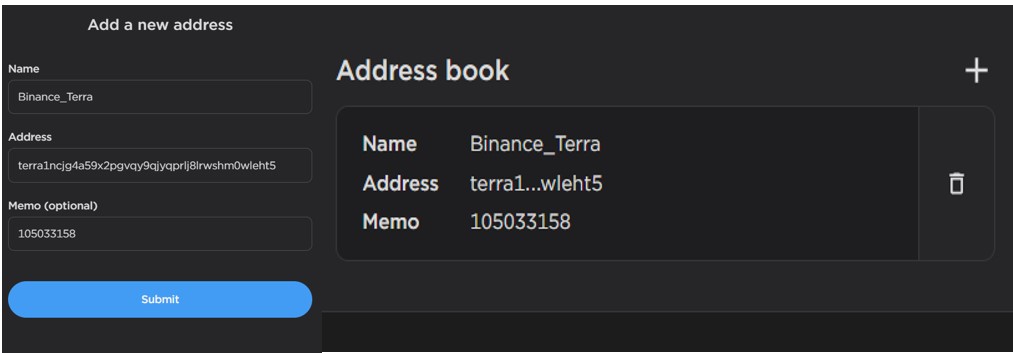
Address Book
Users can save their frequent contacts in the address book for easy access.
To add a contact, enter the user name along with their wallet address (memo if any) and confirm the process. Note that adding contacts is chargeable and cost you a nominal fee.
Settings
Users can do the following changes/updates through the Settings tab.
- Network – The wallet application allows the users to connect with the Terra mainnet, testnet, or any custom network through the interface.

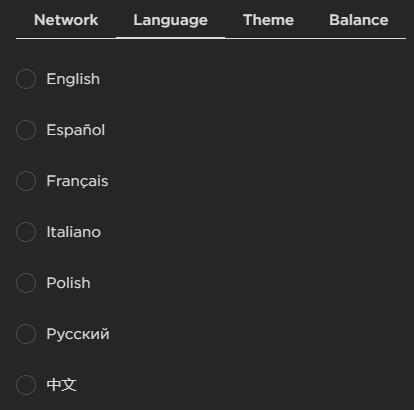
- Language – The wallet gives the users quite a few language options like English, Espanol, Polish, etc. to choose from.
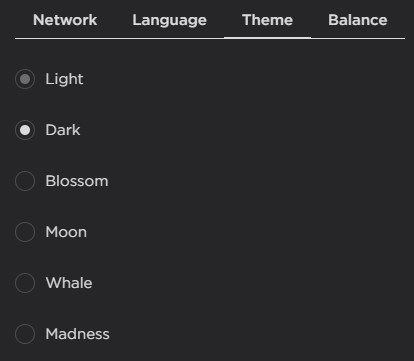
- Theme – Change your wallet appearance by going to the Theme section.
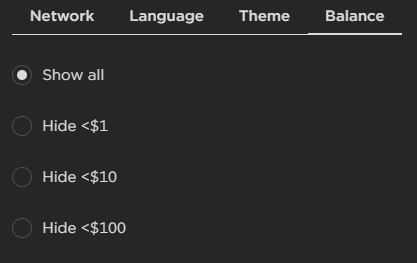
- Balance
The balance tab offers you options to filter out your assets based on USD value.
Important: Note that the staking feature is not available for the Chrome extension. If you wish to stake, then install the desktop or mobile application.


