Ethereum Name Service (ENS) is a distributed, open, and Ethereum-based dApp that offers a new naming system in which crypto users can convert their long alphanumeric wallet address into a human-readable format. That means the basic functionality of ENS is to map a human-readable name to machine-readable addresses of tokens, content hashes, and metadata.
Each ENS is unique, and you can set up and use it to receive any cryptocurrency. Now, imagine a situation where you do not need to provide separate addresses for different cryptocurrencies. You can receive BTC, ETH, DOT, or any other token just by using a single address that is easy to remember. To receive tokens using a .ETH address, you just need to set the token addresses in the Ethereum Name Service record section. Not only that, your .ETH address will be reflected in all the dApps supported by the platform.
In this article, we will explain how you can register a new .ETH name using the ENS manager app and how you can set up different token addresses and receive them using a single common address.
Table of Contents
Usage Guide
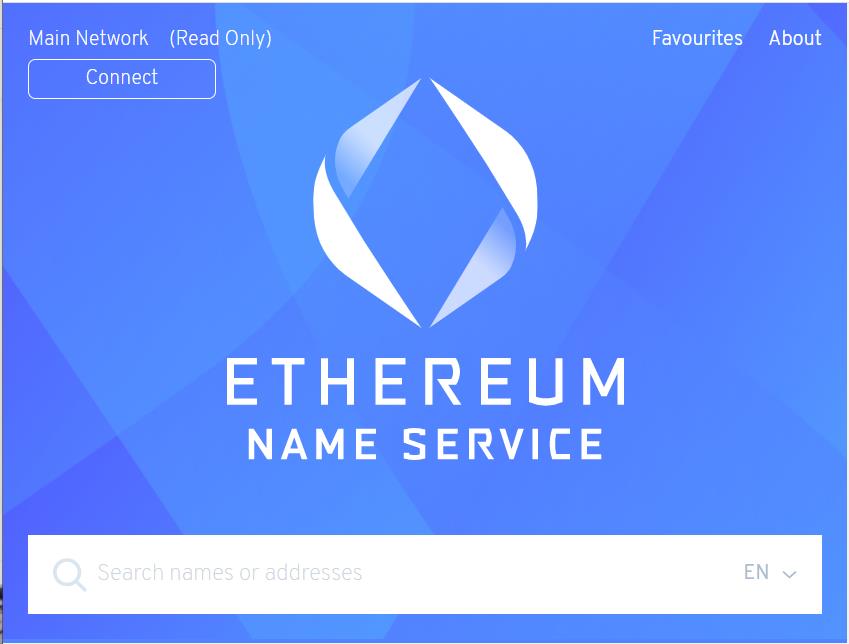
To set up an .ETH address, go to the ENS page.
Click on Connect to establish a connection with the ENS application.
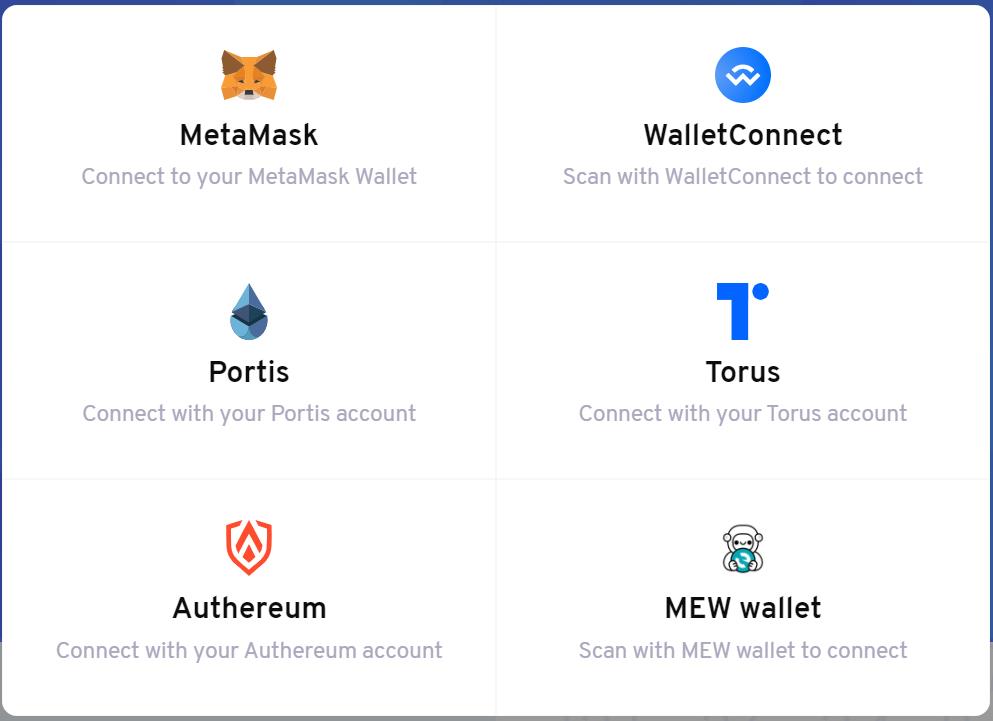
You can use any browser extension or mobile wallet supported by ENS. Check the complete list of supported wallet types from the ENS official webpage.
Select your desired wallet type. We are using the MetaMask Chrome desktop browser extension.
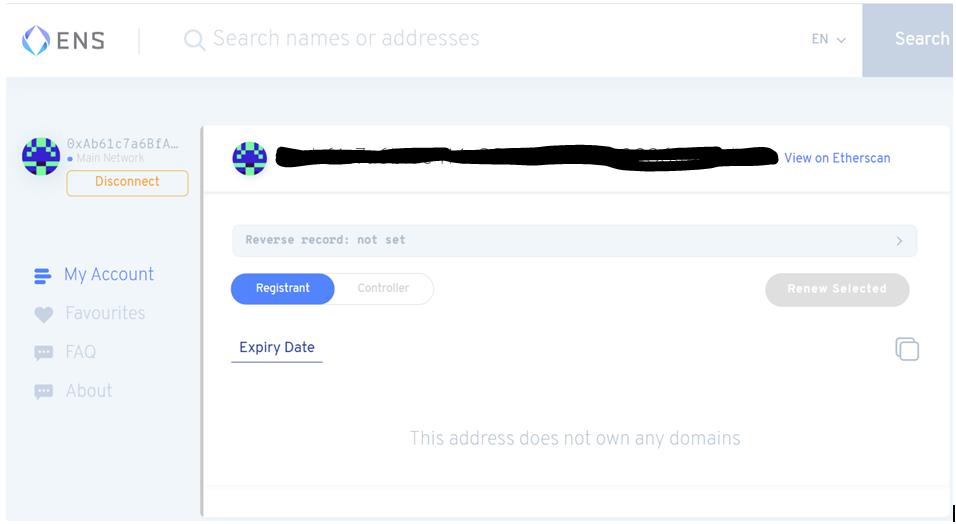
MetaMask wallet is connected. You can see the Ethereum Name Service landing page.
Important: Users should use the wallet address that they would like to set with his/her own name. If you want, you can transfer the ownership or resolve it to a different wallet. Also, make sure that you have enough ETH to pay for the gas or the service charges that you are planning to opt for.
The next thing you have to do is to search for your desired name including .ETH at the end.
If the name provided by you was already registered with someone else, then the application will show you a page something like this with the below ENS information:
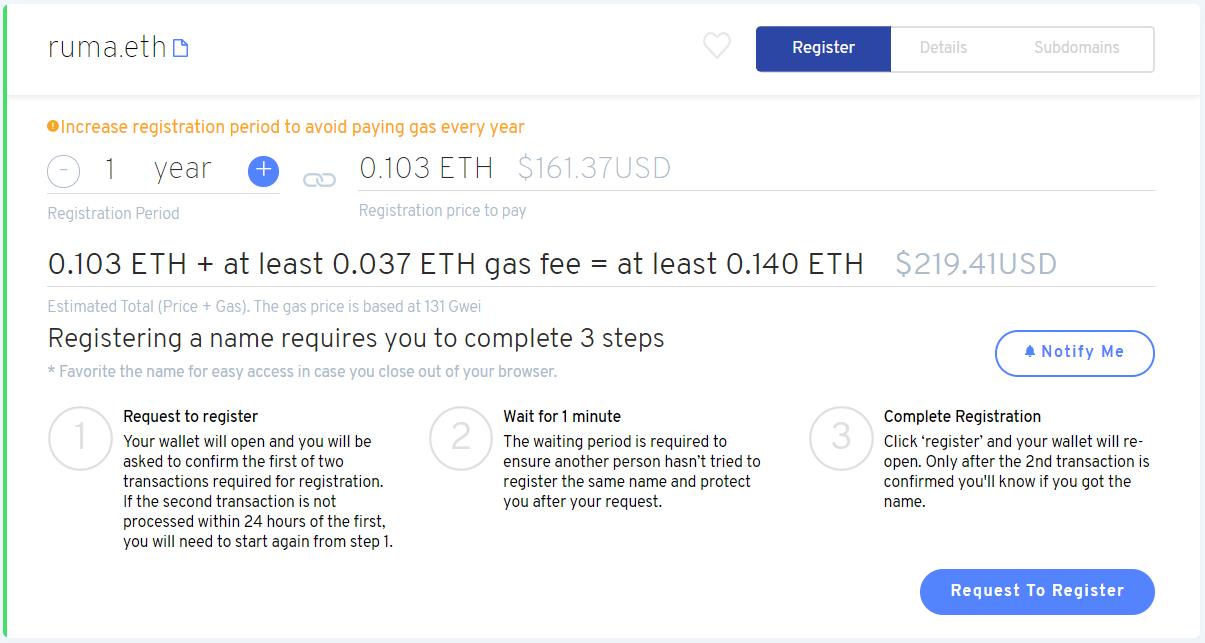
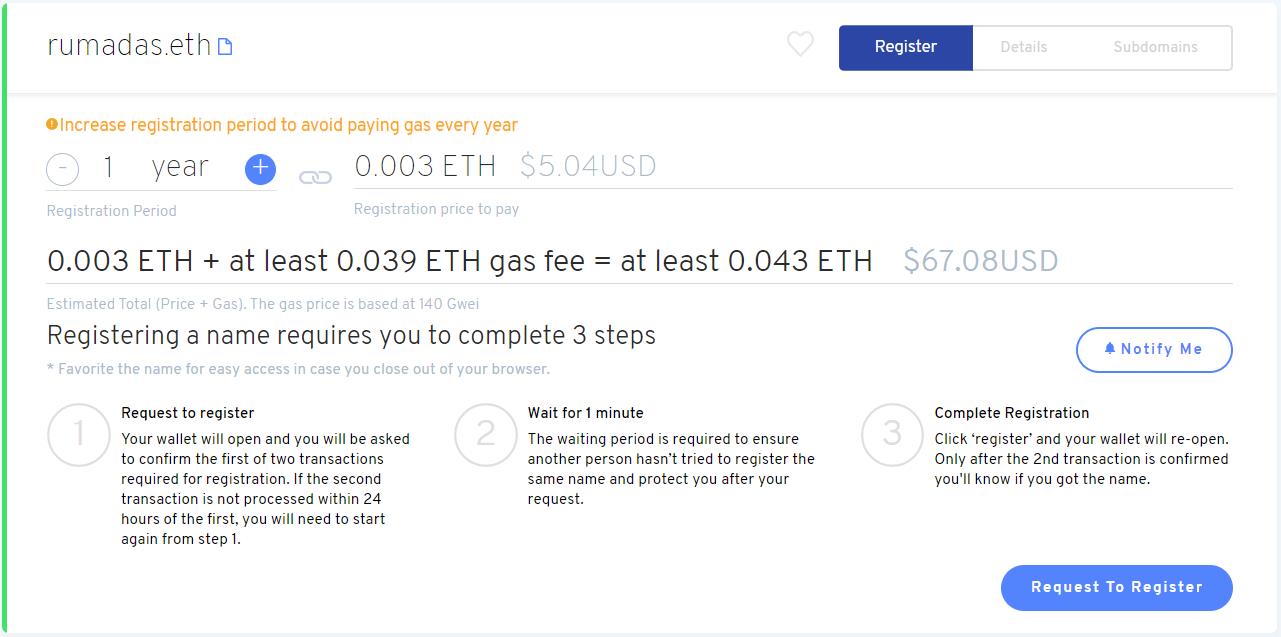
But if you are lucky and the name provided by you is available, then the application will show you the below page asking you to provide some important mandatory details.
One important thing to note here is that I initially tried searching with just giving my first name (4 letters total) and the final cost came out around $161 (before gas fee).
But later, I gave my surname along with my first name (7 letters total), and the cost came down to only $5 (before gas fee).
Below are the registration charges for .eth names:
- 5+ character .eth names: $5 in ETH per year (before gas fee)
- 4 character .eth names: $160 in ETH per year (before gas fee)
- 3 character .eth names $640 in ETH per year (before gas fee)
Enter the registration period. The minimum registration period is 1 year.
Use the “-” and “+” buttons to increase the registration period. You can also extend the registration period in the future.
Once you have finalized the registration period, you can hit the Request To Register button.
A MetaMask transaction is triggered. Confirm the transaction. You can see a green progress bar appearing in the window (see screenshot).
Once Step 1 is done and the bar becomes green, you move to step 2 where you have to wait for one minute. This is to ensure that no one else is trying to register with the name provided by you.
If your name passes step 2, then in the 3rd step, you need to click on Register to finally confirm the process.
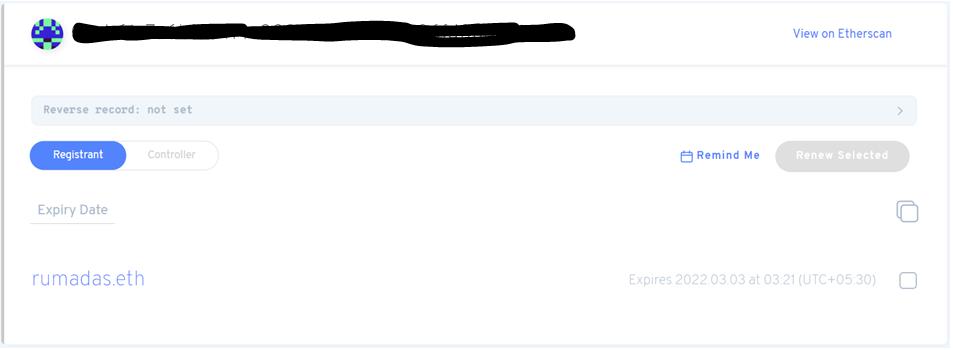
Your .ETH domain is created. You can see your domain appearing on the application.
Now you can set up and manage other related things.
Reverse Record
The reverse record translates an address into a name. Once you set up the reverse record, i.e., mapping your wallet address with your .ETH address, you will be able to see that your wallet address is changed to the .ETH address when you connect with the supporting dApps.
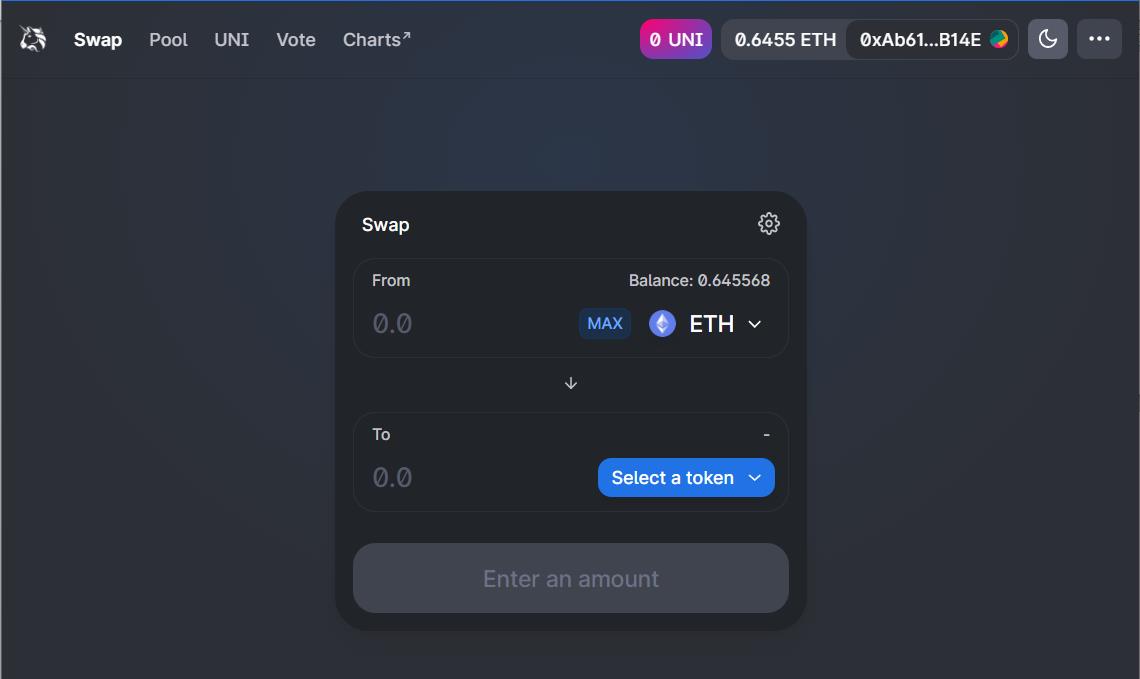
So, let us try Uniswap.
As you can see from the below screenshot, the wallet address is displaying when I have connected my wallet to the Uniswap application.
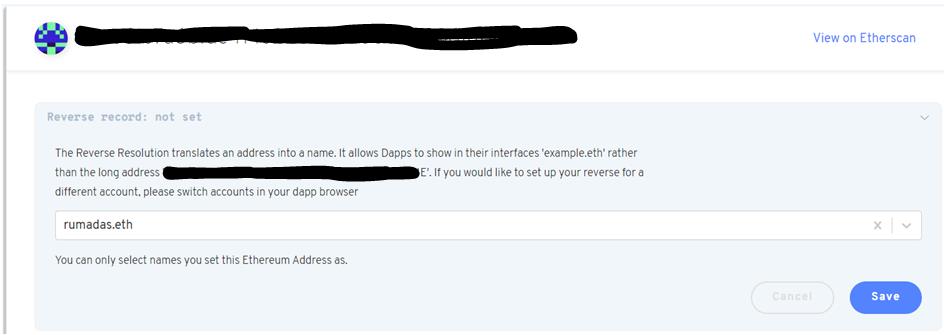
Now, go to ENS manager and click on the Reverse Record to set the details.
From the drop-down, select your domain and save it.
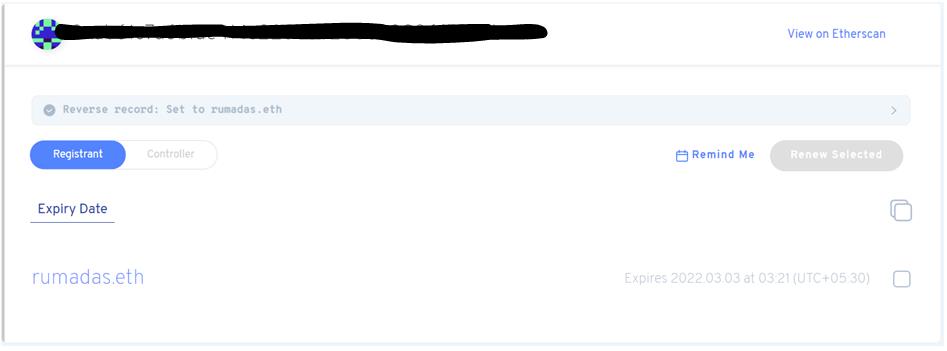
You can see your reverse record is set to your domain name.
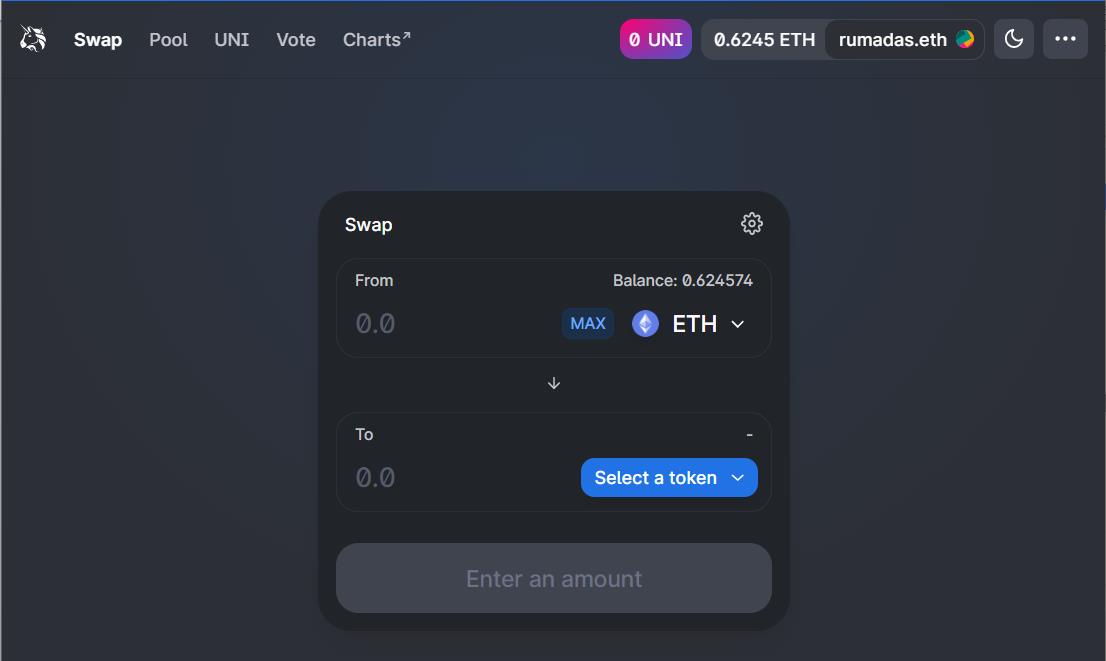
Now again go to Uniswap and refresh the page. You will find your wallet address is changed to your newly created .ETH domain.
Add/ Edit Records
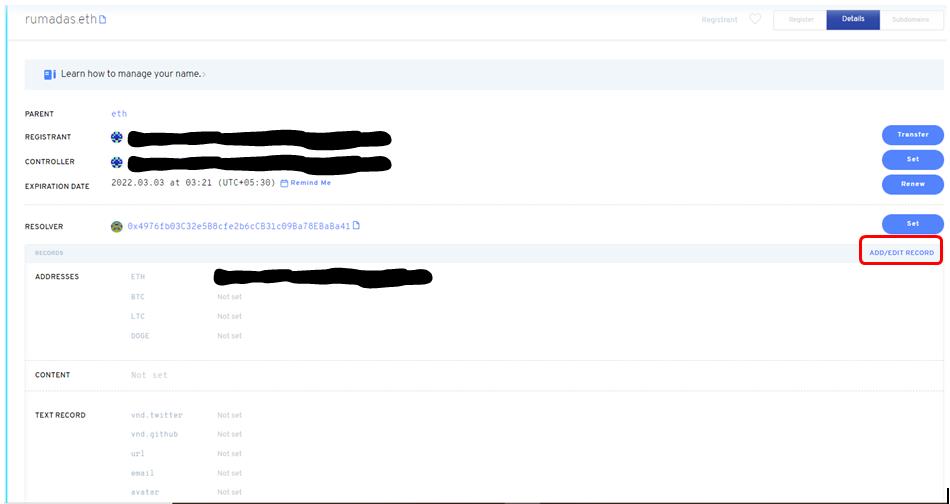
You can add records by clicking the ADD/EDIT RECORD in the Records field.
Your Ethereum wallet address will automatically be displayed. If you have BTC, LTC, or DOGE tokens, you can copy and paste the address in the respective fields.
You can also add other tokens apart from these four tokens by clicking on the Add Record and selecting your desired record type and putting the values.
Important: Kindly note that adding token addresses or any other details will cost you a gas fee. The application allows you to add multiple details and confirming them using one single transaction. So, better you add all details at one go and later confirm them to avoid paying gas charges multiple times.
Conclusion
Ethereum Name Service is a widely used decentralized application. It maps your long alphanumeric Ethereum wallet address with your desired name that is easy, simple, and human-readable. Being easily readable completely eliminates the chances of misspelling a wallet address which, in turn, removes the possibilities of losing your funds. Another advantage is that you can receive multiple tokens easily by giving just one address. This is quite attractive, hassle-free, and time-efficient as you do not need to login to the exchange/wallet app and search for the token to get the deposit address to receive the token. The only disadvantage we have noticed is that the page is a bit blurred and capturing results are giving unclear output.
Resources: ENS Domain
Read More: TrustSwap ($SWAP) – A Complete Digital Asset Ecosystem


