


")


 Tokens Playing This P2E Game")

Flint is a browser extension wallet that allows users to send/receive and store assets, NFT, and interact with the dApps. Currently, the wallet supports only the Cardano network. It is planning to extend its support to other blockchains like Ethereum, Solana, and Urbit very soon.
Also, users can also transfer assets to Milkomeda EVM compatible chains (we will explain this briefly in our next article). In this article, you will discover more about the Flint Wallet.
Table of Contents
What is the Flint Wallet?
Flint is compatible with Windows, Mac OS, and Linux. Therefore, users who use these operating systems can use the wallet application by installing it in their Google Chrome and/or Brave browser.
Moreover, it provides support to the hardware wallet, i.e users can store their assets in Trezor or Ledger and can connect their device with the wallet. Read about how you can install and set up Nami Wallet here.
Install the Flint Wallet.
To install the Flint wallet, visit their website.
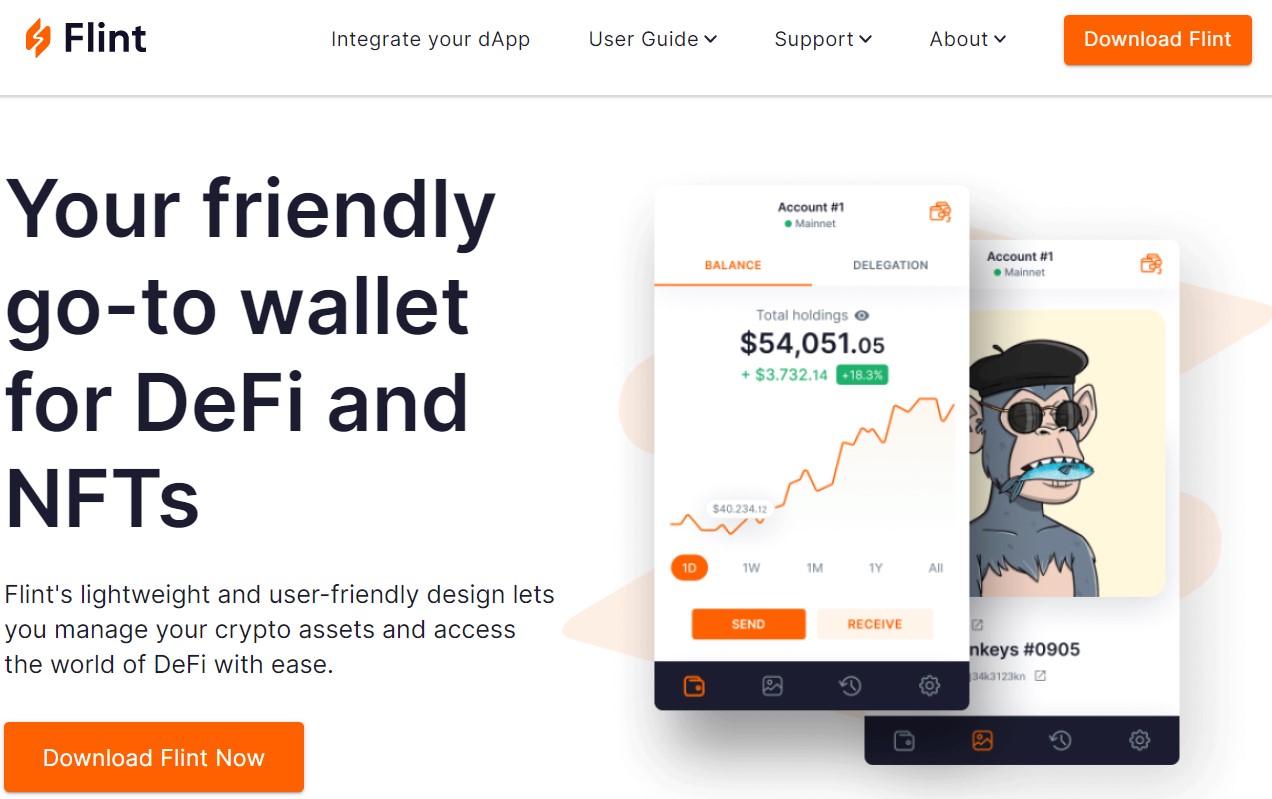
Source: Flint
Also, you will find the “Download Flint Now” button. Click on it, and it will redirect you to the chrome extension.
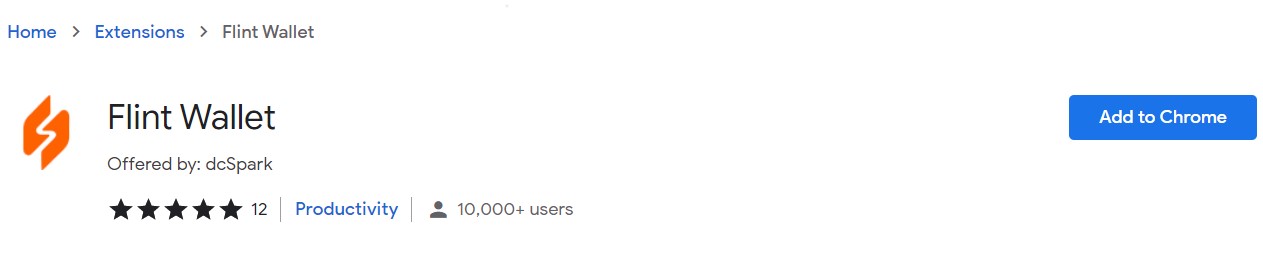
Moreover, click on the “Add to Chrome” button, and the browser will ask for your permission to add the wallet application in your browser. Therefore, provide your confirmation. And you will find that the below icon will be added to your extension.
![]()
Set Up the Flint Wallet
Click on the application icon, and a new browser window will open. Therefore, you will see the below screen.
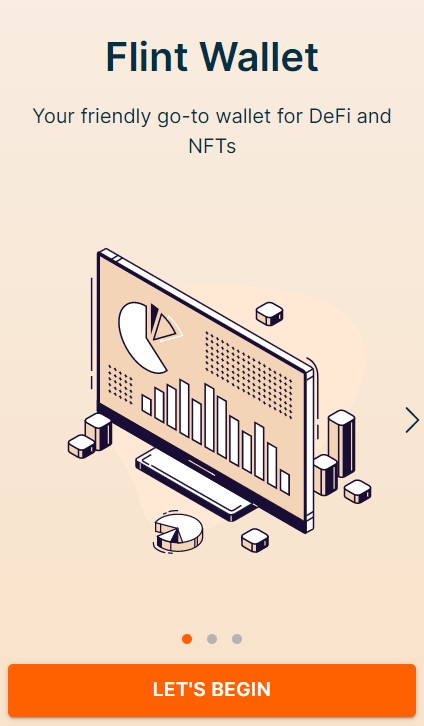
Then, click on the “Let’s Begin” button. Next, you need to select your preferred language and choose the network where you want to work i.e Mainnet or Testnet.
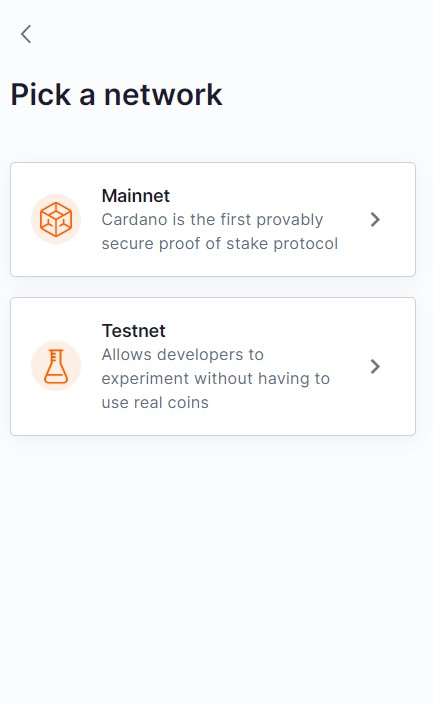
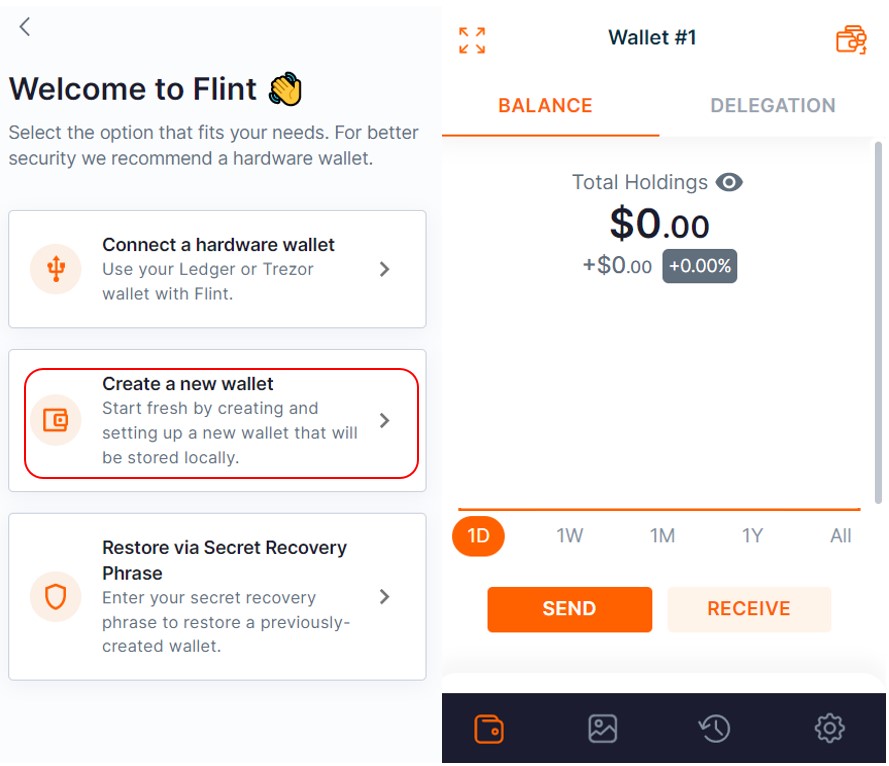
Also, we want to connect with the Mainnet. The application will now show you various options for wallet setup:
- Connect To A Hardware Wallet
- Create A New Wallet
- Restore via Secret Recovery Phrase
Create A New Flint Wallet
As the name implies, the “Create a New Wallet” option allows the users to create a new Flint wallet. Select this option, if you are a new Cardano network user else you can select the “Restore” option to recover your wallet using the seed phrase.
Once you click on this option, the application will ask you to set up a wallet password and will show you the backup phrase. Store your backup phrase safely as you can use it later to recover your assets in case you lost your device.
Next, the application will ask you to verify your key phrase, and once verified correctly, your wallet is set. You can see the below-landing page.
Connect a Hardware Wallet with Flint Wallet
To access your funds stored in the Ledger device via Flint wallet, select the “Connect a Hardware wallet” option. Next, the application will ask you to select the type of device i.e Ledger or Trezor.
Make sure your hardware device is connected to your laptop and the Cardano application is installed.
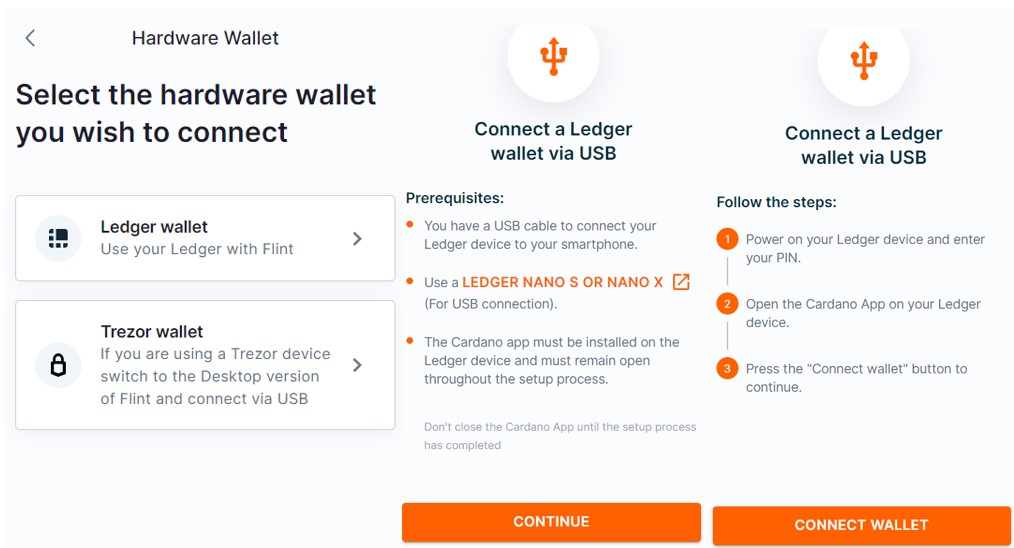
Follow the process shown in the above screenshot to connect your Ledger/Trezor.
Restore the Flint Wallet via Secret Recovery Phrase
We will explain this feature in detail in the “Add Wallet” section.
Send Funds from the Flint Wallet.
Using the “Send” option, users can transfer assets to other wallet users.
To send, just click on the “Send” button. The application will now ask you to enter the recipient address and the amount you wish to transfer.
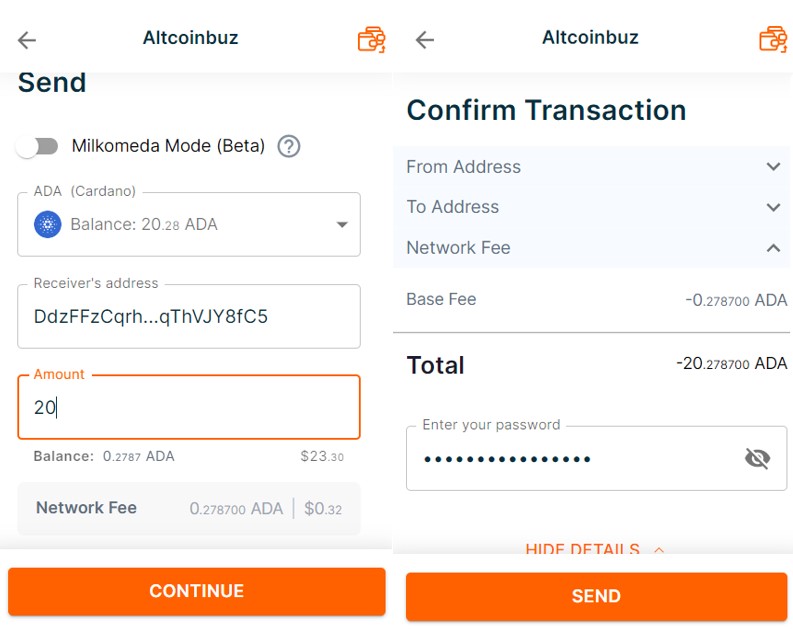
Finally, confirm the process by providing your wallet’s password.
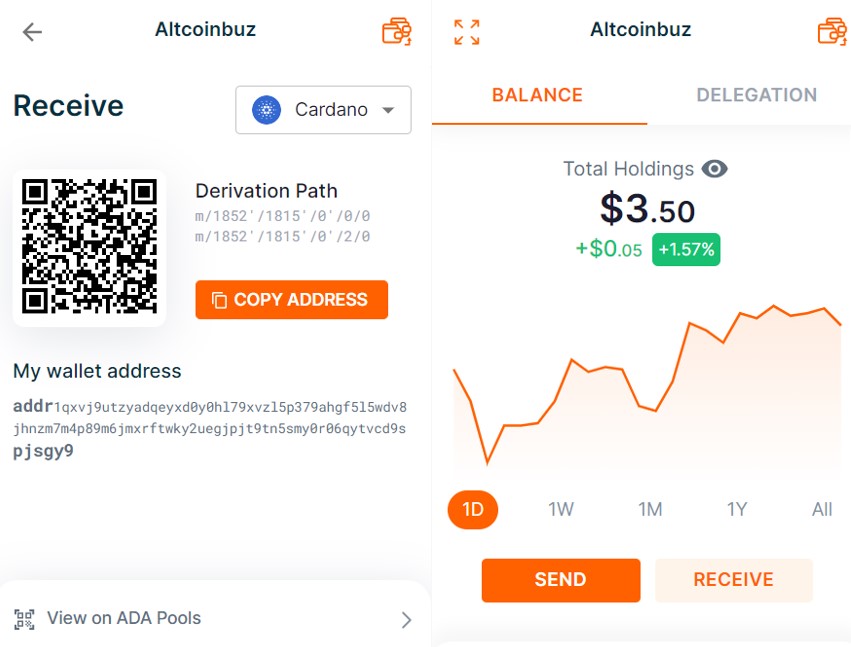
Receive Funds in the Flint Wallet.
Using the “Receive” button, users can check their wallet address/public address. They can later use this address to receive ADA or other supporting assets in their wallet.
Delegation in Flint Wallet
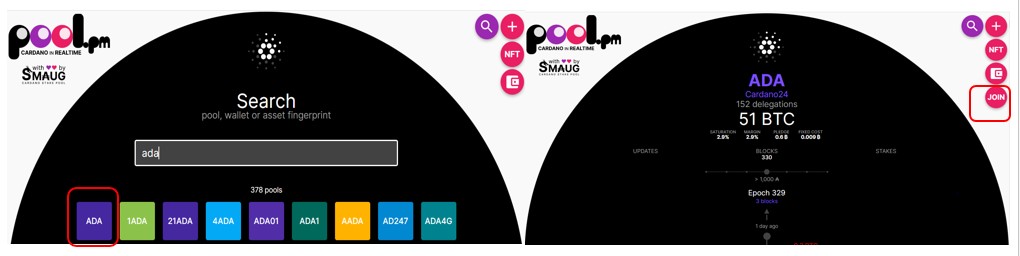
The Flint wallet allows the users to delegate their ADA coins using the wallet interface (not directly). But before delegation, we will find pools. You can check the ADA pools from the page.
Next, click on the search icon, and search for ADA. The ADA pool will appear.
Click on the ADA button, and then click on the “Join” button to join the pool (see the below screenshot).
Next, you can see the different wallet types using which you can connect.

We have chosen a Flint wallet, and a pop-up will appear in our Flint wallet to provide approval.
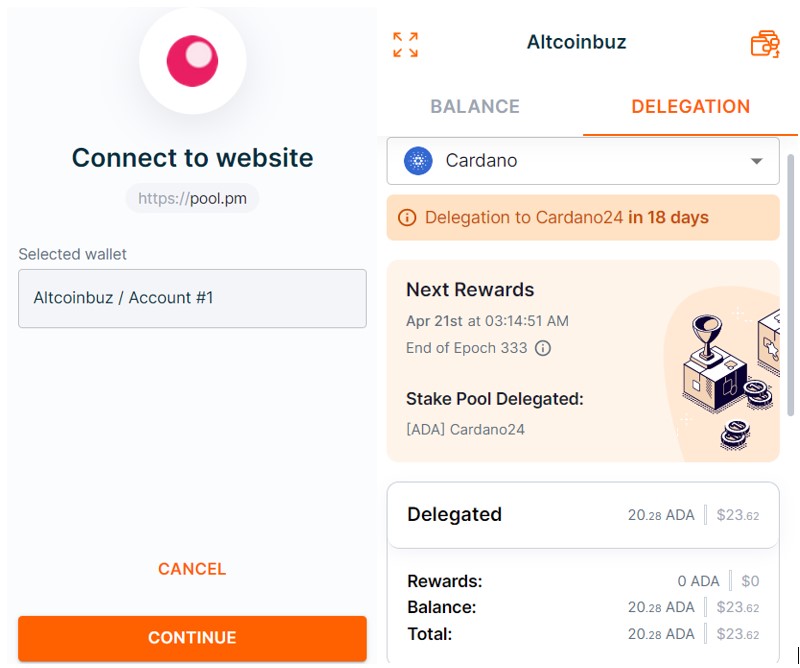
Once approved, all ADA coins residing in your wallet will be delegated.
Note: There is no option to do partial delegation. That means that users cannot decide how many ADA coins they wish to delegate. All ADA coins will be taken for delegation. However, delegating coins does not mean that your coins are stuck or you have to unstake them before sending them to anyone. Users can simply transfer their coins anytime to another address.
NFTs in Flint Wallet
The NFT section lists and stores your NFT in the Cardano network.
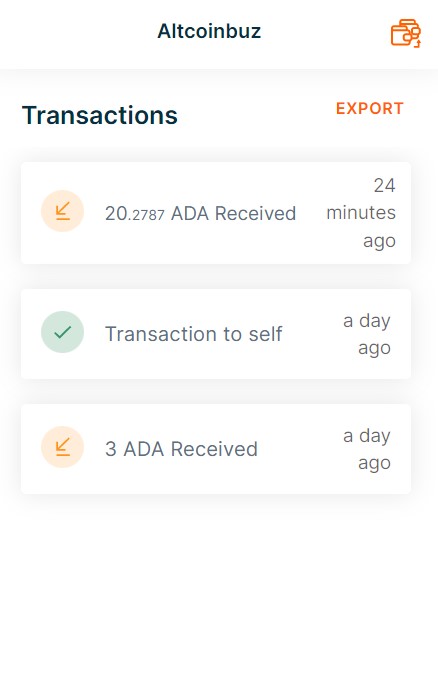
Transactions Details in Flint Wallet
Users can check their account activities details from the Transaction section.
Add Account on Flint Wallet
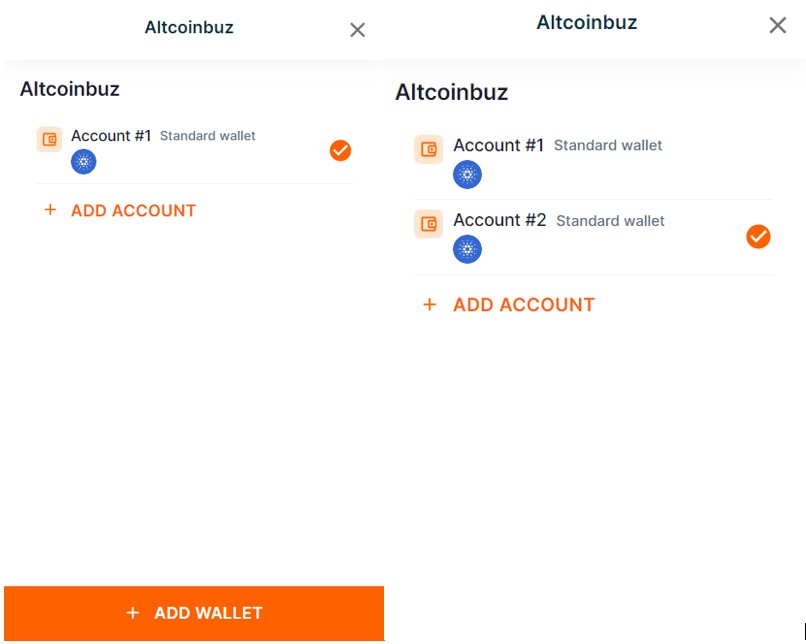
Flint wallet allows the users to create multiple accounts in a wallet application. They can use these different accounts to manage their funds separately with the flexibility to select which account they wish to use while connecting with a particular dApp. However, note that although these accounts work independently of each other, they share a common secret recovery phrase.
Therefore, to add a new account, click on the “Add Account” button. The application will show you the hierarchy under which wallet the account is created.
Confirm the process by giving your wallet’s password. And you will find a new account is created in the “Accounts” section.
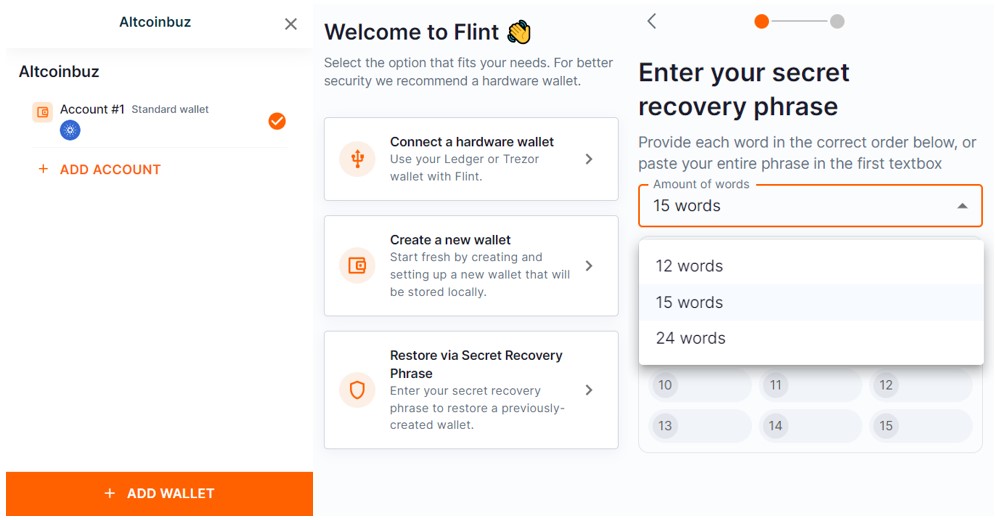
Add Wallet to Flint (Via Recovery Phrase)
The “Add Wallet” option allows users to add a new/existing wallet. Moreover, we have already explained the process of creating a new wallet.
Therefore, here we will explain how you can add a wallet (existing wallet) by giving your secret phrase.
Select Add Wallet-> Restore via Secret Recovery Phrase. Next, select the number of words (12, 15, 24) that your backup phrase holds. Finally, provide the backup phrase words in the correct order, and your wallet will be imported.
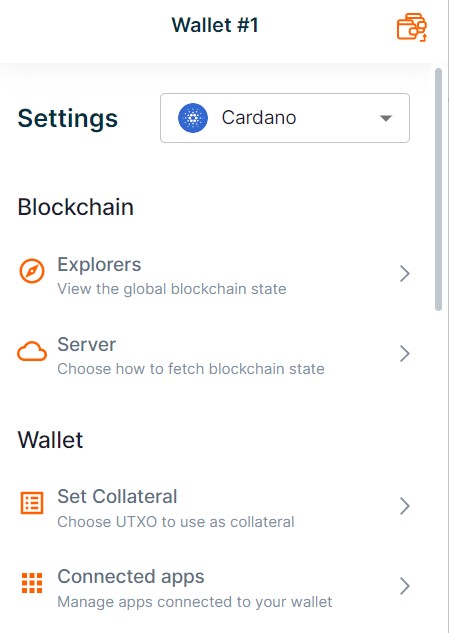
Settings on Flint Wallet
In addition, the Settings tab lets you check/edit multiple parameters in the Flint wallet:
- Explorer- Block Explorer of the network
2. Server- Default server setting. Users can also set custom nodes. Therefore, we recommend our users not to do any changes in the default setting until proper knowledge.
3. Set Collateral- Most of the Cardano wallet gives you the option to deposit some assets (5 ADA) that will be used to overcome the situation that arises due to contract failure. Also, here, in flint’s wallet, you can do the same. All you need to do is to have a minimum of 5 ADA tokens in your wallet and deposit them as collateral.
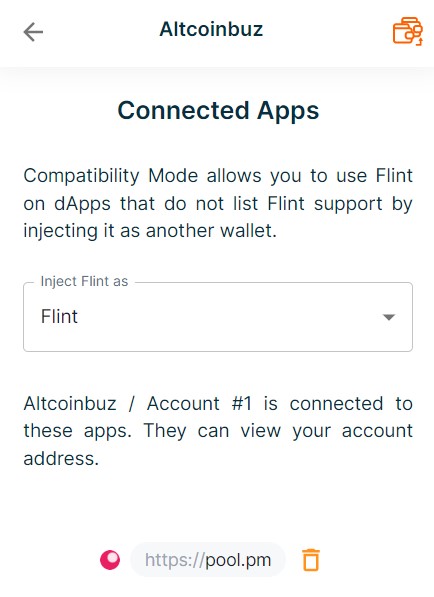
4. Connected Apps- shows the list of apps connected with the Flint wallet.
In addition, here are the options you have available:
Wallet Name- Helps you in renaming your wallet
Passcode- Setup passcode here
Passwords- Change your password here
Rsync Wallet- Helps you to Rsync the wallet if you think your wallet is not displaying the correct data
Remove Wallet- Remove your current wallet
Display- Set language and currency
Moreover, for more cryptocurrency news, check out the Altcoin Buzz YouTube channel.
Above all, find the most undervalued gems, up-to-date research, and NFT buys with Altcoin Buzz Access. Join now starting from $99 per month


