The Venly wallet, previously named “Arkane Network,” is a multi-blockchain wallet that allows users to manage their assets across different blockchains via a single account. It supports 11 blockchains, including Bitcoin, Ethereum, Litecoin, Polygon, Hedera, etc.
Therefore, users can create a Venly account by providing their social account details or simply using their email address. Once your Venly account is created, you can create/import a wallet for any supporting blockchain networks.
That’s why, in this article, we will explain how you can create a Venly account, create a VeChain/Ethereum/Matic wallet connected to your Venly account.
Table of Contents
Step 1: Create a Venly Wallet Account
To create a Venly account, visit the official page.
Source: Venly
Then, you need to click on My Wallet appearing in the top corner of the page. Once you hit that button, the application will redirect you to the page to find an option to install your wallet.
Source: Venly
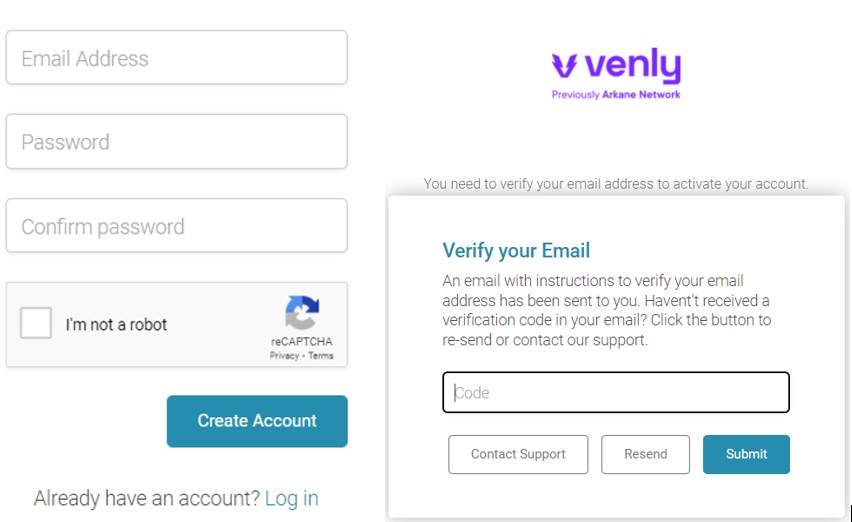
Also, you can create a Venly account using your Google, Facebook, or Twitter account. For this article, we are creating a new account by giving our email address. Therefore, you need to click on Create Account.
Then, it will ask you to enter your email address and set your wallet password. Next, the application will send you a verification code in your email. After that, you need to enter the code to verify our email.
Source: Venly
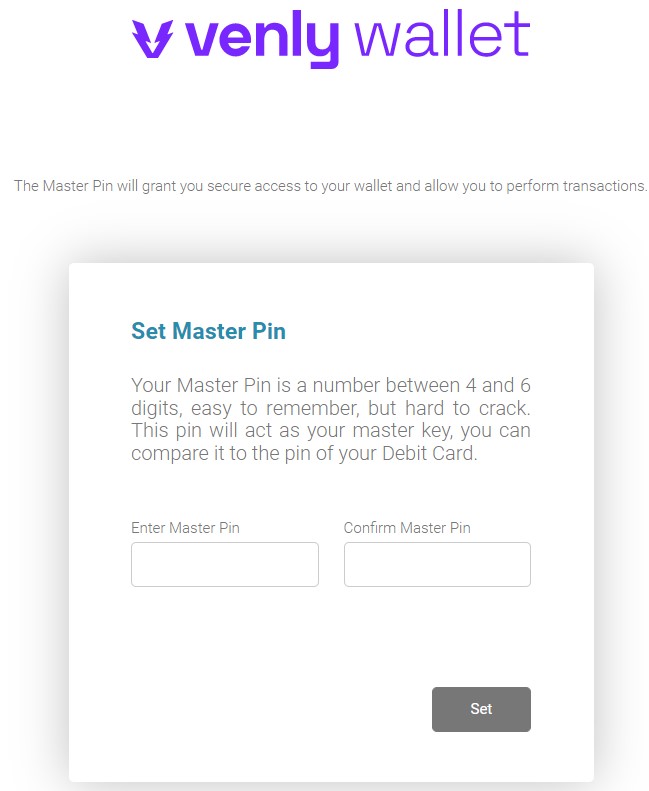
Once you have verified your email, the application will ask you to set up a Master PIN that may consist of 4-6 digits.
Source: Venly
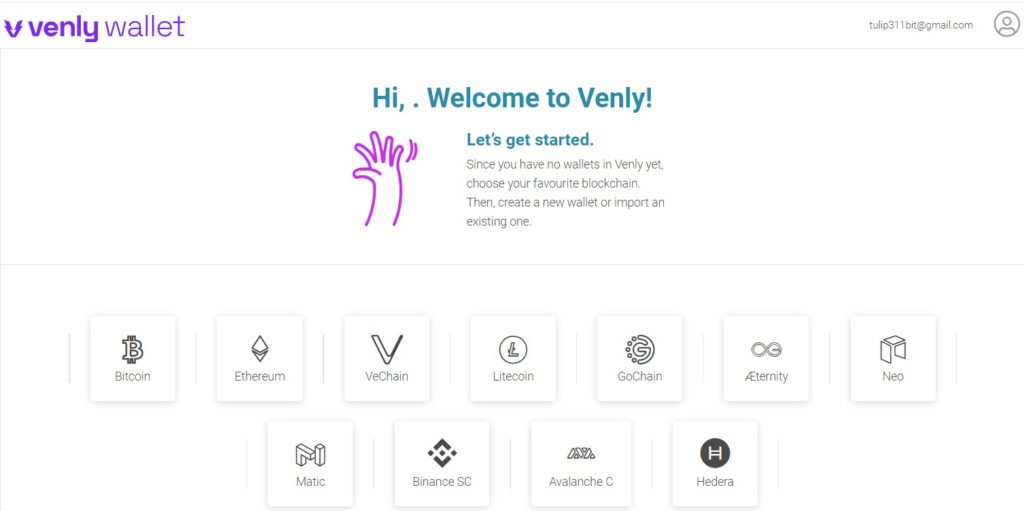
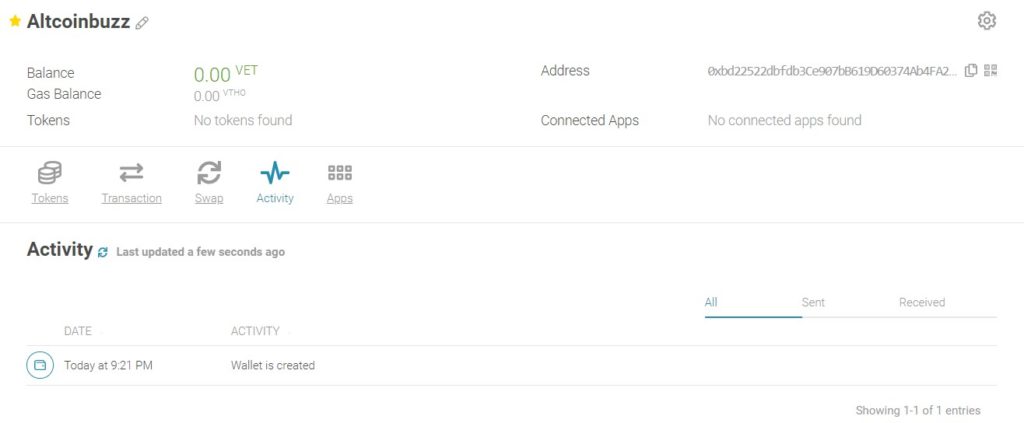
Once this step is done, you can see your newly created Venly wallet account.
Source: Venly
Step 2: Wallet Setup
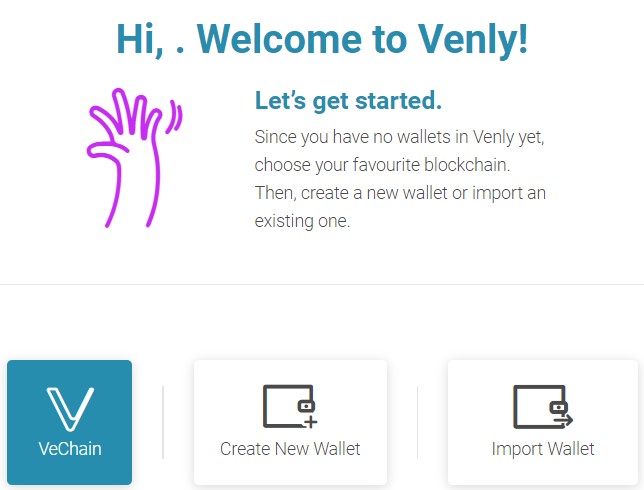
To set up your new Venly wallet, you have to select the network. In this case, we have chosen VeChain. Therefore, users will find two options for wallet setup:
- Create Wallet
- Import Wallet
Choose option one if you are a new user. However, users can select the Import wallet option to import an existing wallet in some new device.
Source: Venly
Step 3: Create New Wallet
To create a new wallet, click on the Create New Wallet option. You can see the screenshot above. Then, the application will ask you to enter your master pin. Once you have entered your pin, a blank VeChain wallet in Venly is created for you.
Source: Venly
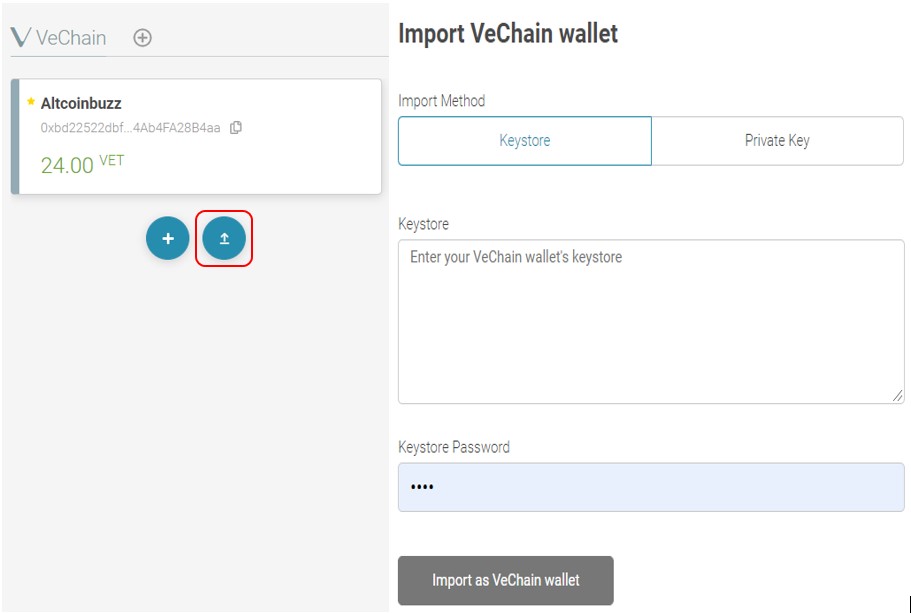
Step 4: Import Wallet
Users can import their existing VeChain wallet to some other device by giving the Keystore file and password or private key. Likewise, users can set up multiple wallets in a single Venly account to track or monitor the assets.
Source: Venly
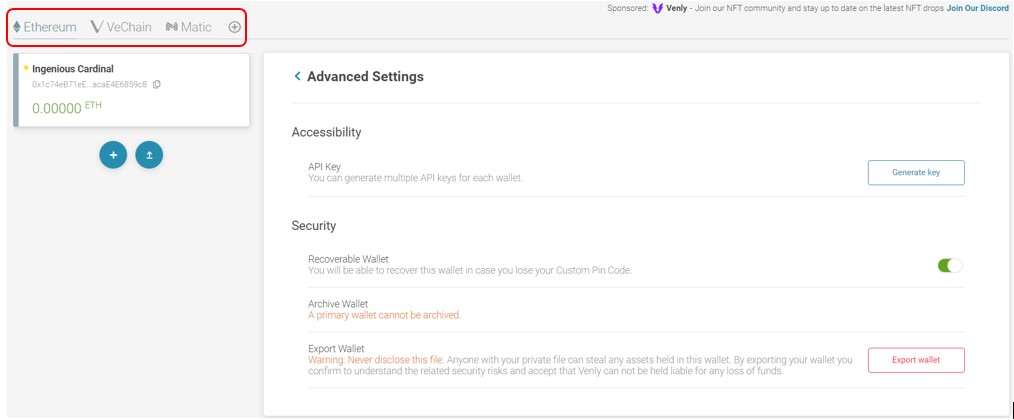
Also, you can even select a different chain and create/ import a wallet.
Source: Venly
Step 5: Receive $VET
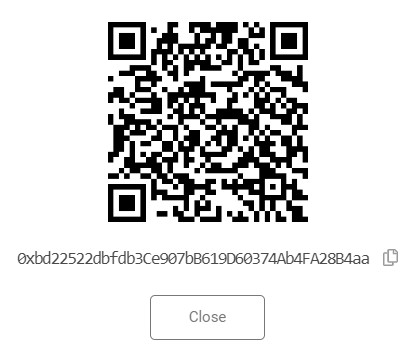
To receive the $VET token in your wallet, you need the wallet’s public address. To do it, you need to click on the copy button against your address or the QR code icon to show the QR code.
Source: Venly
Step 6: Transfer $VET From Binance to Another Wallet
We have some VET tokens in our Binance account that we will transfer to our wallet.
Source: Venly
To withdraw, click on the Withdraw button against the token. Now enter the address and the amount of token you wish to send. The application will show you the token you will receive at the destination address after deducting the network fee.
Then confirm the process. Once done, you can see your tokens in your account. We have acquired some $VET and $VTHO tokens to pay network fees in our wallets for this exercise.
Source: Venly
Step 7: Visualize your Tokens in the App
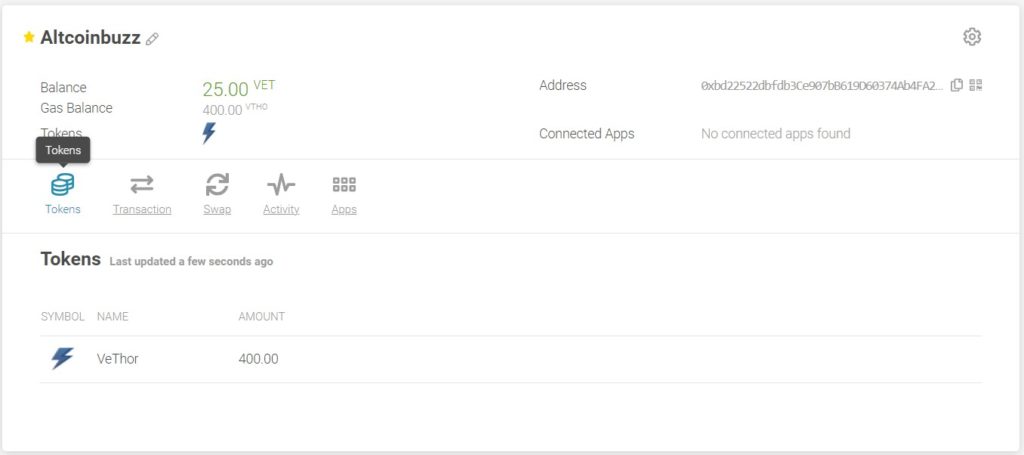
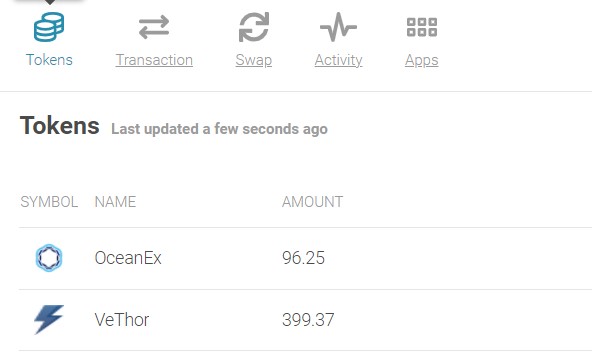
In this section, you can see the list of tokens you are holding.
Source: Venly
Step 8: Send Funds to other Users
The Transaction/ send funds option allows you to transfer your funds to other users. To do it, you can provide the recipient wallet address or registered email address along with the number of tokens that you wish to send.
Once you have filled in the mandatory details, confirm the process by providing your master pin.
Source: Venly
Step 9: Swap Tokens
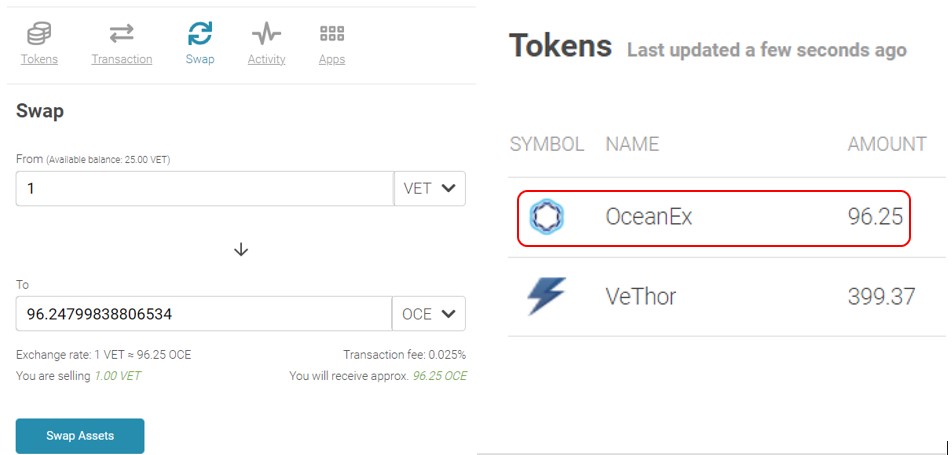
The Swap option allows you to convert your $VET or $VTHOR to other tokens like $DBET, $OCE, $PLA, $SHA, and $TIC.
To swap, select the input and the output token. Next, fill in the amount of input token that you wish to convert into the output token. The application automatically shows the amount of output token you will receive after swapping.
Finally, you need to confirm the process. You can see your desired token in the Token section.
Source: Venly
Step 10: Check Transactions
Users can check their accounts-related transaction details from this tab.
Source: Venly
Step 11: Setting
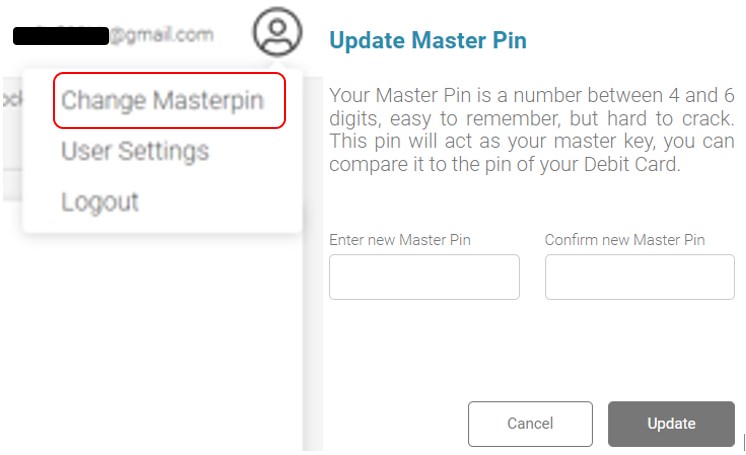
The Setting tab allows you to change/update the following setup related things regarding your account:
- Update Master Pin: To update your master pin, go to your profile and click on Change Master Pin, and a window will pop up where you need to enter the new master pin you wish to set up.
Source: Venly
- User Account- Users can set many things from this section like the password, 2FA settings, social logins, etc. Below are the details that you can change/update:
Source: Venly
Join us on Telegram to receive free trading signals.
For more cryptocurrency news, check out the Altcoin Buzz YouTube channel.


