
BEST ALTCOINS For 2026 – Chainlink LINK Or ONDO Finance
Let's consider a head-to-head matchup between 2 crypto leaders in the RWA space: Chainlink and ONDO
Let's consider a head-to-head matchup between 2 crypto leaders in the RWA space: Chainlink and ONDO
Along with privacy, web3 crypto gaming is making a comeback in cryptocurrency!
Bittensor is the leading AI project. But it’s hard to understand and there are all these subnets.

Our popular series of Top Coins Under $1 is back

Crypto could dump soon if some of the market structure events we are watching turn negative. And honestly, it would not take much for that to happen
Crypto unlocks are important to consider - especially if they impact your altcoin holdings!

2026 is a midterm election year in the US. Typically, that’s not great for Bitcoin. Why?

The crypto market followed a simple rule: a powerful bull run every four years. But 2026 is challenging that rule. We see mixed signals.
Let's be honest. This cycle did not play out how we wanted it to. Altcoins did not pump.

Leonard, the CEO of Aster, shared his journey from traditional finance into the fast-growing world of decentralized finance (DeFi)

October and November didn’t work out the way the crypto markets expected it.

The LLM post-training and diffusion model fine-tuning market is booming!

The past month has seen x402, a protocol incubated by Coinbase Dev, surge to new heights.

Where is altseason? It’s the question everyone is asking.

We have been waiting for solid altcoin moves after the latest Bitcoin ATH. It has been elusive, and most of the alts suffered.
Crypto market conditions are BRUTAL right now

While we are in a market downturn, we are looking at safer alternatives, and Bittensor looks like one of the few poised for the long run.

A major DeFi shock from Stream Finance leaves xUSD, xBTC, and xETH holders and lenders unsure about loss distribution.

Bitcoin’s recent rally has hit a snag, with the price slipping once again and testing key support levels.

The Launchpad scenarios are evolving, and new players are emerging.
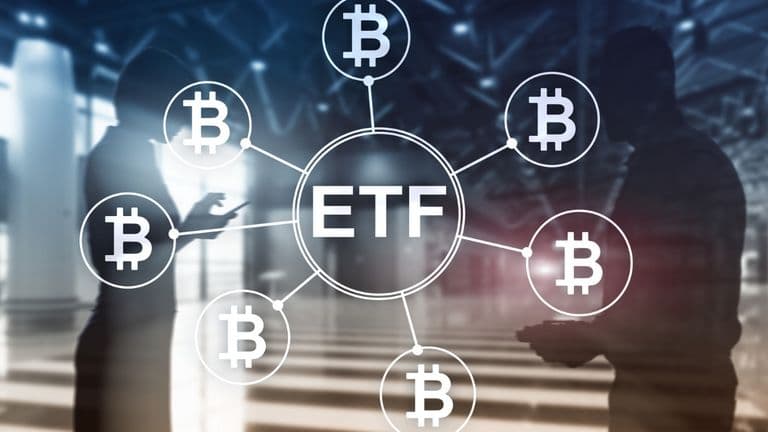
BlackRock is helping Bitcoin holders turn their crypto into ETF shares, linking digital assets with Wall Street.

SpaceX moved $268 million in Bitcoin, sparking speculation of a strategic reshuffle rather than a sell-off.
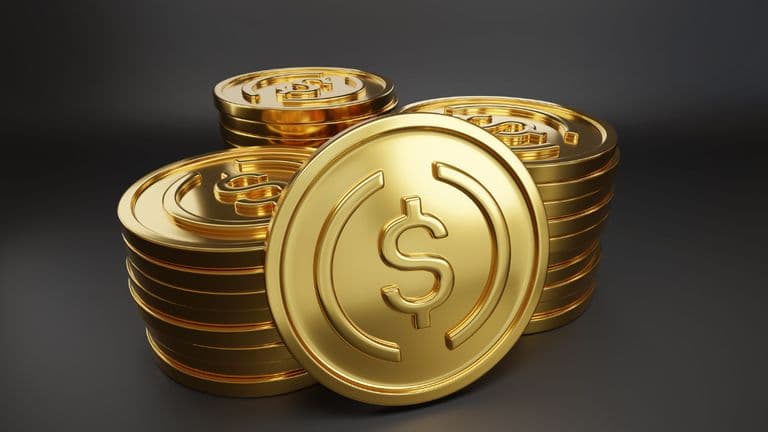
Wyoming becomes the first U.S. state to issue a fiat-backed stablecoin, launching 700,000 FRNT tokens across seven blockchains.
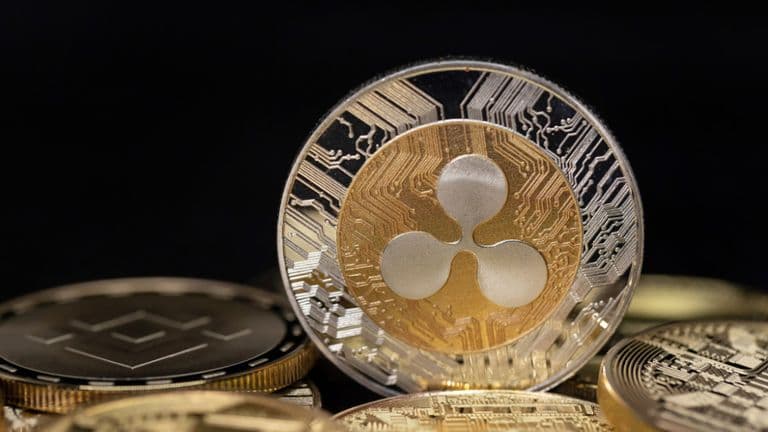
Ripple-backed Evernorth plans a $1B Nasdaq listing to build a major XRP treasury and attract institutional investors.