


")


 Tokens Playing This P2E Game")

The Wormhole Token Bridge allows users to transfer assets between Solana and other major networks. The bridge was developed by Certus One, a premier validator for distributed ledger technology (DLT), and a partnership with Solana network.
Currently, it supports Ethereum, Polygon, Binance Smart Chain, and Terra networks. The project is planning to extend its support to other networks shortly. Therefore, users can now easily migrate their assets from different supporting networks to Solana and take advantage of Solana’s fast finality and low cost. In this article, you will learn how to use the Wormhole Bridge to do this.
The bridge uses multiple decentralized cross-chain oracles, formally termed guardians. These systems are mainly run by node operators who are among Solana’s top validators and other ecosystem stakeholders. The guardians monitor the entire transaction process. They lock and burn the token on the source chain and then mint and release new tokens on the other chain.
As a result, in this article, we will explain how you can transfer your ETH or other ERC-20 tokens from Ethereum to Solana networks. You can also read our previous guides on different bridges:
-
How To Transfer ERC-20 Tokens To the Binance Smart Chain With The Binance Bridge
- Transfer Enjin from Ethereum to Jumpnet
Usage Guide
To use the Wormhole bridge, visit the link. As you can see from the below screenshot, the bridge currently allows users to connect with the below networks:
- Ethereum
- Solana
- Polygon
- Binance Smart Chain
- Terra
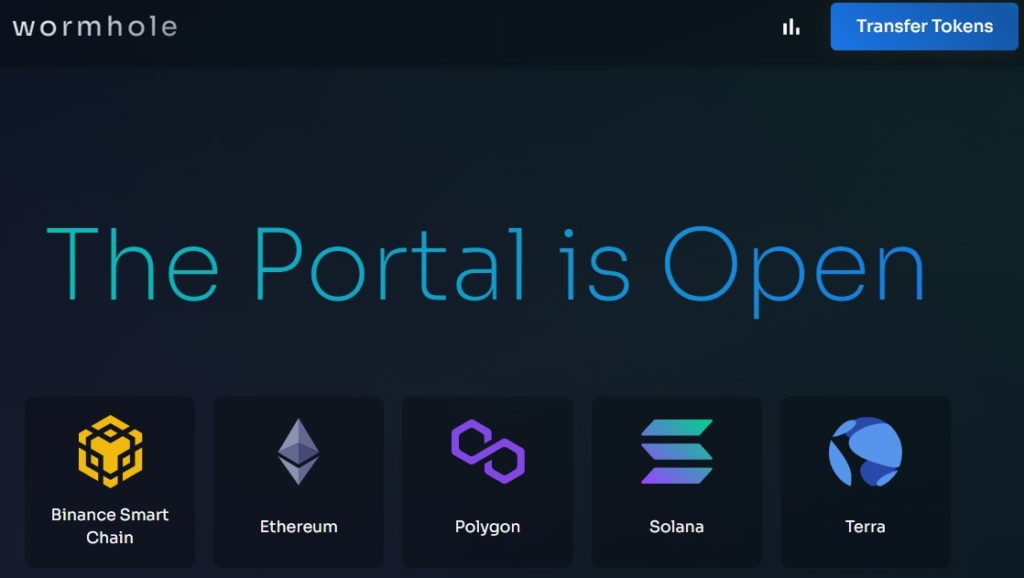
Click on “Transfer Tokens” appearing on the top corner of the page.
The Wormhole bridge allows users to set the transaction-related details in different phases. Let discuss it in detail.
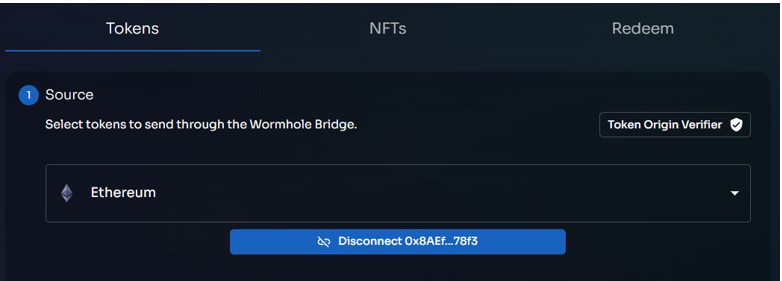
Step 1: Select the Network
In the “Source” section, users are required to select the source network where they wish to initiate the transaction.
In this case, we are selecting the Ethereum network. Next, it will ask you to connect with the supporting wallet. For Ethereum, you can connect with Metamask. You can see your connected wallet address here (see screenshot below).
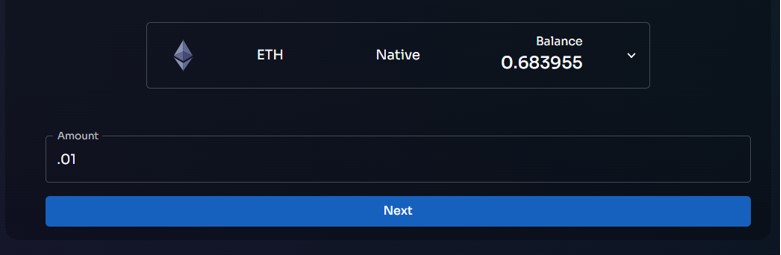
Step 2: Select A Token
Next, the user is required to select the token and the amount that he wishes to transfer. The platform supports ETH, BNT, GRT, SAND, SNX, FTM, DAI, and many more. Note that users should hold a sufficient ETH in their connected Metamask wallet to cover the gas fee. Otherwise, it will show a warning message.
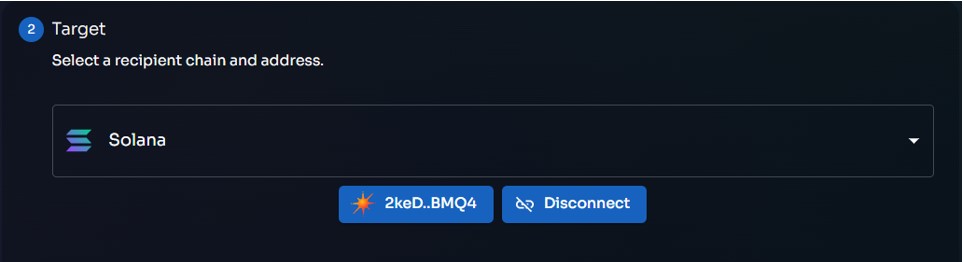
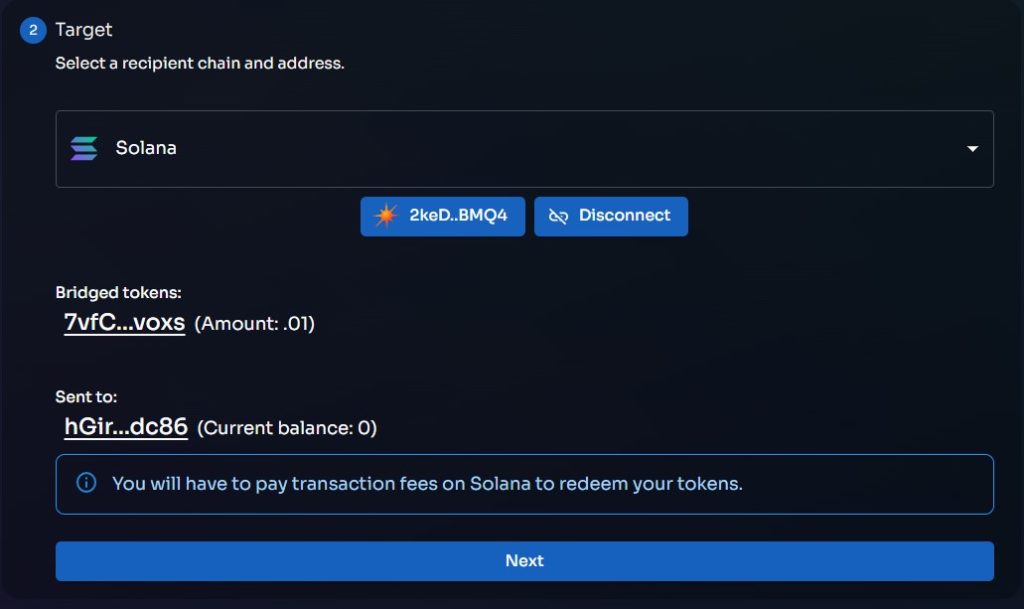
Step 3: Select And Connect to a Destination Network
In the Target section, you must select the destination network and enter the receiving wallet address. You can choose any of the networks mentioned above. In this case, we have chosen Solana as our destination network.
For Solana, the bridge provides support to quite a few wallets like Solflare, Phantom, Math Wallet, and Sollet. In this case, we will connect with Solflare, which is a web extension wallet installed in our browser, to receive our funds.
Select your preferred wallet and click on Connect. This will trigger a transaction in your Solflare wallet for establishing the connection.
In the given destination wallet address, the user must hold sufficient SOL tokens to pay the network fees.
Also, you can read our previous guides on different bridges
-
How to Use Arbitrum Bridge to Transfer Tokens From the Ethereum Network to Arbitrum
-
Transfer ERC-20 Tokens Cheaper and Faster Using Optimistic Ethereum
Step 4 Create Associated Token Account
If the token account doesn’t exist in the linked Solana address, users must create a token account. You will get a warning message if it is not connected (see below screenshot).
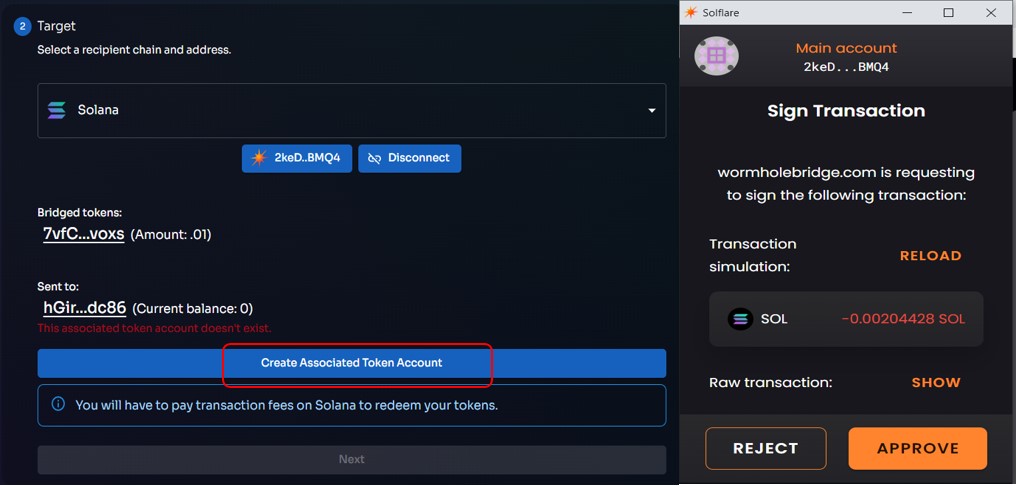
Click on the Create Associated token account button. It will trigger a transaction that you need to confirm.
The warning message will go off now. You can also check your details here before initiating the transfer.
Step 5: Send Tokens
If you are satisfied with the transaction details, you can confirm it by hitting the Transfer button.
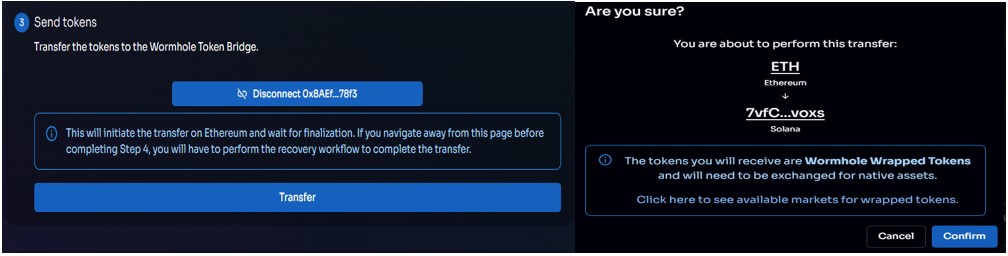
Confirm the transaction via your wallet. This will initiate a transfer from the Ethereum network. Wait for the transaction to complete.
Step 6: Redeem Tokens
Then, you have to redeem it to transfer the tokens from the wormhole bridge to the destination wallet address in Solana.
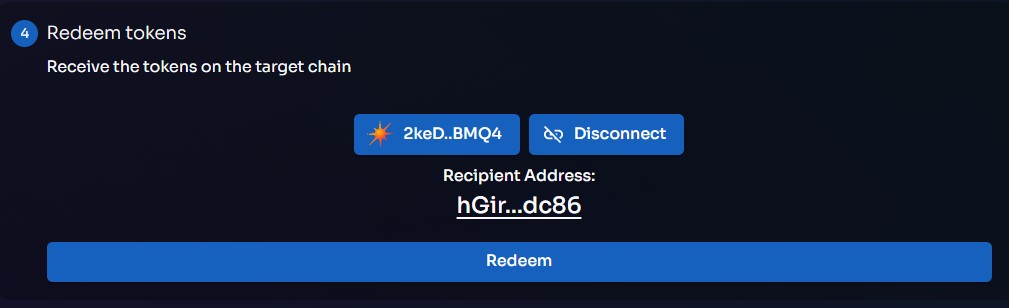
Click on the Redeem button. The application may ask you to approve a few transactions, more than 1, in your Solflare wallet.
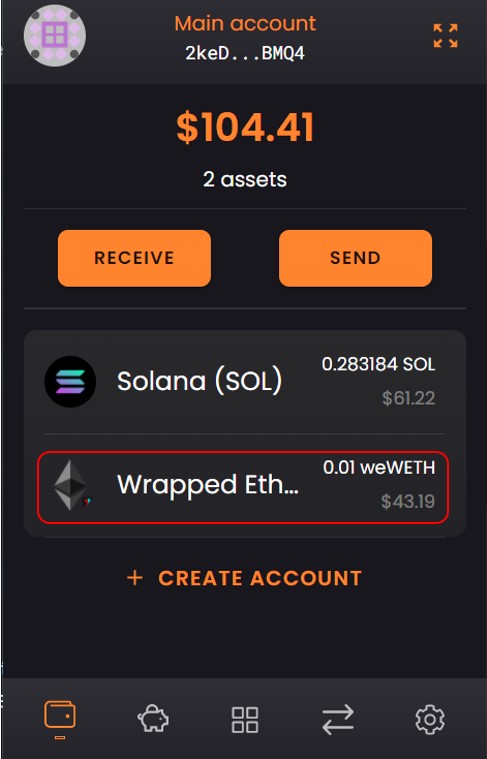
As a result, once done, you can see the wrapped Ethereum (WETH) token balance in your Solflare wallet.
Finally, you can read our previous guides on different bridges here too.
Moreover, join us on Telegram to receive free trading signals.
Above all, for more cryptocurrency news, check out the Altcoin Buzz YouTube channel.


