The Avalanche wallet is a non-custodial, web-based wallet that allows the users to interact with the underlying Avalanche network. It is the native wallet of the network. The wallet enables the users to send, receive, and store supported tokens and collectibles.
Users can also use the wallet interface to stake their AVAX coins to a validator. If you hold more than 2000 AVAX and satisfy the technical and hardware requirement, then you can become a network validator.
So, in this guide, we will explain how you can create and use the Avalanche wallet.
Table of Contents
Access the Avalanche Wallet
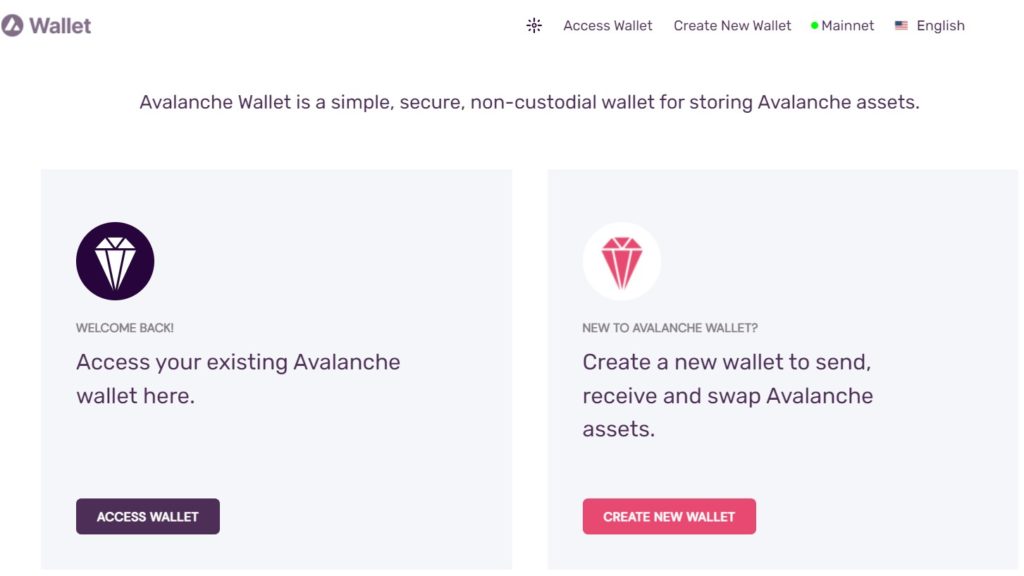
To use the Avalanche wallet, visit the official wallet link.
Here, you will find two options to set up your wallet:
- Access Wallet – For existing users.
- Create New Wallet – For new users.
Create New Wallet
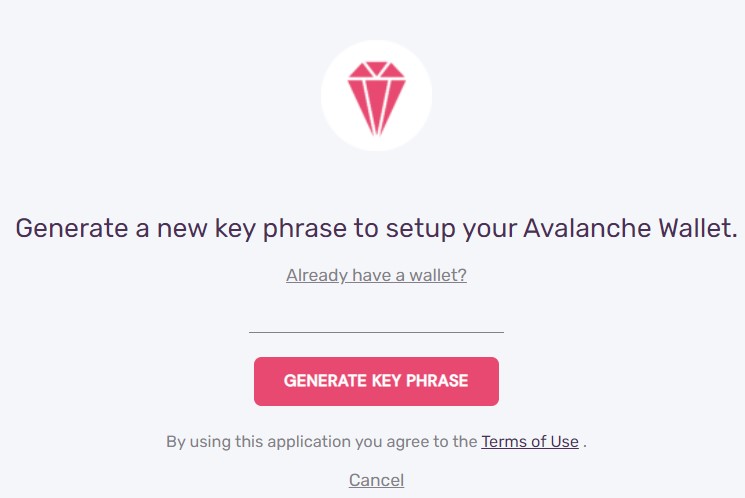
If you are a new Avalanche network user and want to create a wallet, then click on this option. The application will prompt you to generate a key phrase for your wallet.
Click on the Generate Key Phrase button, and the application will show you a 24-word backup phrase. Store your key phrase safely to recover your account later on some other device.
Next, it will ask you to verify some of the key phrases, and once verified successfully, you can see the wallet landing page.
Access Wallet
Existing Avalanche wallet users can open their wallets by using the Access Wallet option.
You may notice that the wallet time-outs frequently every few minutes. In that case, you can always go to the Access Wallet option and provide your credential to use it.
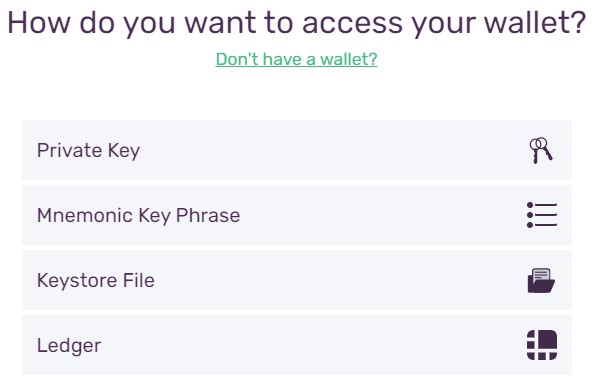
Users can launch the wallet application by providing any of the below credentials:
- Private Key
- Mnemonic Key Phrase (24-word backup phrase)
- Keystore File
- Ledger
Understanding Different Chains in the Avalanche Wallet
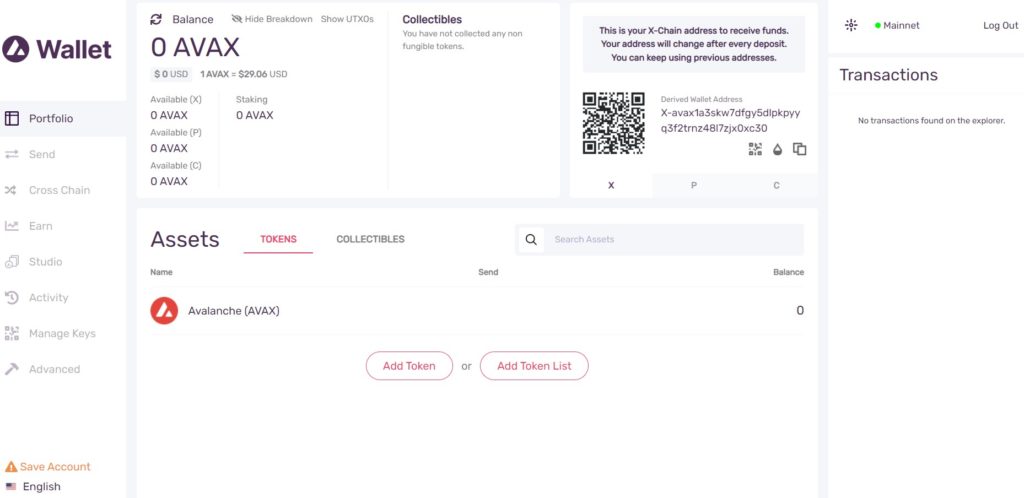
One of the important things that users need to understand before working with the Avalanche network is its different supported chains’ addresses. On the wallet landing page, you may have noticed three different chains (see the below screenshot).
A proper understanding of each chain is mandatory; otherwise you may lose your assets if you try to send assets between different chains.
- C-Chain (Contract Chain) – Used for smart contracts and DeFi apps. Its chain uses an Ethereum-like address starting with 0x. Most of the Avalanche-based DeFi platforms such as AAVE and Trader Joe work on the C-Chain and are compatible with MetaMask.
- X-Chain (Exchange Chain) – Uses an address format like X-avax. This address is used for sending and receiving funds from the exchange. You can access your X-Chain address from your Avalanche wallet. Note that once you have used the address to receive assets, it will generate a new deposit address for the next use. Both your previous and new deposit addresses will remain active. This address cannot be used for DeFi platforms or with MetaMask or similar wallets.
- P-Chain (Platform Chain) – Uses an address format like P-avax. Users can use this address to stake AVAX or to receive the staking rewards. That means AVAX staking is available on P-Chain. We will explain this concept with detailed working steps in our next article.
Receive
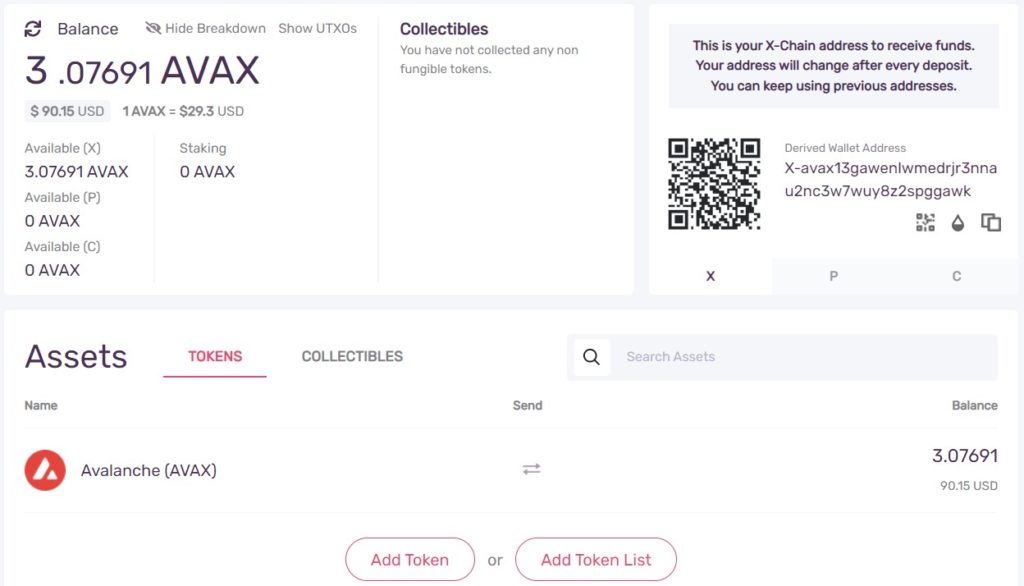
Users need the public address/receiving address to receive AVAX or other supported assets in their wallet.
However, be very careful while using the receiving address, as you may find three different addresses on your wallet. Read the difference between the different addresses and use it properly. For example, if you are sending AVAX from exchanges, always use the same chain, i.e., X-Chain to X-Chain or C-Chain to C-Chain.
To transfer AVAX from the exchange, copy the X-Chain address and paste it into the receiving address field in your withdrawal request from the exchange. Confirm the process, and you can see the desired AVAX coins in your account.
Additionally, take special measures while transferring stablecoins. For example, USDT in the Ethereum network is not the same as the USDT in AVAX. If you are planning to transfer across the network, then you have to first use the same chain address to transfer it to the Avalanche wallet. And, then you can either use the cross-chain (Avalanche wallet feature) feature or any other bridging solution to transfer the assets to the desired network.
Add Token
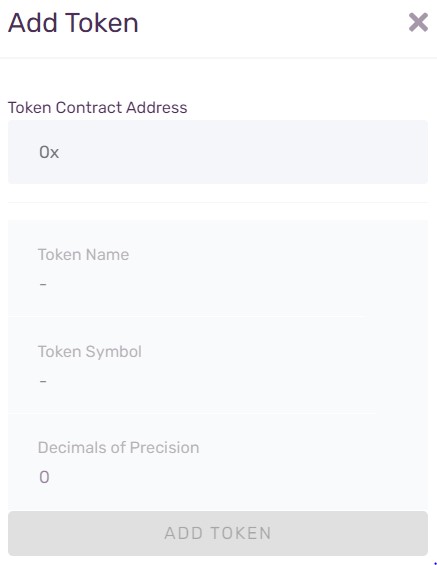
Users can add tokens (AVAX network supported assets) to their wallet by manually providing the following details about the token:
- Token Contract Address
- Name of the Token
- Token Symbol
- Decimal or Precision
Collectibles
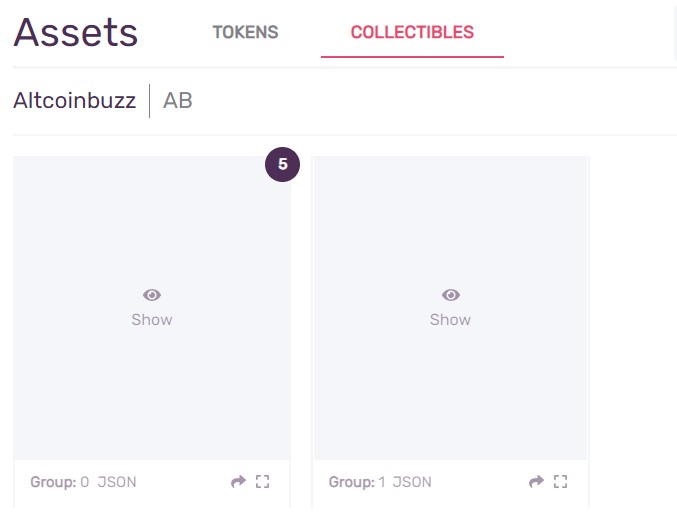
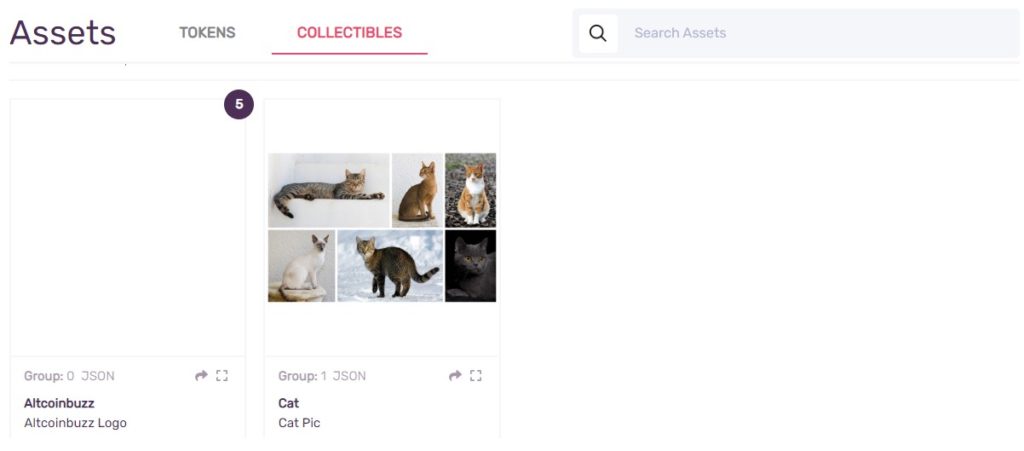
The Avalanche wallet allows the users to store and manage their NFTs from the wallet interface. You can find your digital assets in the Collectibles section.
Send
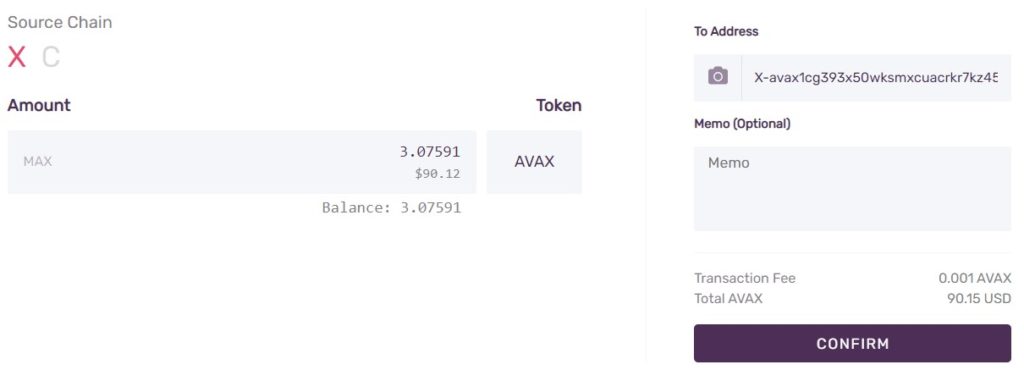
You can use the send option to transfer assets from your Avalanche wallet to some other users. Here also, you need to select the correct chain to transfer assets.
To transfer, click on Send. Next, select the source chain, i.e., X or C. Enter the amount, recipient address, and memo (if any). Confirm the process.
Cross-Chain
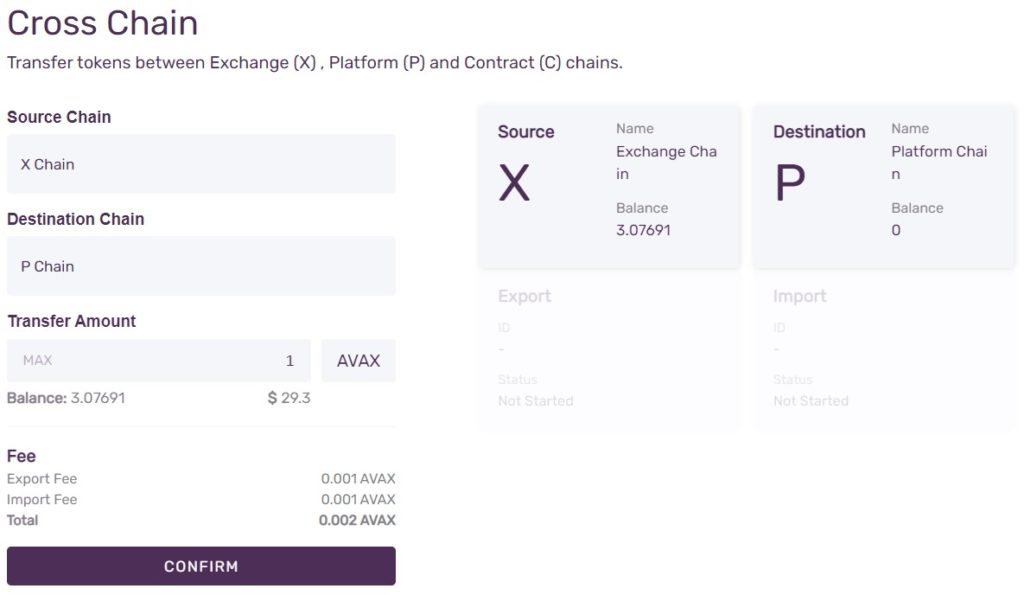
The cross-chain option allows the users to transfer assets among the different chains, i.e., C-Chain, P-Chain, or X-Chain. Note that each chain has its own rules and functions differently.
To perform a cross-chain activity, users need to fill in the following details:
- Source Chain
- Destination Chain
- Transfer Amount
Since the transactions involve two chains, you may find that the application is charging export and import fees separately (see Fee section in the above screenshot). If you are satisfied, then confirm the process.
You can check the wallet dashboard to see the balance in the desired destination address.
Earn
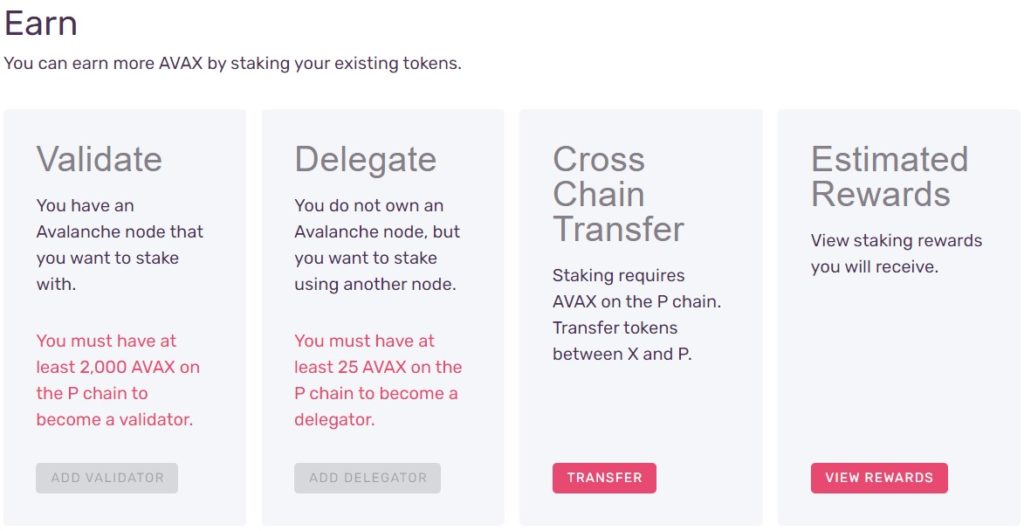
The Earn section let you stake the AVAX coins. The staking facility is available on P-Chain. Users need to transfer their assets from X-Chain/C-Chain to P-Chain via cross-chain swap, and they can later delegate their coins to a validator.
To delegate, you must hold at least 25 AVAX. If you want to become a validator, you need to hold at least 2,000 AVAX on the P-Chain, along with satisfying the technical and hardware requirements.
We will explain the steps of staking AVAX coins in detail in our next article.
Studio
Through the Studio section, users can create collections and mint NFTs. The process is pretty simple. In the Studio tab, you will find two sections:
- New Family
- Mint Collectibles
Users first need to define the collectibles family before minting any NFTs. The NFTs will be inside the collection.
As you can see from the below screenshot, we have not defined a collection family yet. Therefore, the Mint button is currently disabled. It will be enabled once we create at least one collection family.
So, first, click on New Family. It will ask you to provide a name, symbol, and number of groups that you wish to include in that collection. Confirm the process by paying a small fee (0.01 AVAX).
You can now go to the Assets section and see your collectibles family.
Once the collectible family is created, you can mint NFTs inside it. Click on Mint. You need to provide the below mandatory details about the NFT:
- Type of Collectibles (Generic, Custom)
- Title
- Image URL
- Description
- Quantity
Note: For showing the steps, we have copied an image from Google. We recommend our users provide their original, unique content/image to create NFTs.
Confirm the process. And you can see the newly minted NFTs in the Collection tab (see screenshot below).
Activity
Check your account-related transaction data from here. You can even filter the transactions depending upon transactions types, i.e., transfer (send/receive), export and import (cross-chain), or validation and delegation (staking transactions).
Manage Keys
Users can check their wallet’s keys (C-Chain private keys or key phrases) or export them from this section.
Advanced
The advanced section can let you recover your funds stuck due to failed transactions. Users need to fill in the details of the transaction correctly.
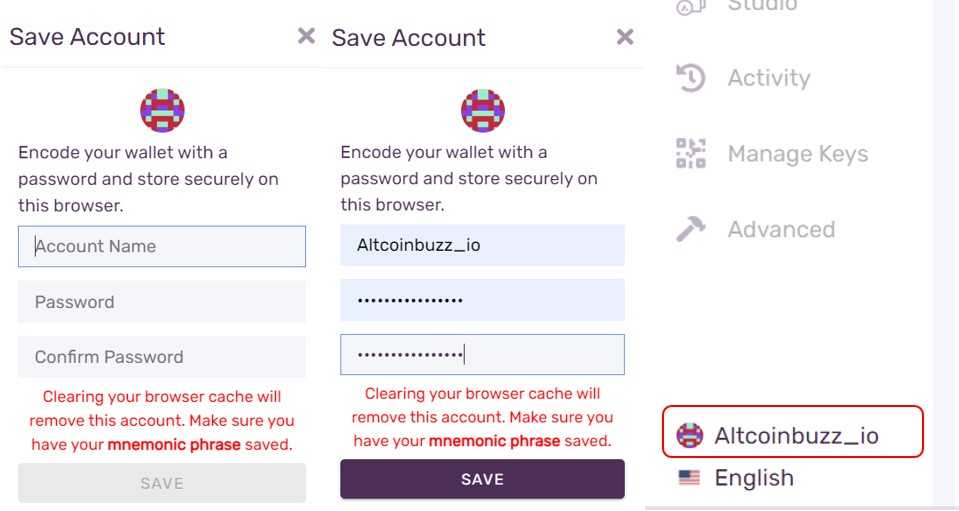
Save Account
Once you create a new wallet, you will notice a warning sign on the Save Account option. This is to prompt you to password protect your account before transferring any assets.
If you keep your wallet secure with a password, you can log in again by giving your credentials.
To set up a password, click on the Save Account option. Now, provide a wallet name and password. Confirm your password and save the details.
Network
The network option allows the users to switch to Fuji (Avalanche test network) or to add any network manually by providing the below details:
- Network Name
- URL
- Explorer API (Optional)
- Explorer Site (Optional)
Conclusion
The Avalanche wallet is a featured-packed, simple wallet that lets the users perform daily transactions with ease. The wallet also allows the users to mint assets by paying a very low fee. Users can stake their AVAX coins from their wallets and earn rewards. However, we recommend our users be careful while transferring assets to and from the wallet due to the usage of three different chain addresses.
⬆️Finally, for more cryptocurrency news, check out the Altcoin Buzz YouTube channel.
⬆️Above all, find the most undervalued gems, up-to-date research and NFT buys with Altcoin Buzz Access. Join us for $99 per month now.


