


")


 Tokens Playing This P2E Game")

Yoroi is an open-sourced, browser extension wallet for the Cardano & Ergo network. Users can use the wallet to send/receive, store, delegate, and manage Cardano network assets. The wallet also supports hardware devices like Ledger or Trezor. Apart from browser extensions (Chrome, brave, and Firefox), the application is also available for iOS and Android mobile users.
So, in this article, we will explain how you can install and use the Yoroi wallet for the Google Chrome browser.
Read our articles on other Cardano network wallets i.e how to use the Nami Wallet, and Flint Wallet.
Table of Contents
Install Yoroi
To install the wallet, visit their website. You will find the Download button.
Click on it, and it will show you the options to download the application for the various operating system, and browsers. (see the below screenshot)
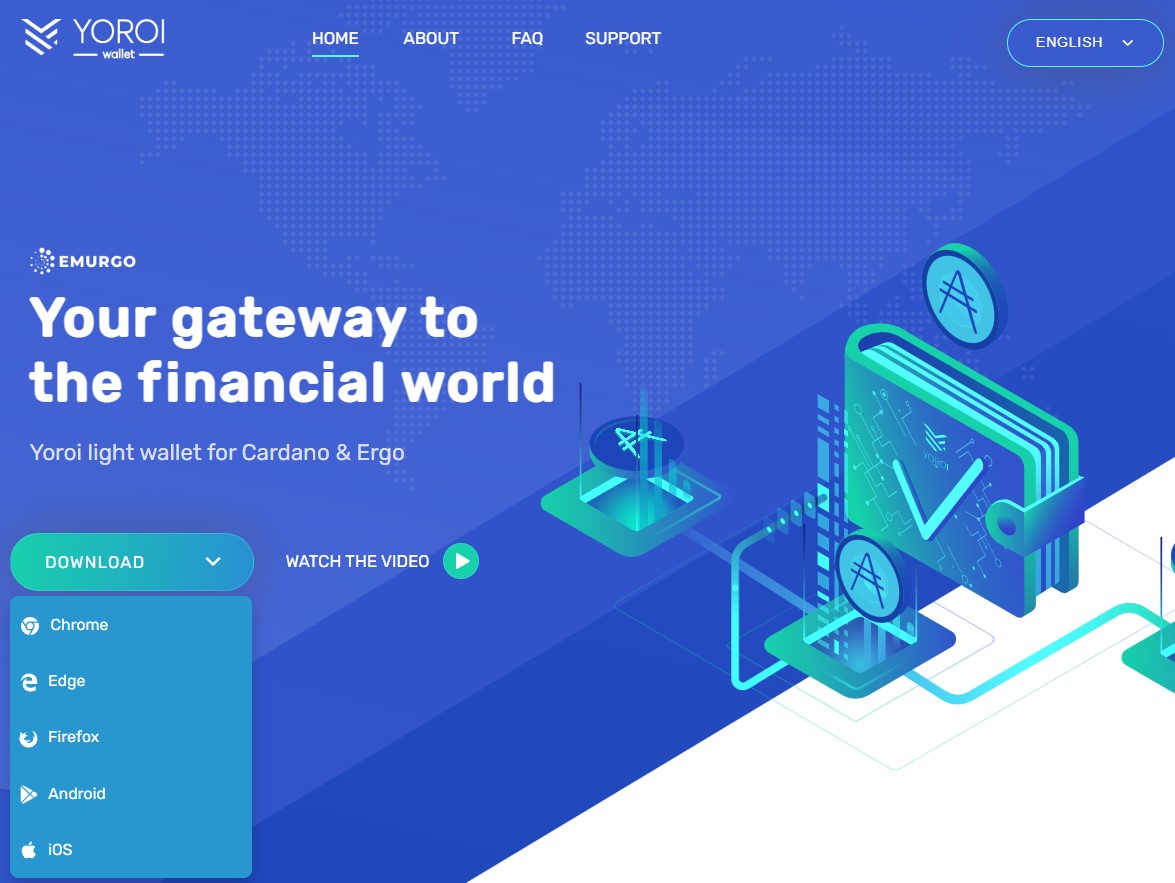
We will download the application for the Google Chrome browser extension.
Select the Chrome option, and it will redirect you to the page
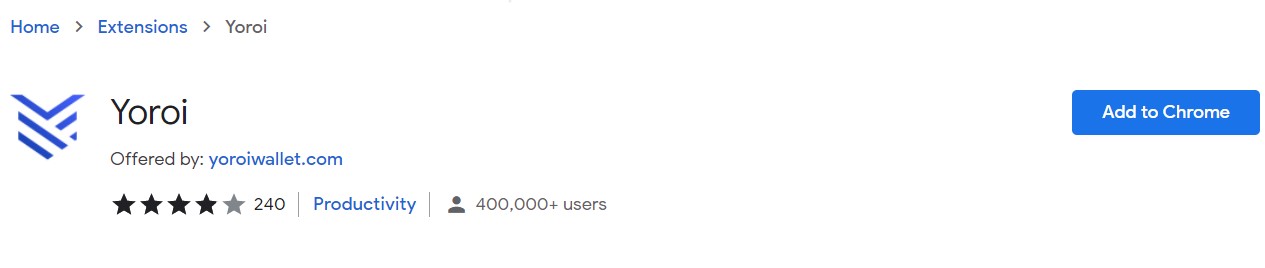
Click on the Add to Chrome button. Next, the browser will ask for your permission to add the application to the extension. Provide your approval, and the application will be installed.
You will see the below icon in your browser extension.
![]()
Set Up Yoroi
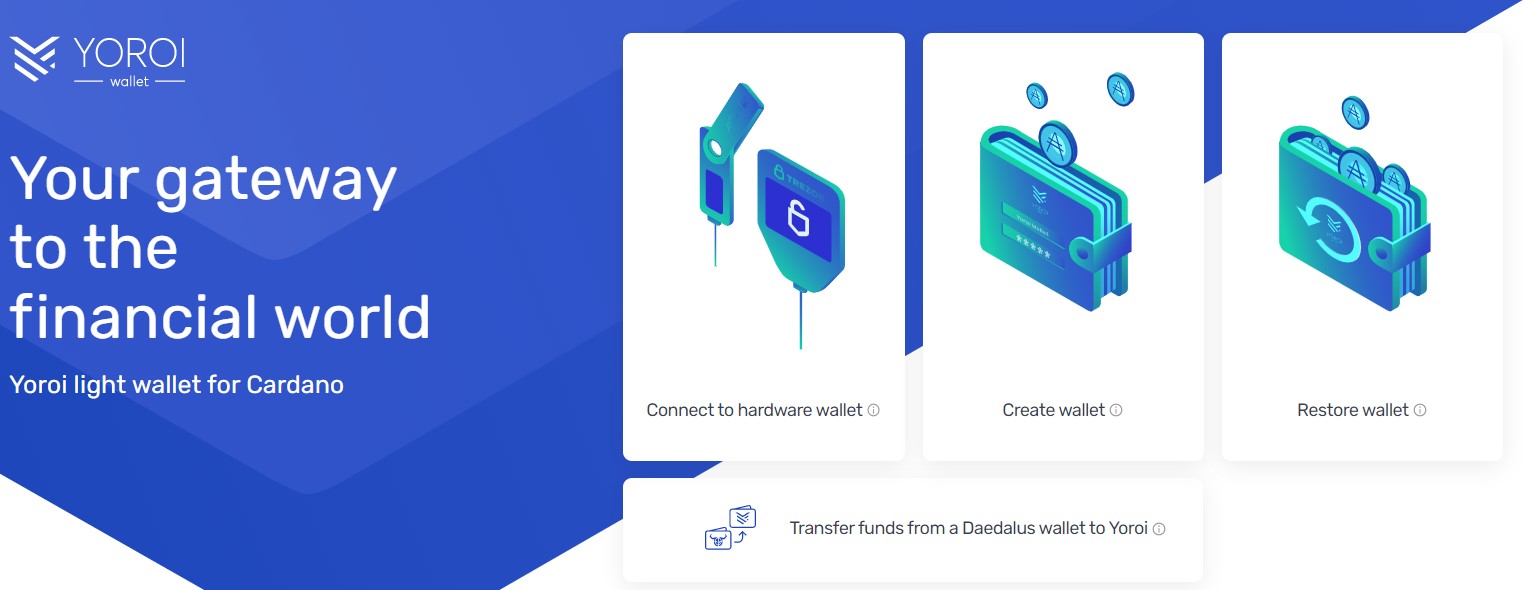
To set up your wallet, click on the application icon. The setup process will start. It will ask you to select your preferred language and finally shows the different methods using which you can set your Yoroi wallet.
- Connect To A Hardware Wallet
- Create Wallet
- Restore Wallet
Create Wallet
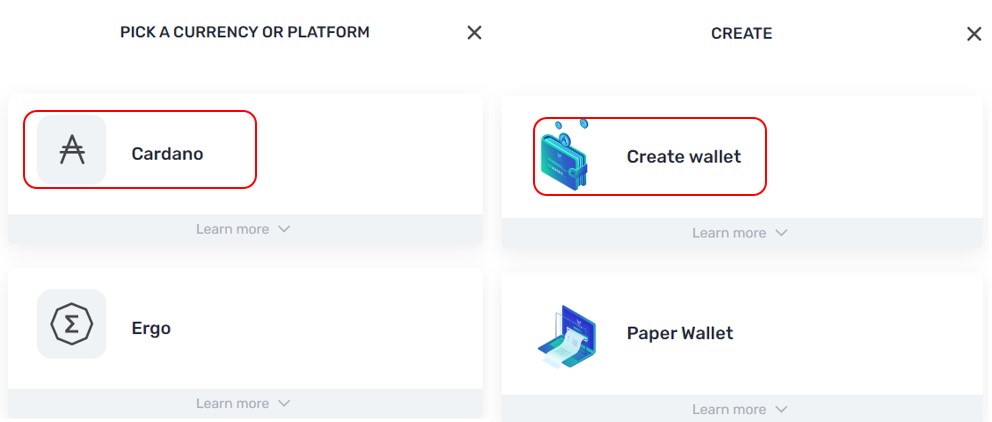
Using this option, users can create a new Yoroi wallet to interact with the Cardano network. As explained earlier, Yoroi supports both Cardano and Ergo. So, while creating a new wallet select your desired option (Cardano in this case).
Next, select the Create Wallet option.
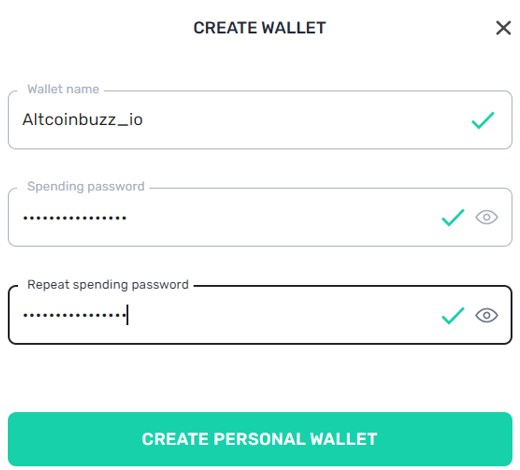
The application will ask you to provide a wallet name and set up a password. Users will need to enter the setup password whenever they wish to make a transaction.
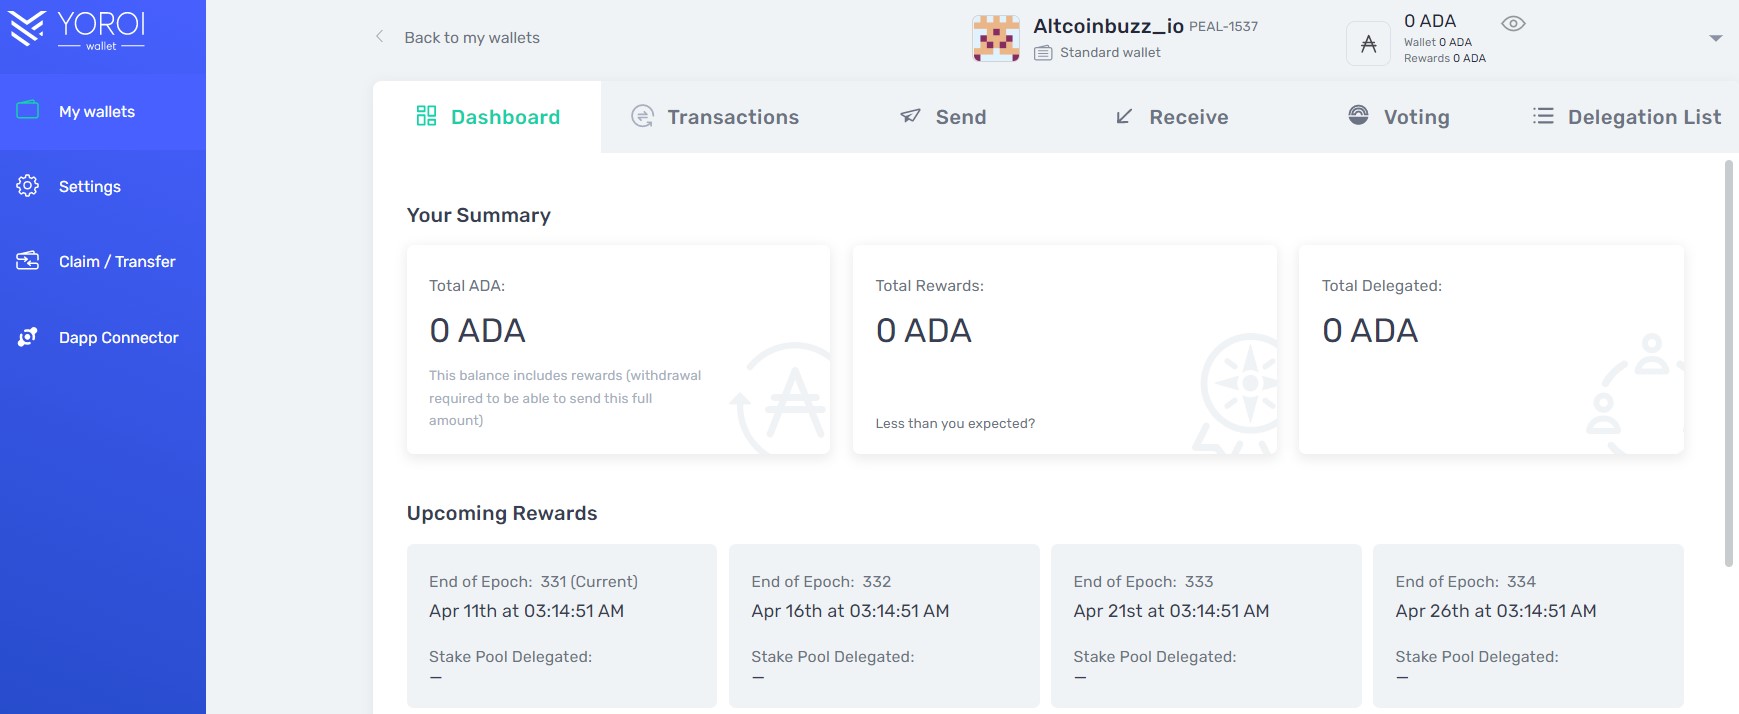
Confirm the process, and you can see the below-landing page.
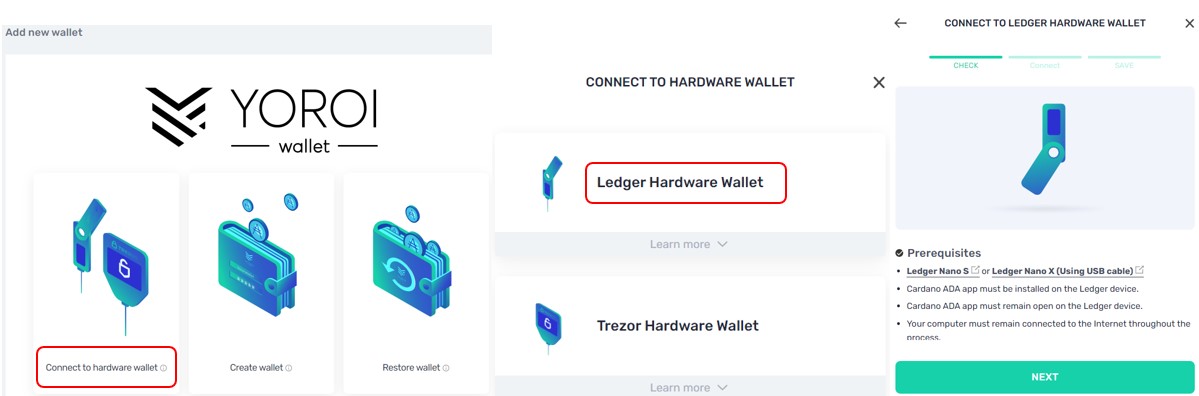
Connect To A Hardware Device
Yoroi supports Ledger and Trezor. It allows the users holding assets in their hardware device to connect with the wallet and perform the transaction.
Whenever you need to access your hardware device, plugin with the system. Also, make sure that the Cardano app is installed and updated. Follow the steps given in the below screenshot to connect with your ledger device.
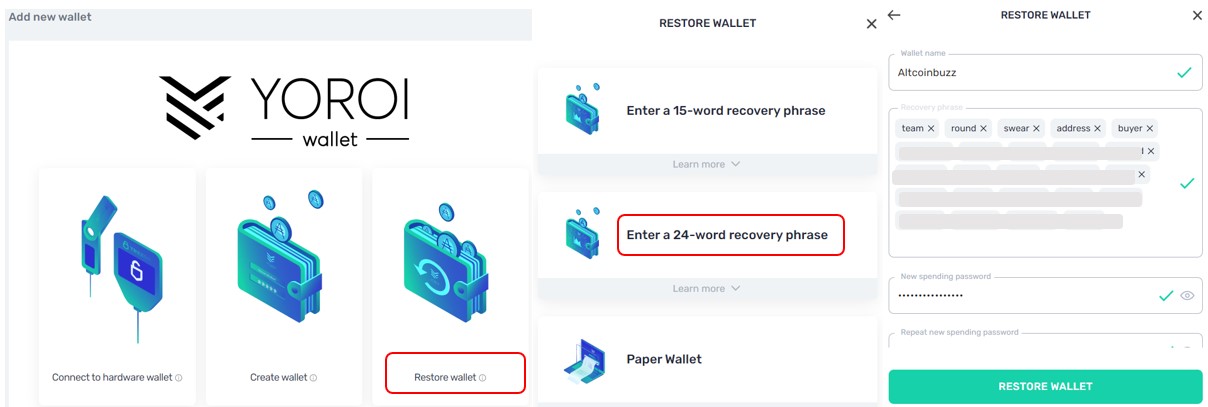
Restore Wallet
If you have saved your backup phrase then you can easily restore your wallet and funds at any time. Yoroi allows you to recover your wallet by giving the backup phrase correctly.
The process is simple. Select the Restore wallet option. Next, select the network (Cardano, or Ergo). The application will ask you the number of words your backup phrase holds (15 or 24). Provide a wallet name, spending password, and backup phrase and your wallet will be restored.
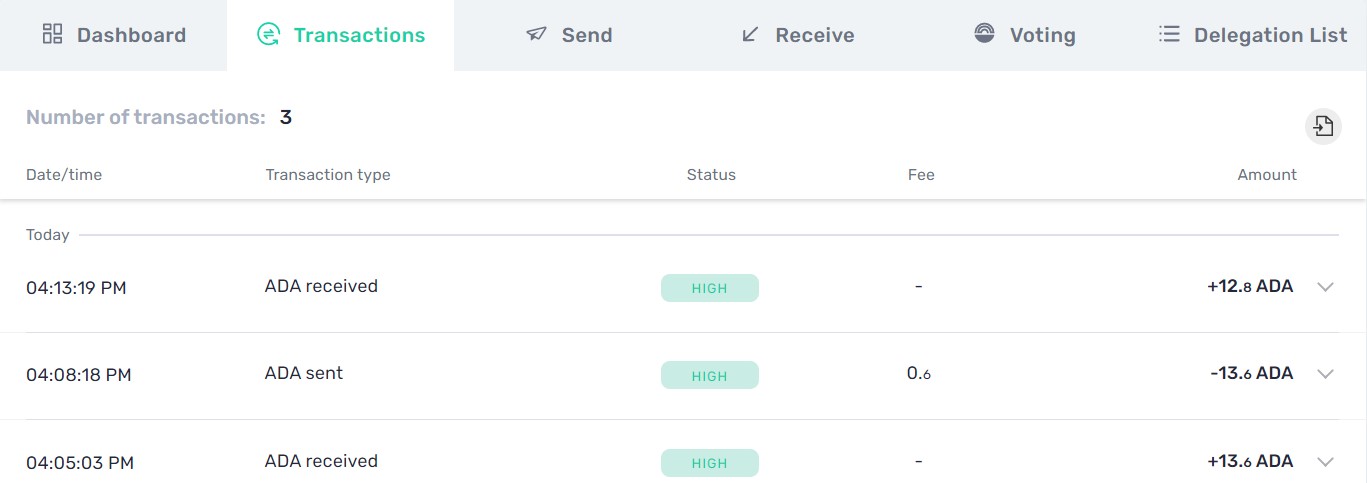
Transactions
Users can check their account activities details from the Transaction tab.
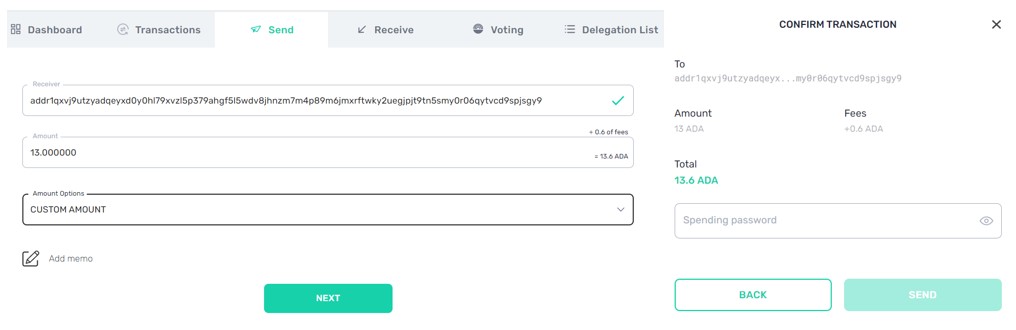
Send
The Send option allows the users to transfer assets to other Cardano wallet users.
To send you just need to provide the wallet address where you wish to transfer coins and the amount. Finally, confirm the process by providing your spending password.
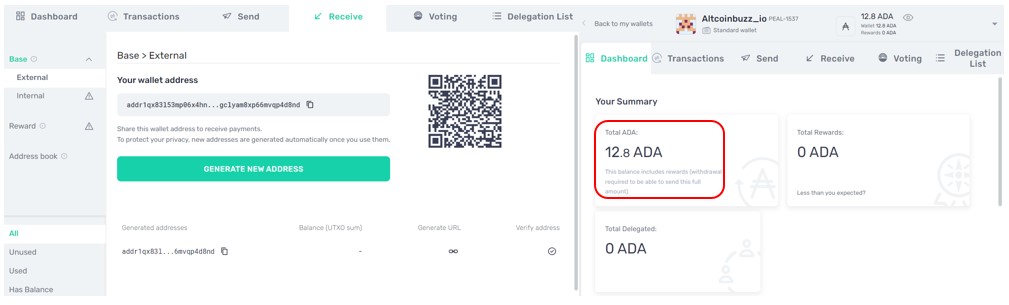
Receive
The Receive tab shows your wallet address that you can share with other users to receive assets in your account. To maintain privacy, the wallet automatically generates new addresses once you use the existing one.
To get your receiving or public address, go to the Receive tab. You can copy the wallet address from here. If you wish, you can generate a new address by clicking on the Generate New Address button.
Share your address and receive tokens in your account.
Voting
The voting option is only available for users who hold at least 500 ADA coins in their wallets.
Delegation
Yoroi allows the users to delegate their ADA coins to stake pools using the wallet interface. You can check the list of all stake pools from the Delegation tab.
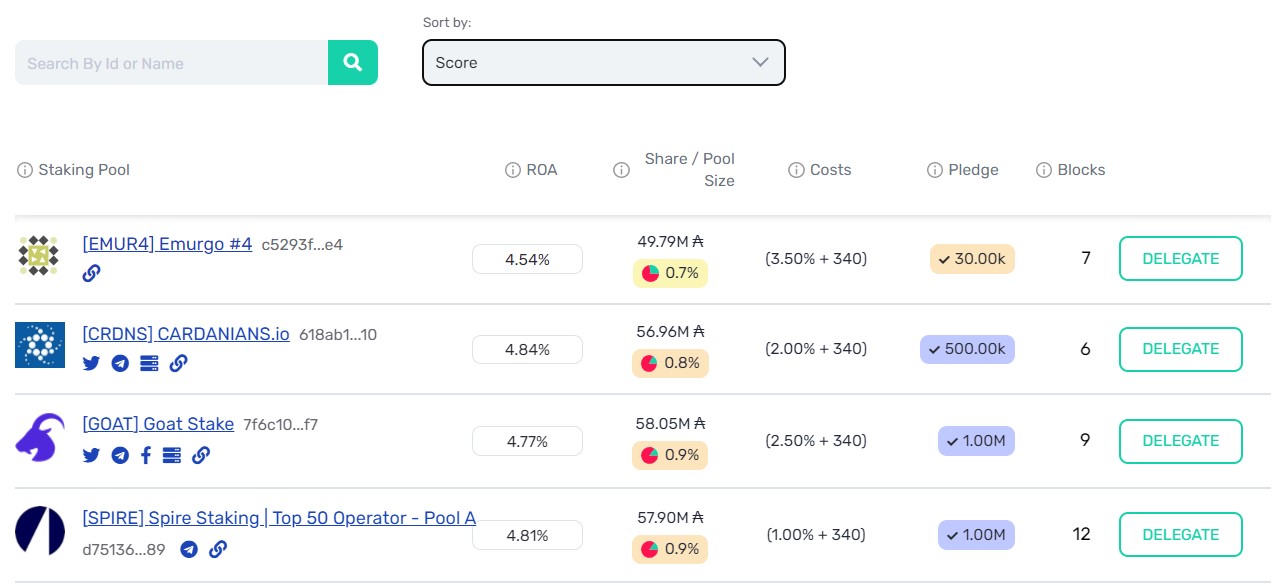
As you know, most Cardano wallets don’t offer partial staking. So, all ADA coins in your account will be staked. In other words, you can stake your coins in only one stake pool at a time.
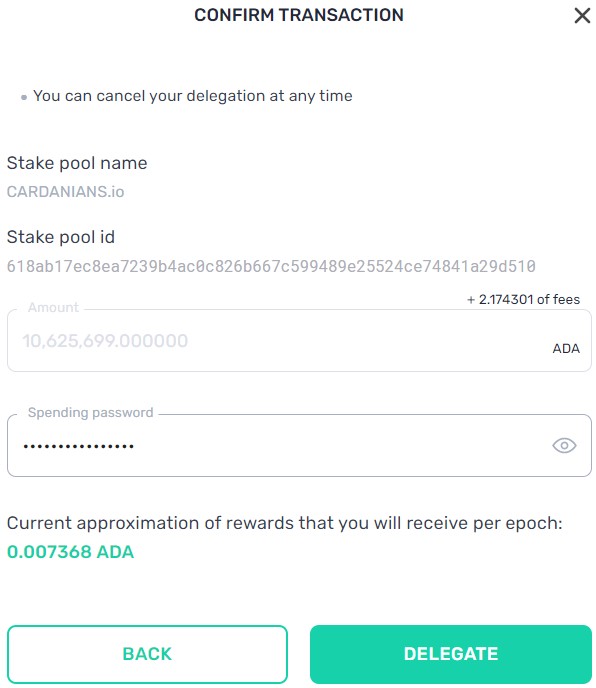
Select the Staking pool, and click on the Delegation button against it. The Token/coin field is disabled as we have mentioned that it will automatically take all your ADA coins. Enter your spending password, and confirm the delegation process.
Once the transaction is successful, you can check your deposited coins from the dashboard.
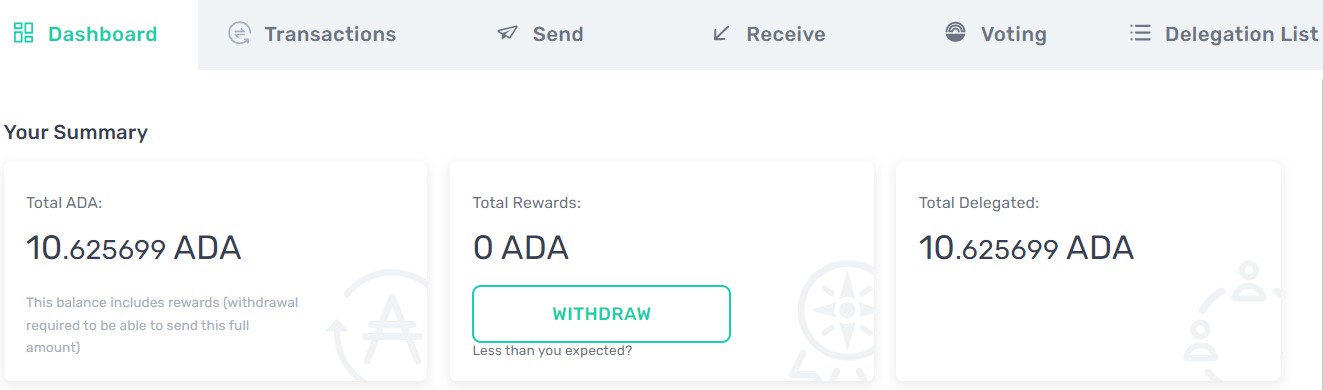
Note that even if you have delegated all your ADA coins to a staking pool, you are free to transfer your coins to another address. You do not need to wait or unstake it.
Buy ADA
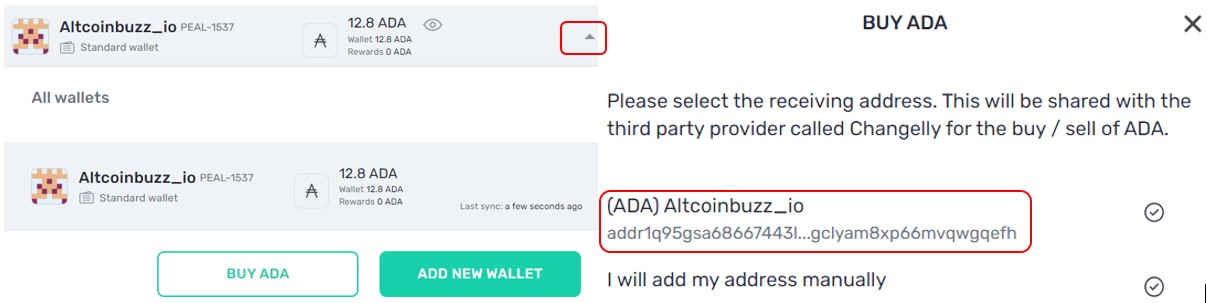
Users can buy ADA coins from their YOROI wallet. The buying facility is supported by third-party service provider Changelly.
Click on the below-highlighted icon to see the Buy ADA button. Click on it. Next, the application will ask you to choose the receiving address. You can either choose your internal address (check your dashboard) or can add it manually.
Next, you can select your preferred currency, country, and the amount you wish to spend on buying the coins.
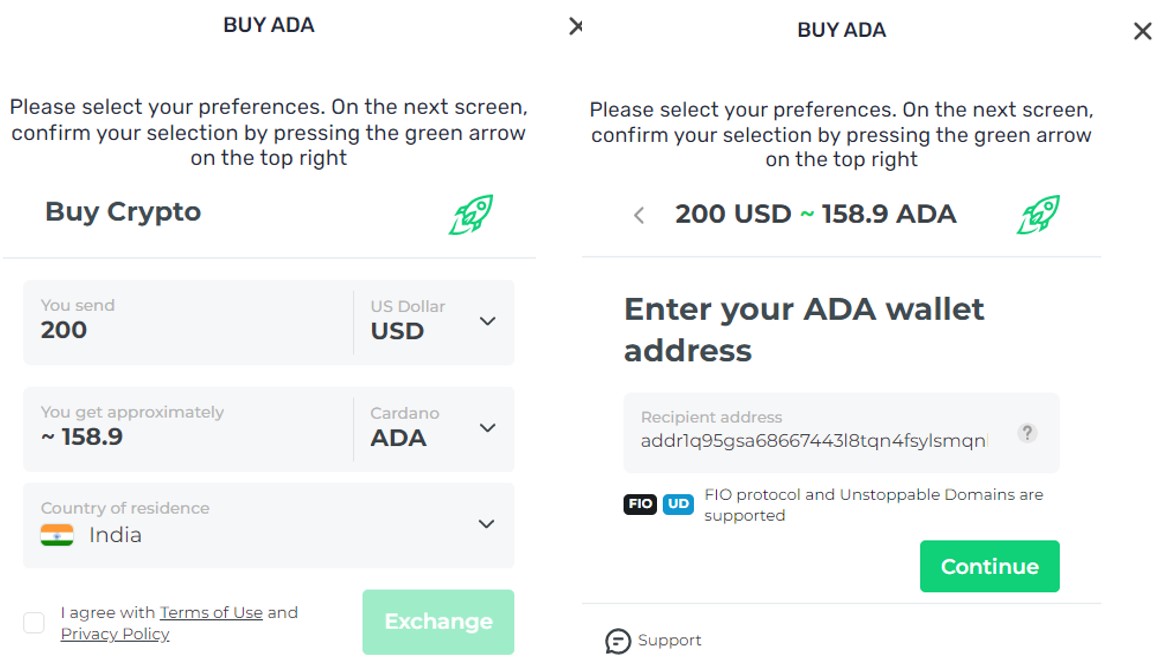
Users may need to undergo the KYC verification process and are required to enter a few mandatory details like email, phone number, billing details, and Govt approved documents.
Complete the entire process to buy coins using your local currency.
Dapp Connector
Shows the lists of platforms, or dApps with which your Yoroi wallet is connected.
Setting
Using the Settings tab, users can set the following parameters:
General- You can select language and themes here
Blockchain- Select block explorer for the network, and set payment URLs
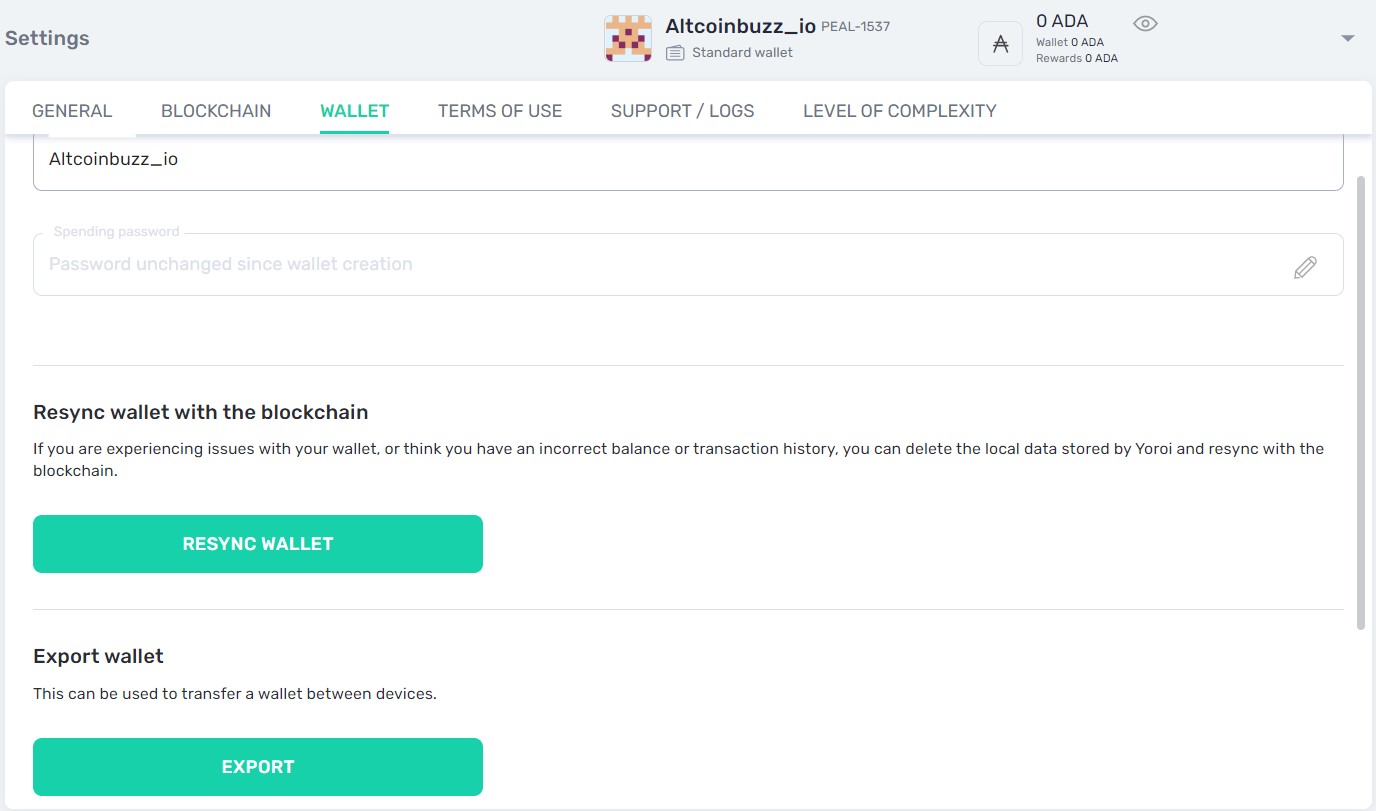
Wallet- Change wallet name, resync, export, and remove wallet
Level Of Complexity- Users can set the wallet’s complexity level (simple, advanced), and the wallet interface will change accordingly
Finally, for more cryptocurrency news, check out the Altcoin Buzz YouTube channel.
Above all, find the most undervalued gems, up-to-date research, and NFT buys with Altcoin Buzz Access. Join now starting from $99 per month


